OpenClaw Deployment Guide on Kuberns | Deploy in One Click
This guide explains how to deploy OpenClaw on Kuberns and complete the initial setup. The entire deployment process is designed to be simple and automated. You do not need to configure servers, write Docker files, or manage infrastructure.
Kuberns uses AI to handle the complete deployment process. You only connect your repository, choose basic options, and click deploy. Everything else is taken care of automatically.
Before you begin
Before starting, make sure you have the following ready:
- [A GitHub account] (https://github.com/kuberns/kuberns-openclaw-template)
- [A Kuberns account] (https://dashboard.kuberns.com/)
No cloud provider accounts or infrastructure knowledge are required.
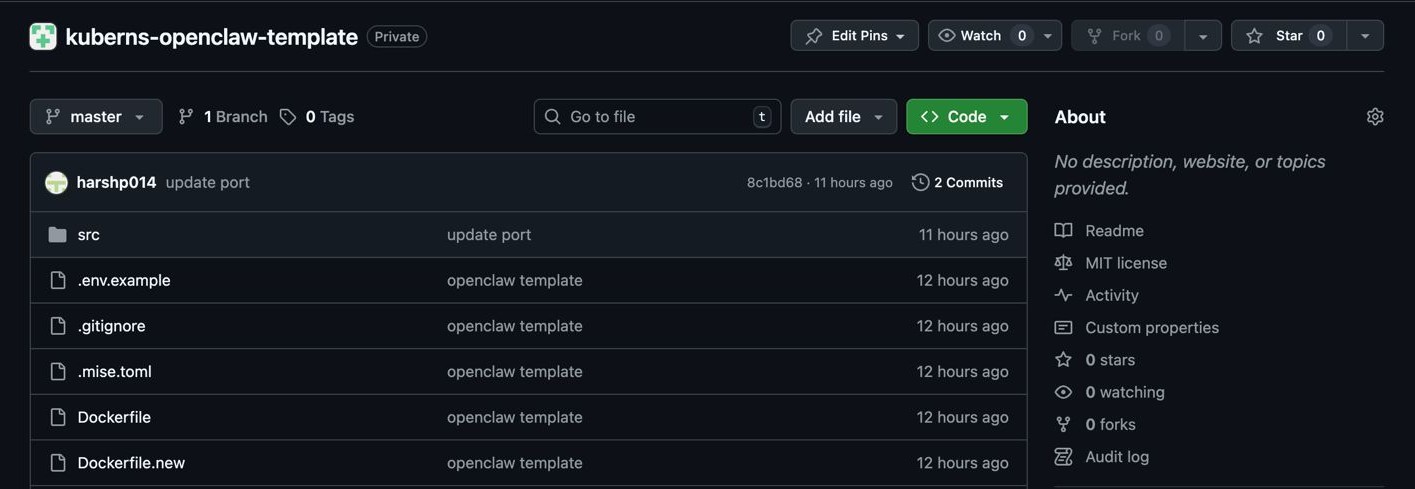
Step 1: Fork the OpenClaw repository
Start by opening the OpenClaw GitHub repository. Click the Fork button in the top-right corner to create a copy of the repository under your own GitHub account.
Step 2: Sign up on Kuberns and connect your GitHub repository
This forked repository is what you will deploy on Kuberns. No code changes are required before deployment.
Go to the Kuberns website and sign up using your GitHub or Google account. Once you are signed in, you will be taken to the onboarding flow where you can create a new project.
Create a new project and select the OpenClaw repository you just forked. Choose the branch you want to deploy, usually main or master. Then fill in the basic service details such as the project name and server location.
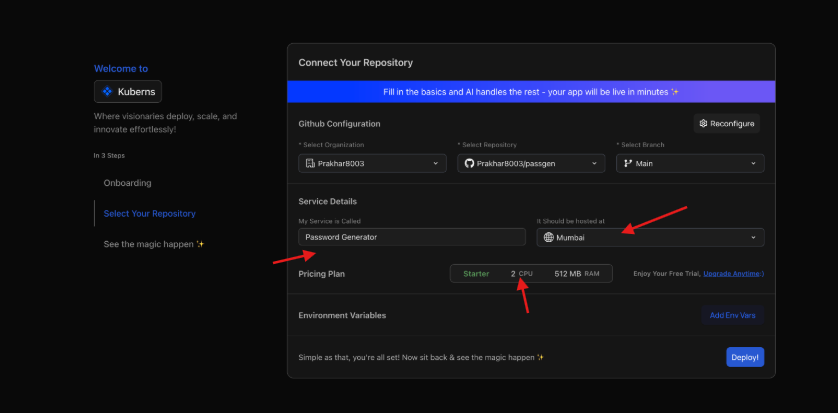
Select a pricing plan. For OpenClaw, a 4 GB plan is recommended to ensure smooth performance.
All required environment variables for OpenClaw are added automatically by Kuberns. You do not need to configure them manually.
Step 3: Click deploy
Once everything is selected, click Deploy.
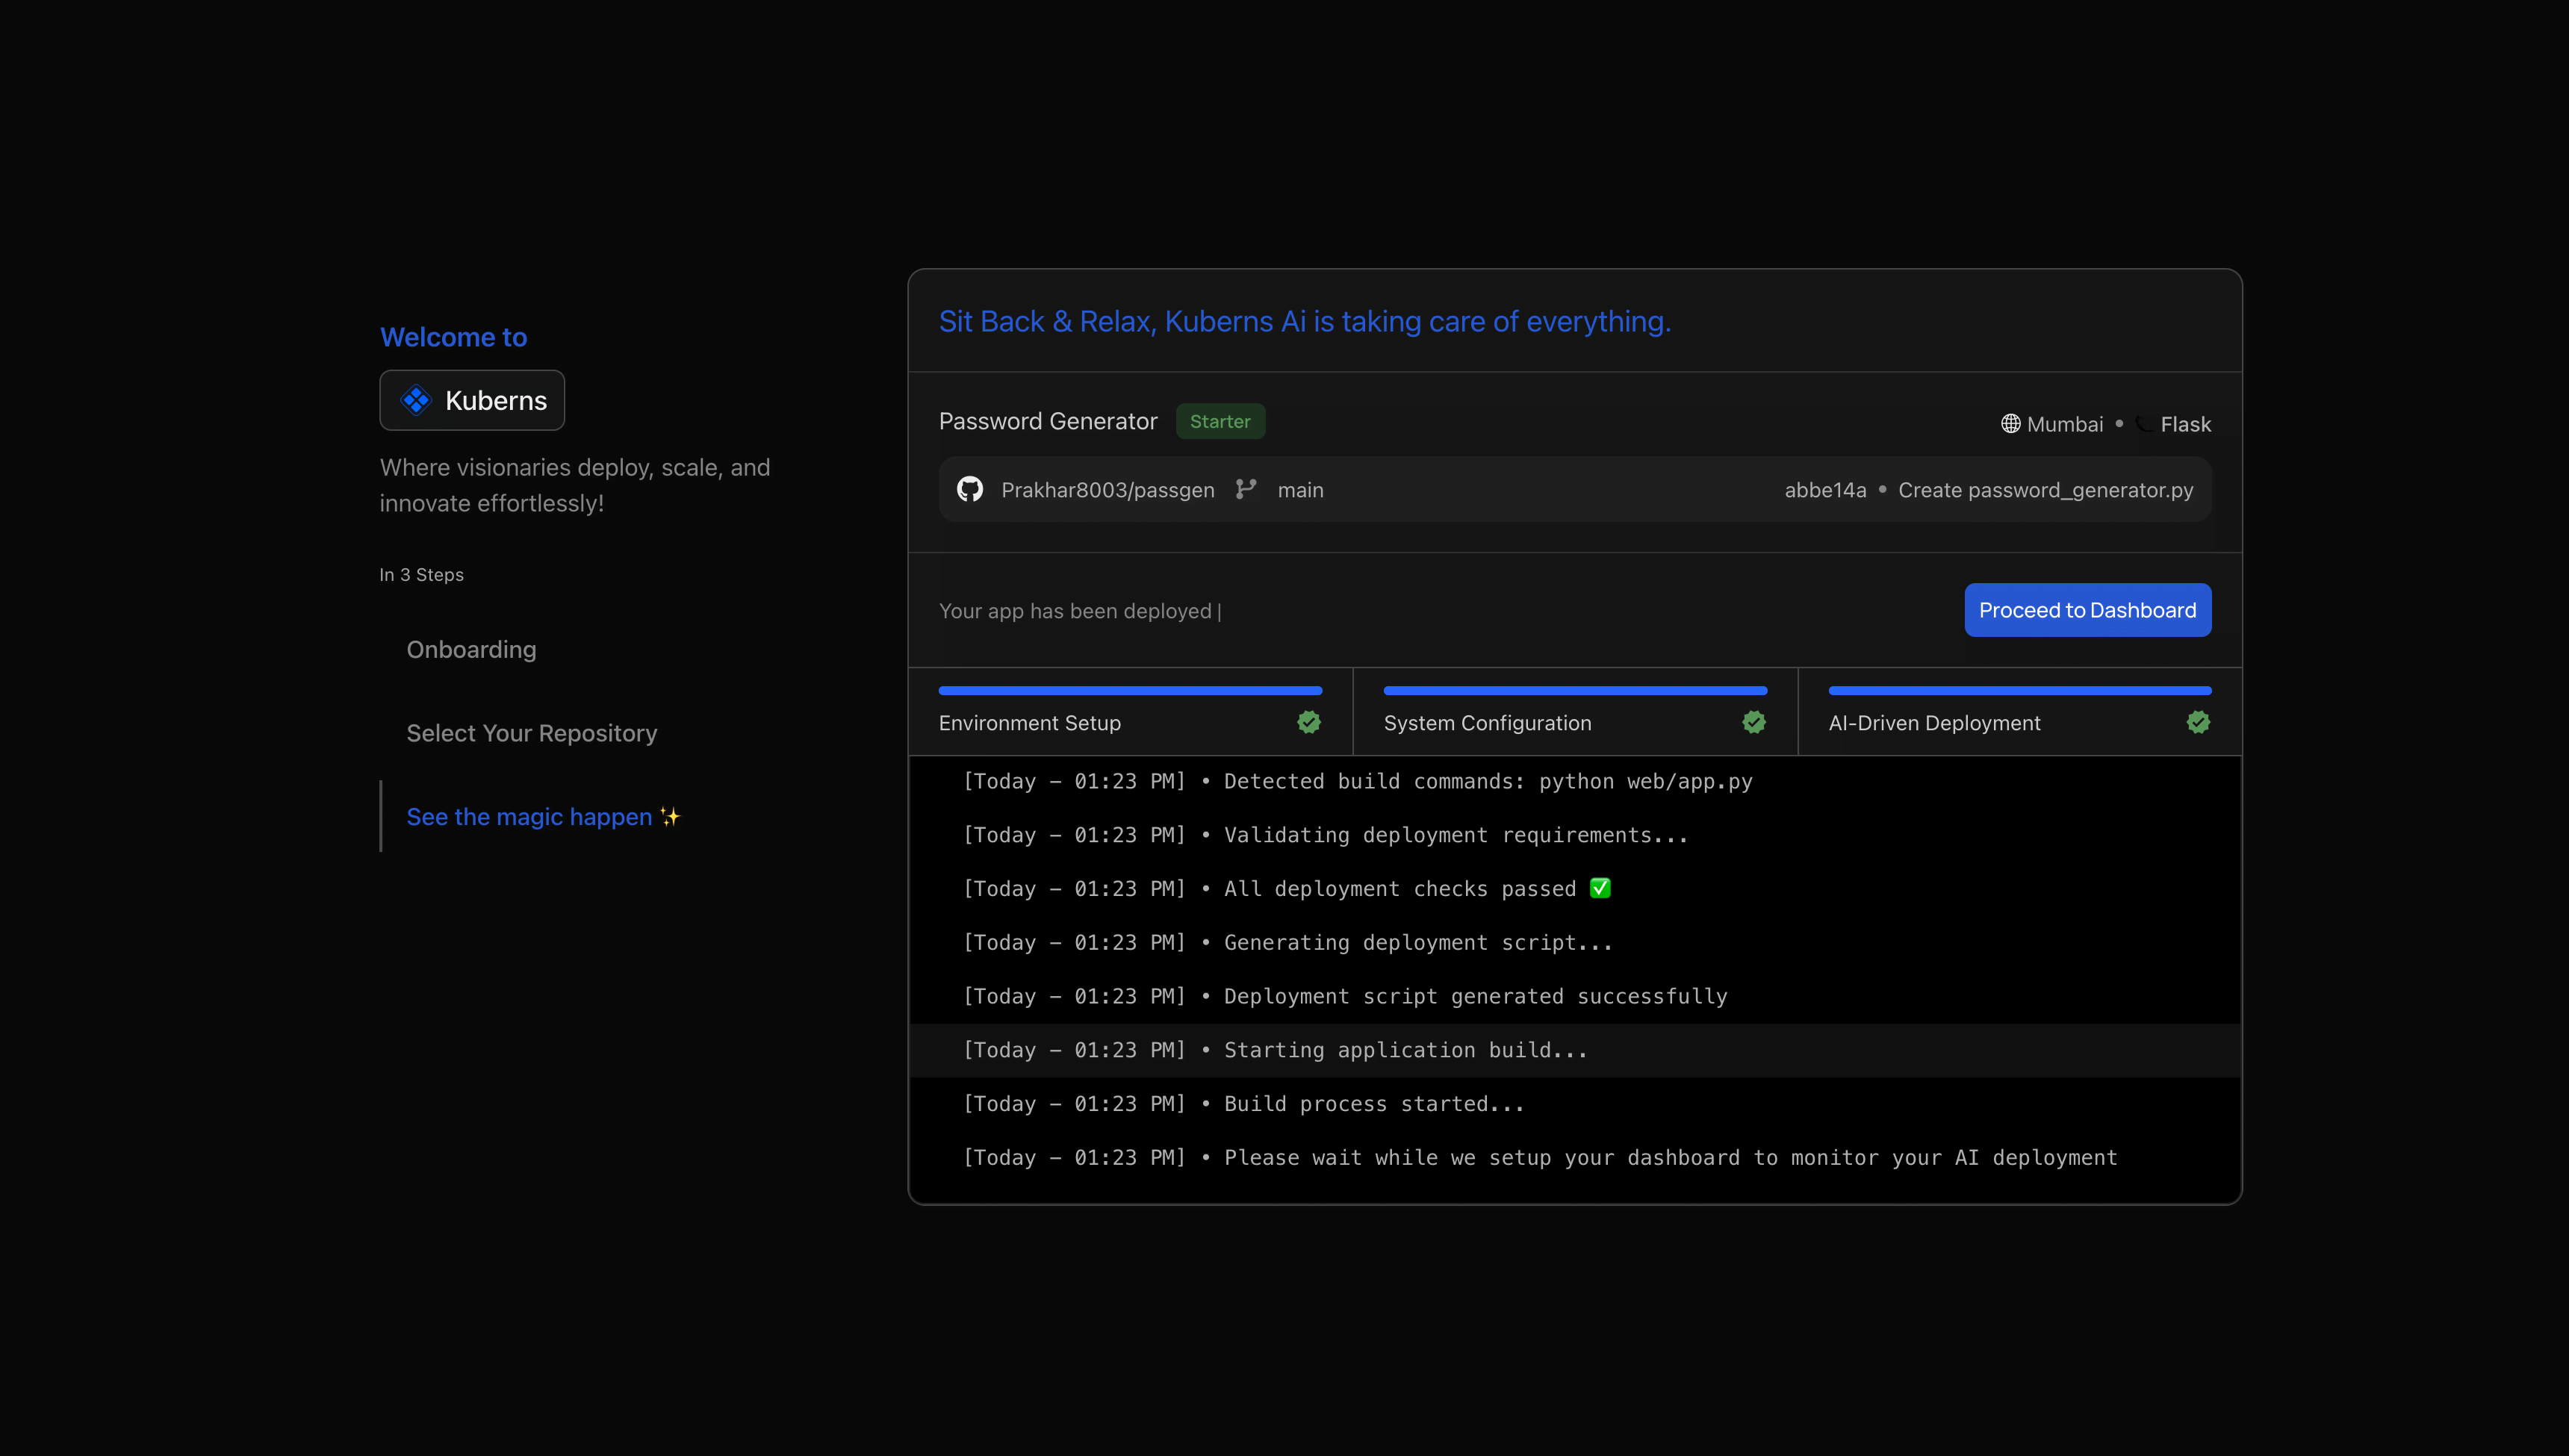
At this point, Kuberns AI takes over. It analyses the OpenClaw codebase, detects the tech stack, sets up the runtime environment, installs dependencies, and provisions infrastructure. You can watch the deployment logs update in real time.
When the deployment finishes, your OpenClaw application is live.
Now, complete the OpenClaw setup
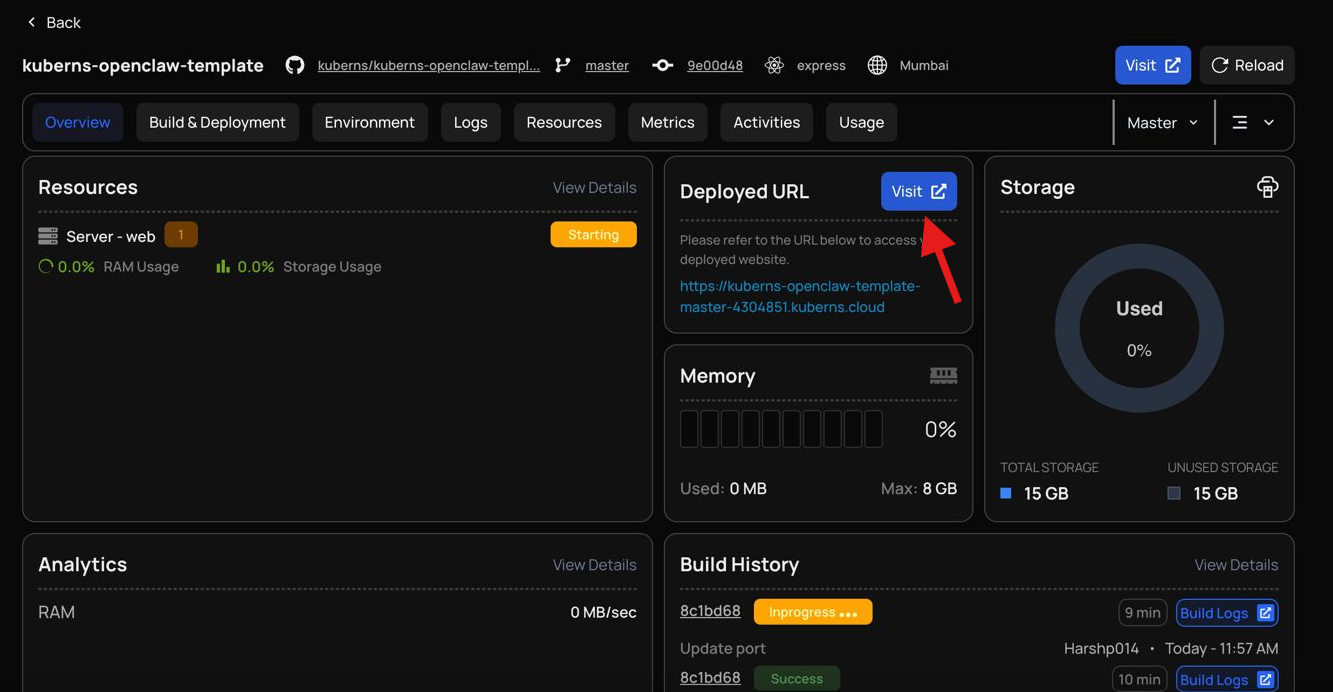
After deployment, click the application URL shown in the Kuberns dashboard. This opens the OpenClaw setup page in your browser.
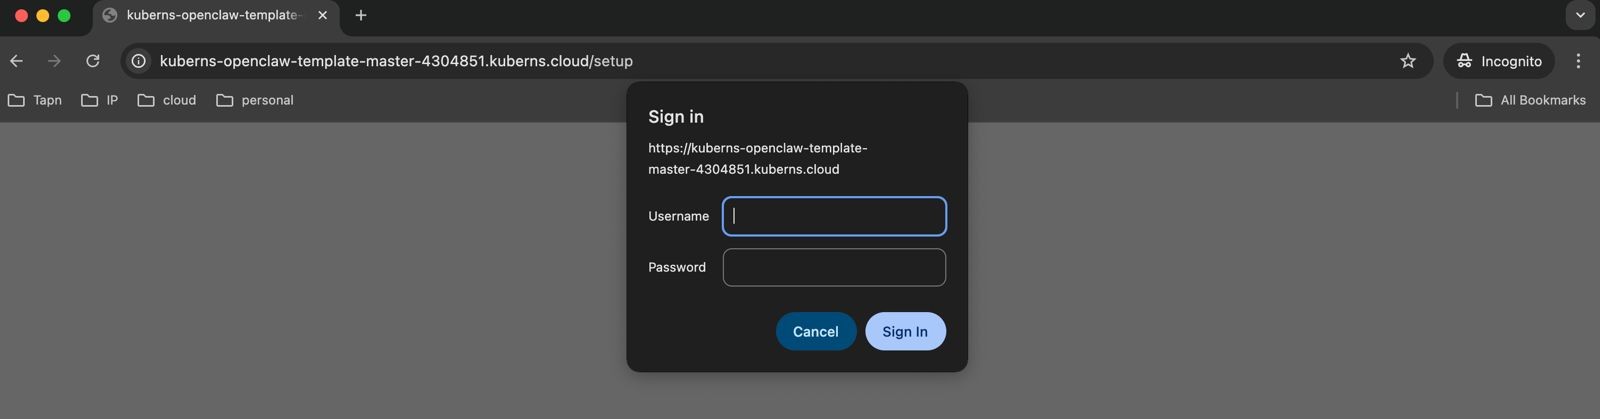
On the sign-in screen, create a username and password for your OpenClaw instance. This account is used to access and manage your OpenClaw dashboard.
Use these credentials to sign in:
- username:
admin - password:
test
Once signed in, you will be guided through the initial setup flow. This setup is required only once and helps configure your OpenClaw instance based on your preferences. The entire process takes less than a minute.
Step 4.1: Select the required details
In the first screen of the setup flow, you are asked to select the required configuration details for OpenClaw. This includes choosing the AI provider, authentication method, and model settings.
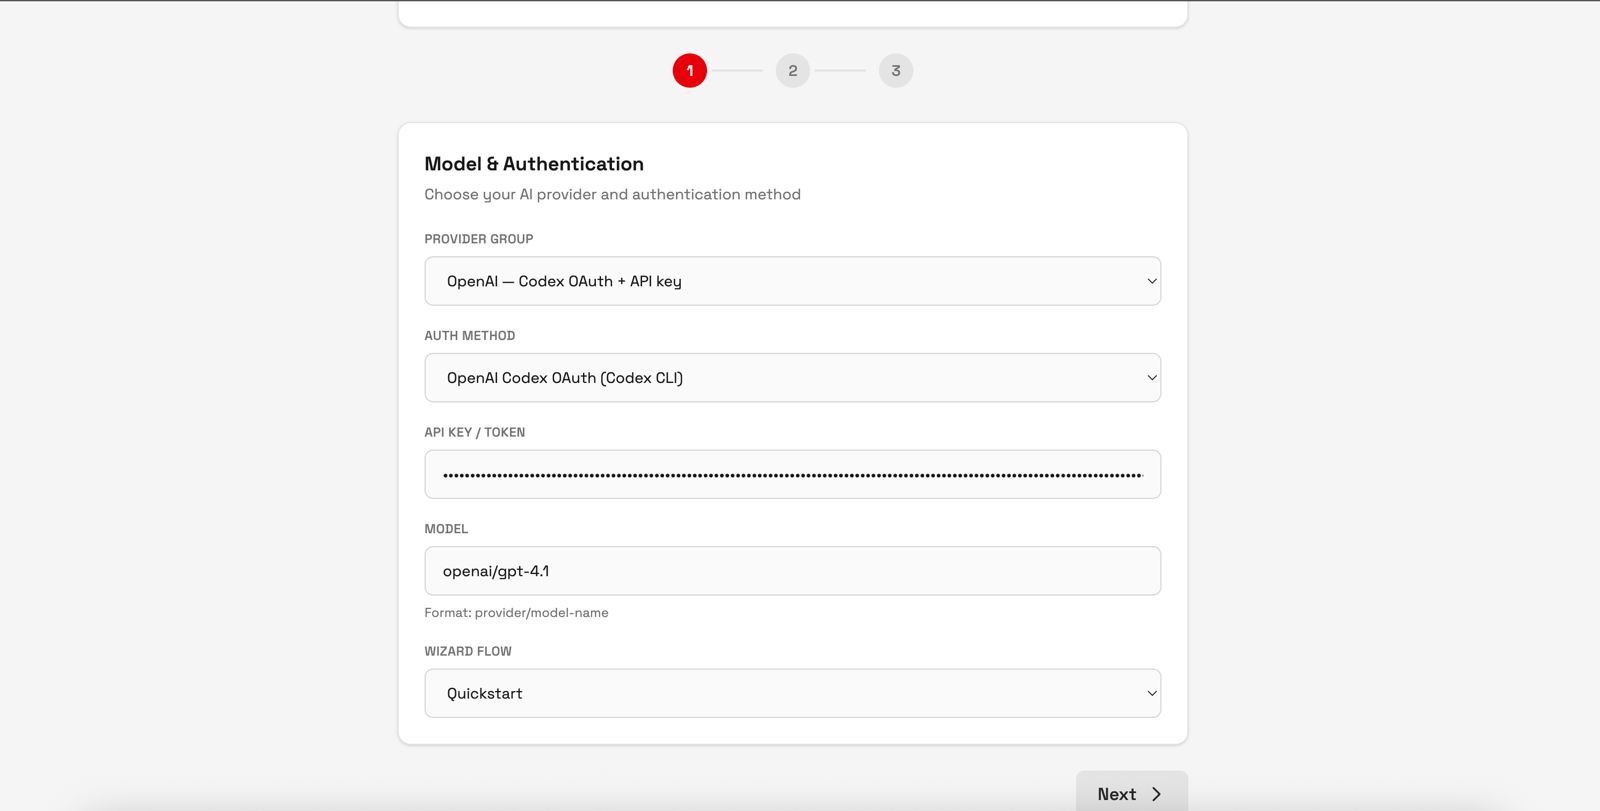
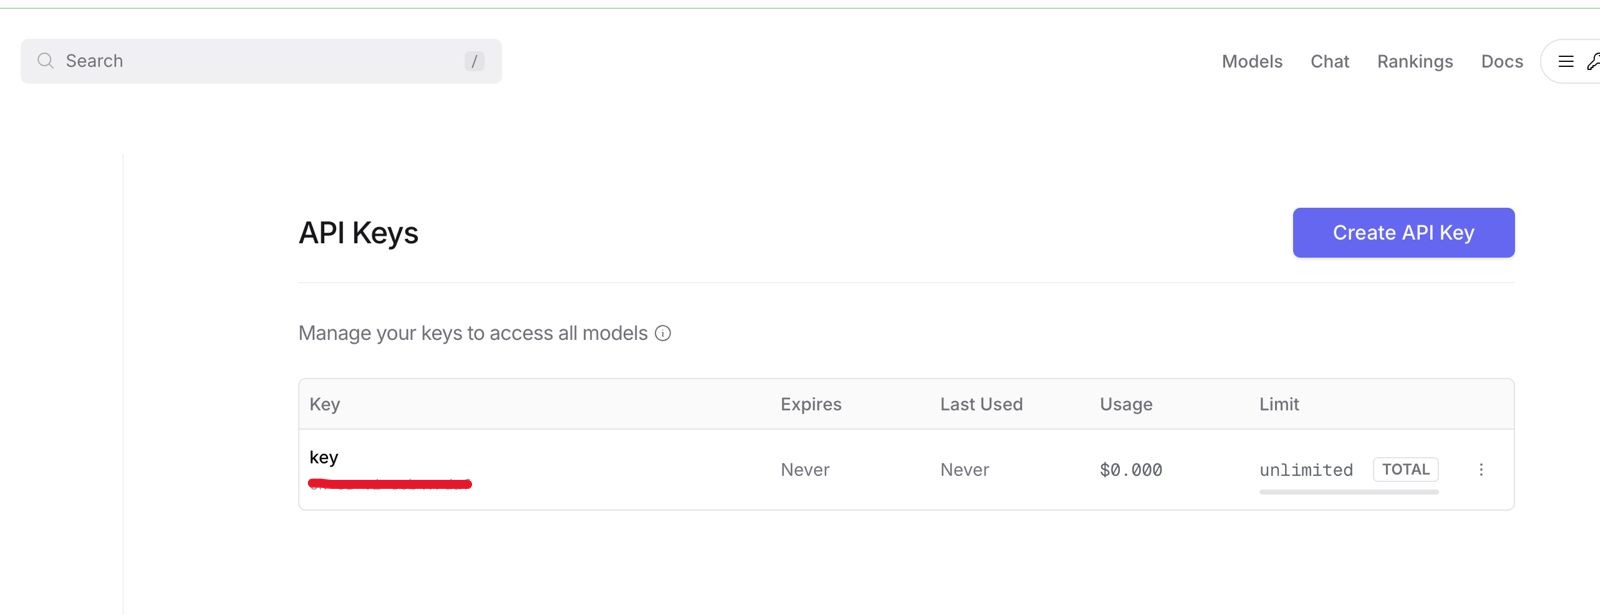
You can get the API Keys from OpenRouter. Just go to https://openrouter.ai/ and create a new API Key and use that here.
Once selected, continue to the next step.
Step 4.2: Select channels (optional)
In the next screen, you can connect messaging platforms such as Telegram, Discord, or Slack. These channels allow OpenClaw to communicate through external platforms.
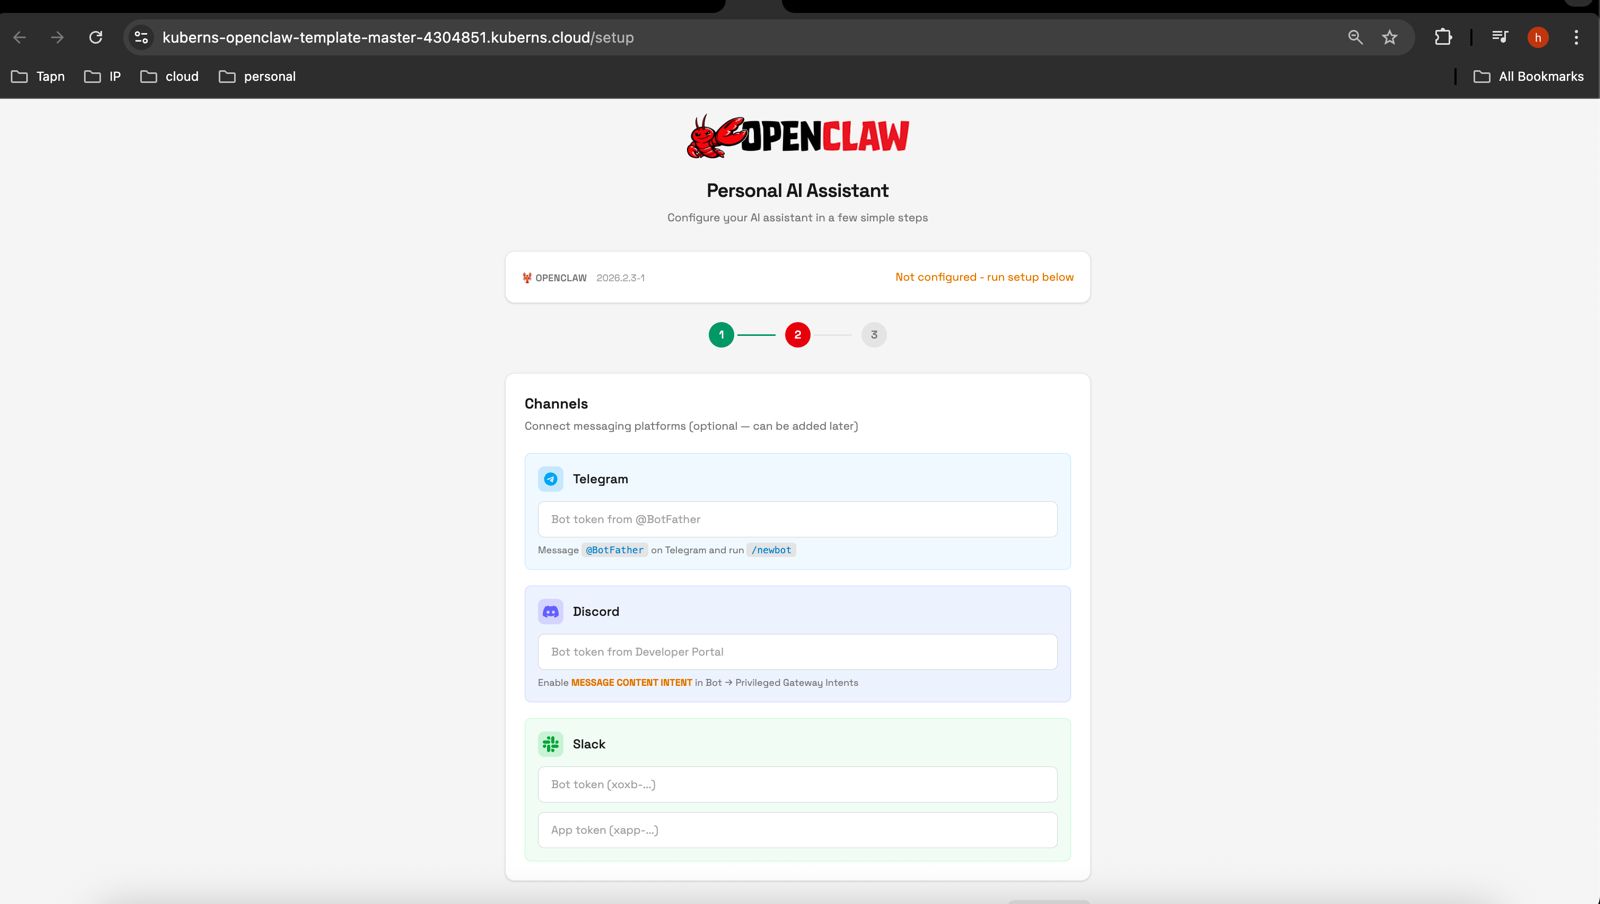
Adding channels is optional. If you do not want to connect any channels at this stage, you can skip this step and continue. Channels can be added or modified later from the OpenClaw dashboard.
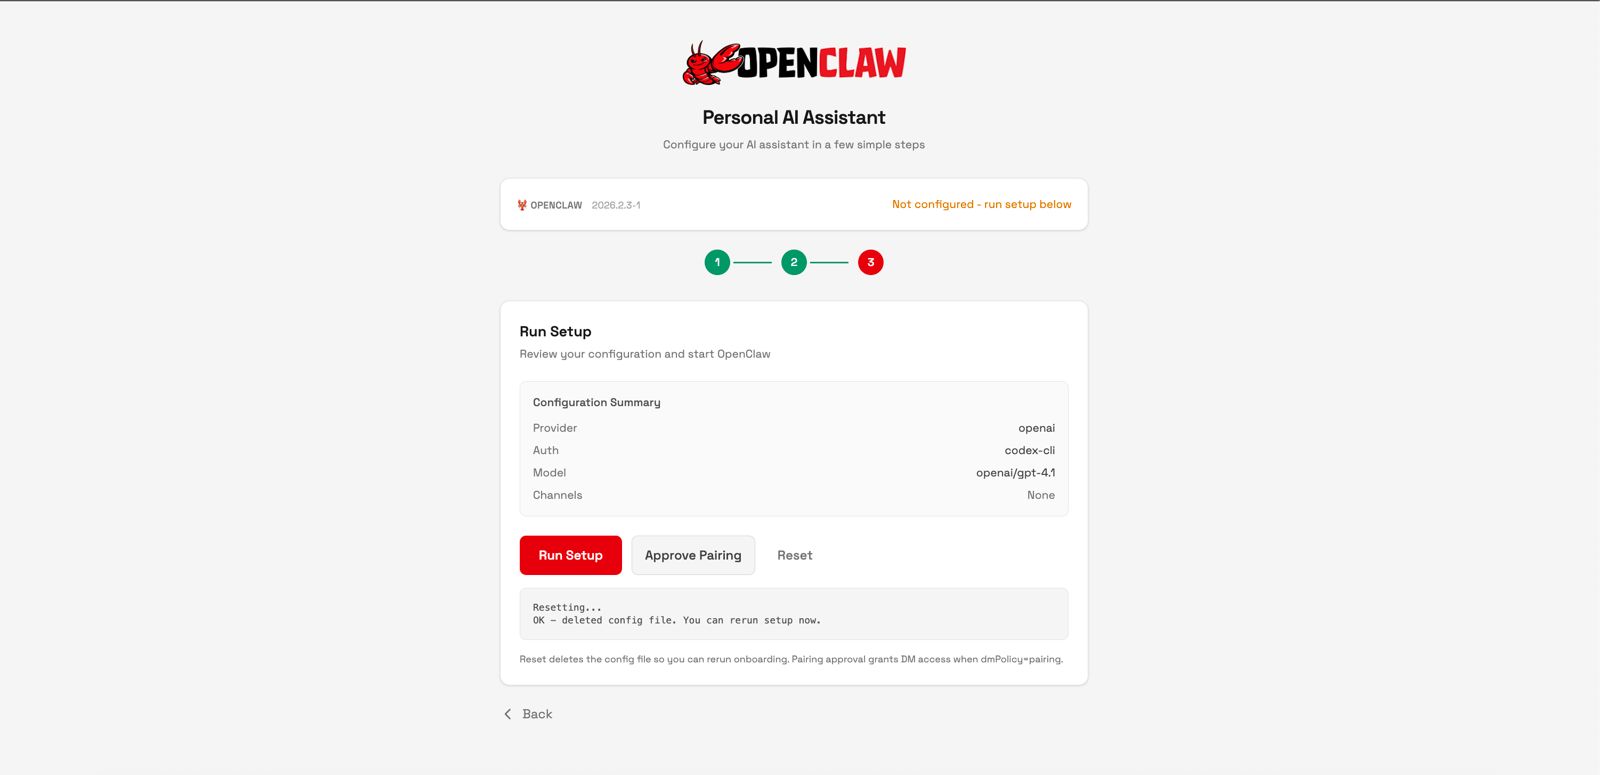
Step 4.3: Run setup
In the final screen, review your selected configuration and click Run Setup. OpenClaw applies the configuration and completes the setup automatically.
Step 4.4: Open the OpenClaw dashboard
Within a few seconds, the setup finishes and your OpenClaw instance becomes fully operational. No additional configuration or restart is required.
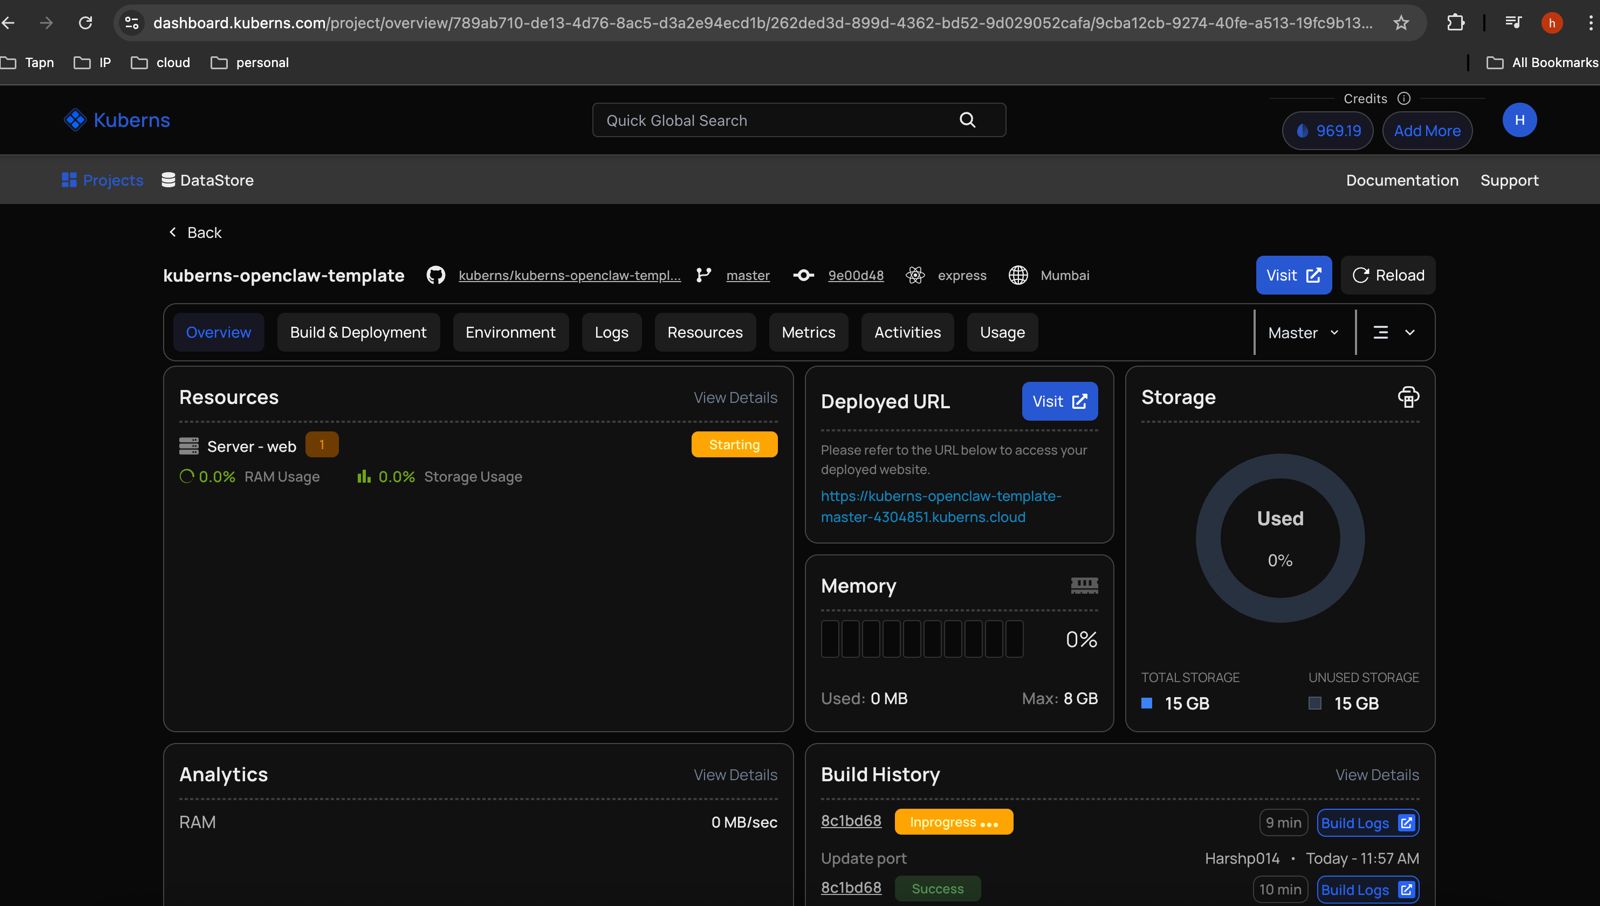
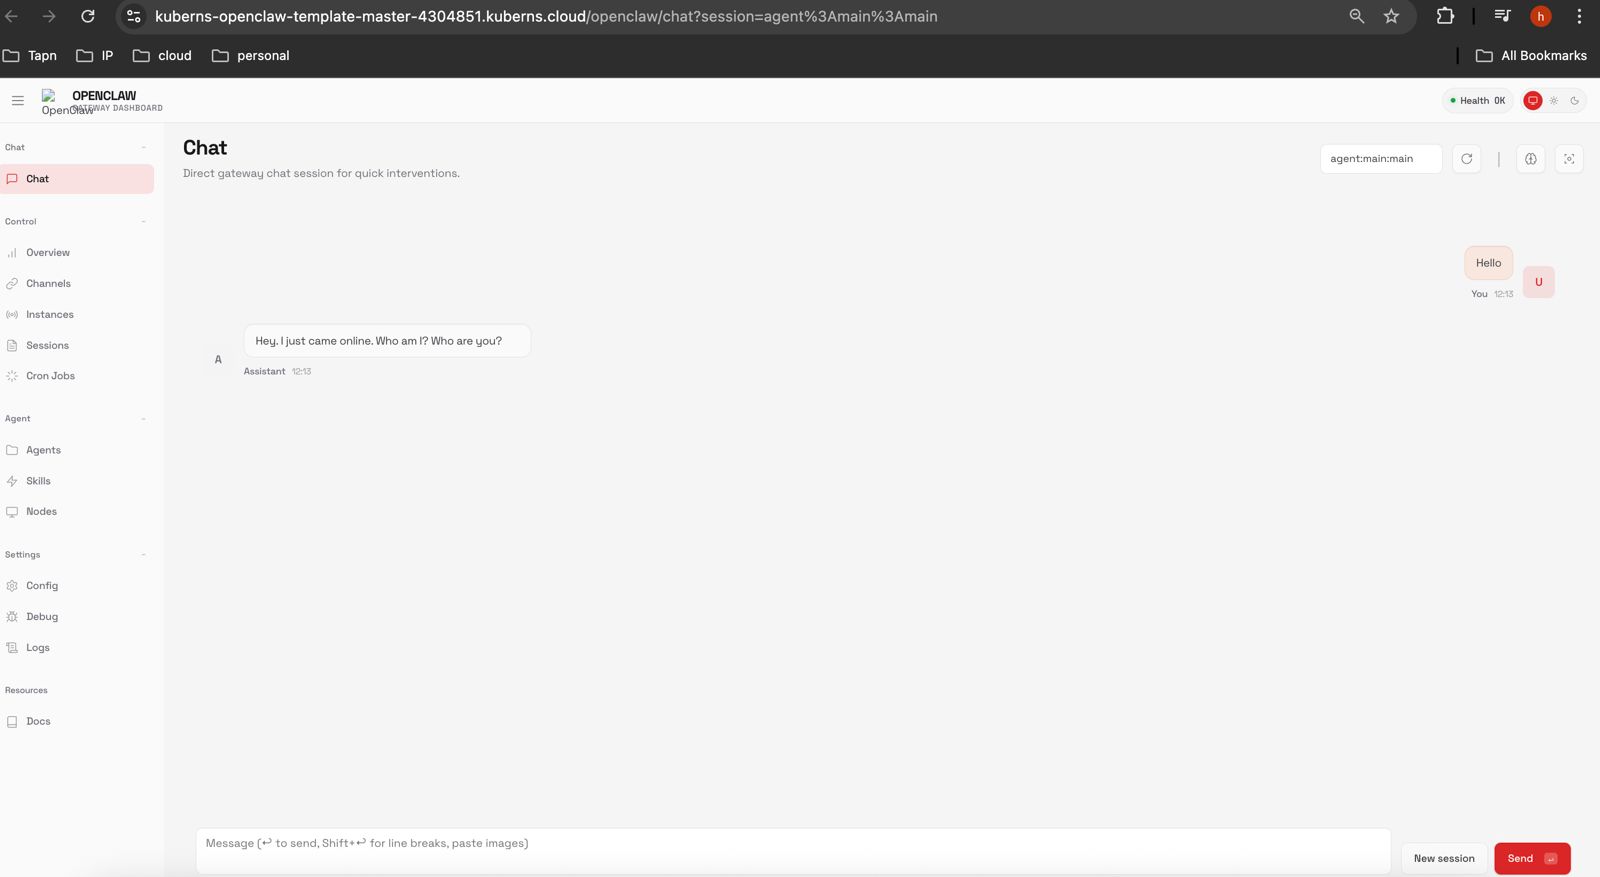
Once setup is complete, you are taken to the OpenClaw dashboard. From here, you can view the system status, manage agents, configure settings, and monitor activity.
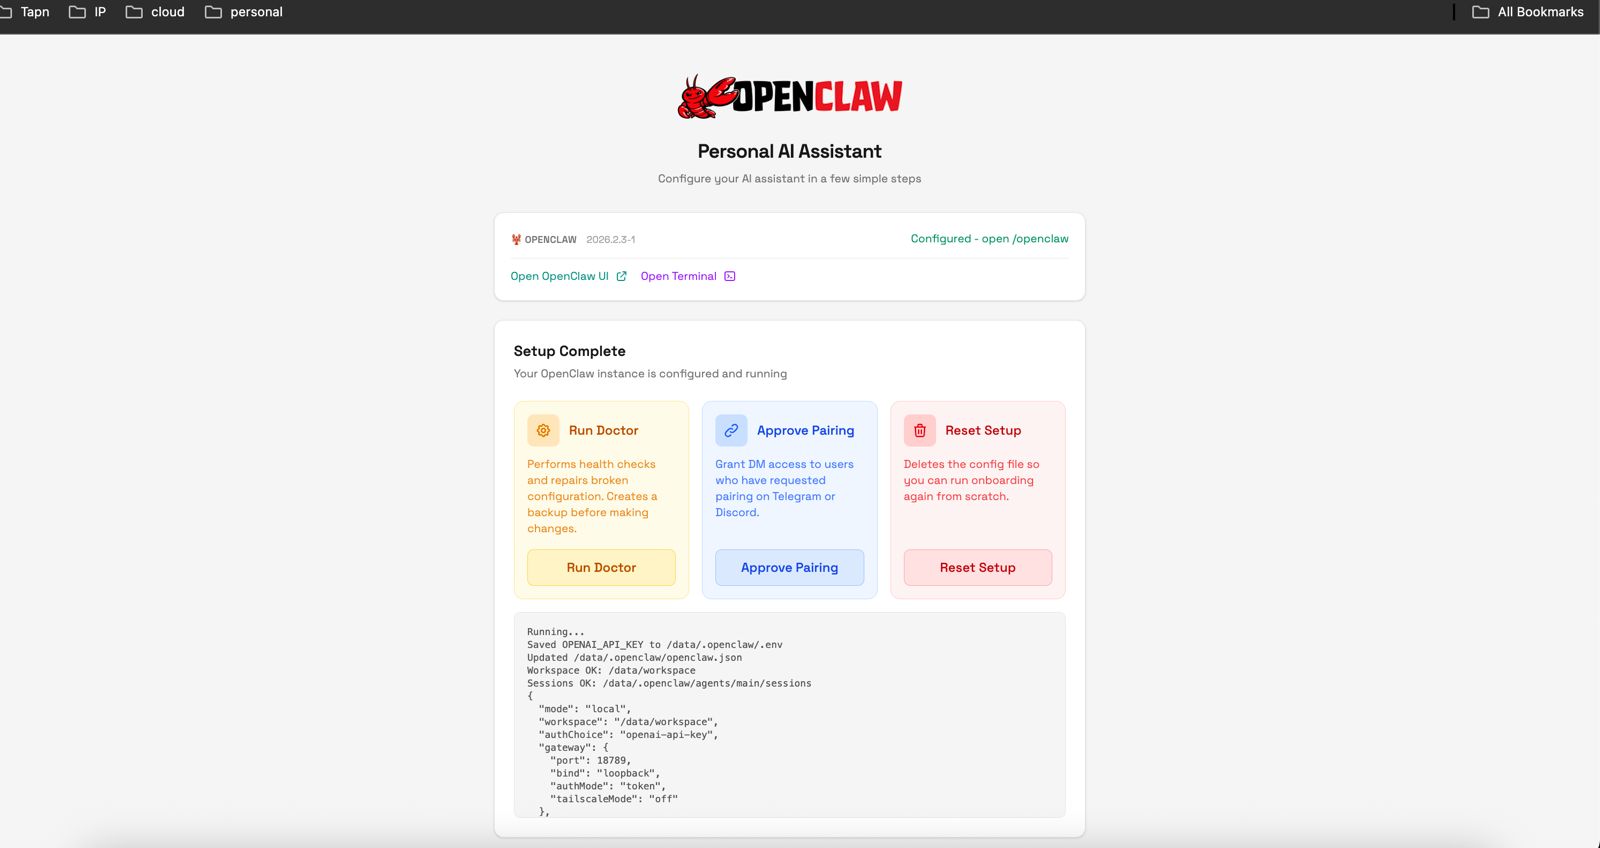
The dashboard confirms that OpenClaw is running correctly and is ready for use.
Start using OpenClaw
At this point, OpenClaw is live and running 24/7 on Kuberns. You can start using it immediately through the web interface.
Your deployment is production-ready, monitored, and scalable. Kuberns continues to manage infrastructure, uptime, and system health in the background so you can focus on using OpenClaw instead of maintaining it.
Watch: How to Deploy OpenClaw on Kuberns in minutes
Watch the full step-by-step deployment walkthrough to understand how you can fork the project from GitHub, deploy on Kuberns, and start using OpenClaw.
What happens behind the scenes
When you deploy OpenClaw on Kuberns, AI automatically handles application analysis, environment setup, dependency installation, build configuration, networking, and monitoring. You never need to touch infrastructure or deployment scripts.
Scaling, logs, and resource monitoring are available directly from the Kuberns dashboard whenever you need them.
Why deploy OpenClaw on Kuberns
- Zero infrastructure setup: You don't need to manage servers, containers, or cloud services. Kuberns handles everything automatically.
- No manual configuration: All required environment variables are added automatically. You don't need to touch
.envfiles or secrets. - One-click deployment: Fork the repository, connect it to Kuberns, and click deploy. The app goes live in minutes.
- AI-driven deployment: Kuberns AI analyses the OpenClaw codebase, configures the runtime, installs dependencies, and sets up the environment without manual steps.
- Production-ready by default: OpenClaw runs 24/7 with SSL, monitoring, and reliable infrastructure already configured.