Deploy N8N on Kuberns: Complete Guide
Getting Started
This guide explains how to deploy N8N on Kuberns using the one-click template. The entire deployment process is designed to be simple and automated. You do not need to configure servers, write Docker files, or manage infrastructure.
Kuberns uses AI to handle the complete deployment process. You only select the template, add required environment variables, and click deploy. Everything else is taken care of automatically.
Before You Begin
Before starting, make sure you have:
- A Kuberns account
No cloud provider accounts or infrastructure knowledge are required.
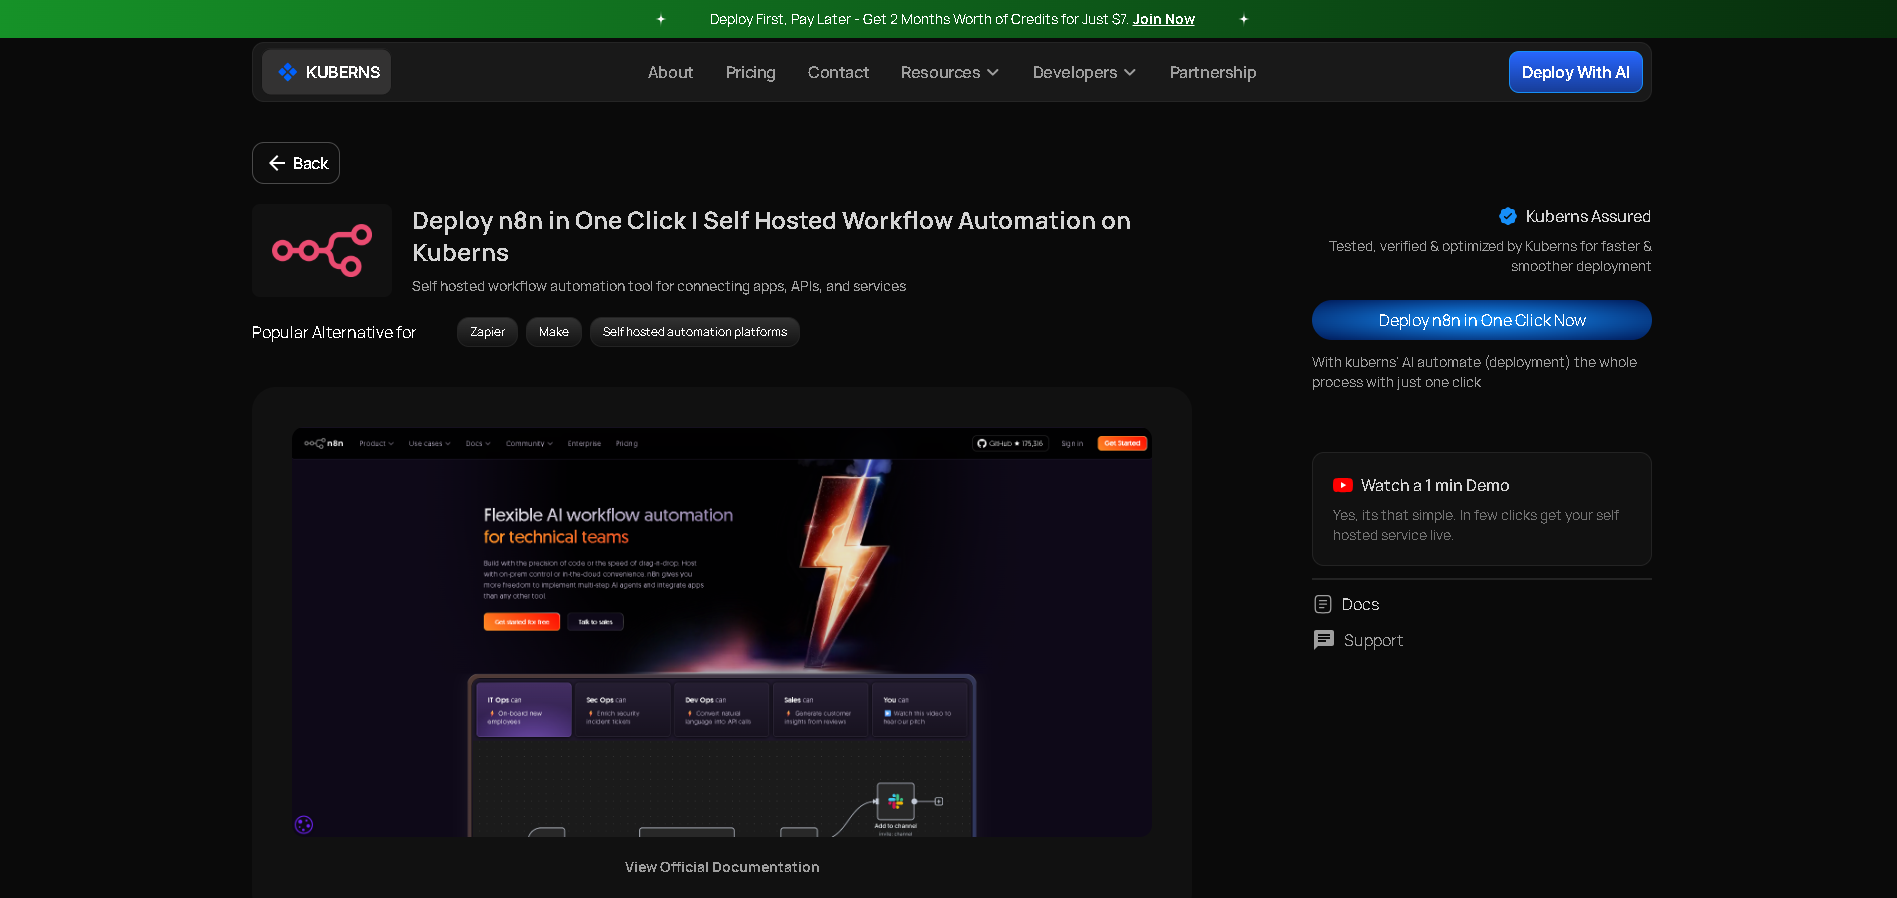
Step 1: Open the n8n One-Click Template
- Go to the Templates page on Kuberns
- Find and select the n8n One-Click Template
- Click on Deploy to begin the deployment process
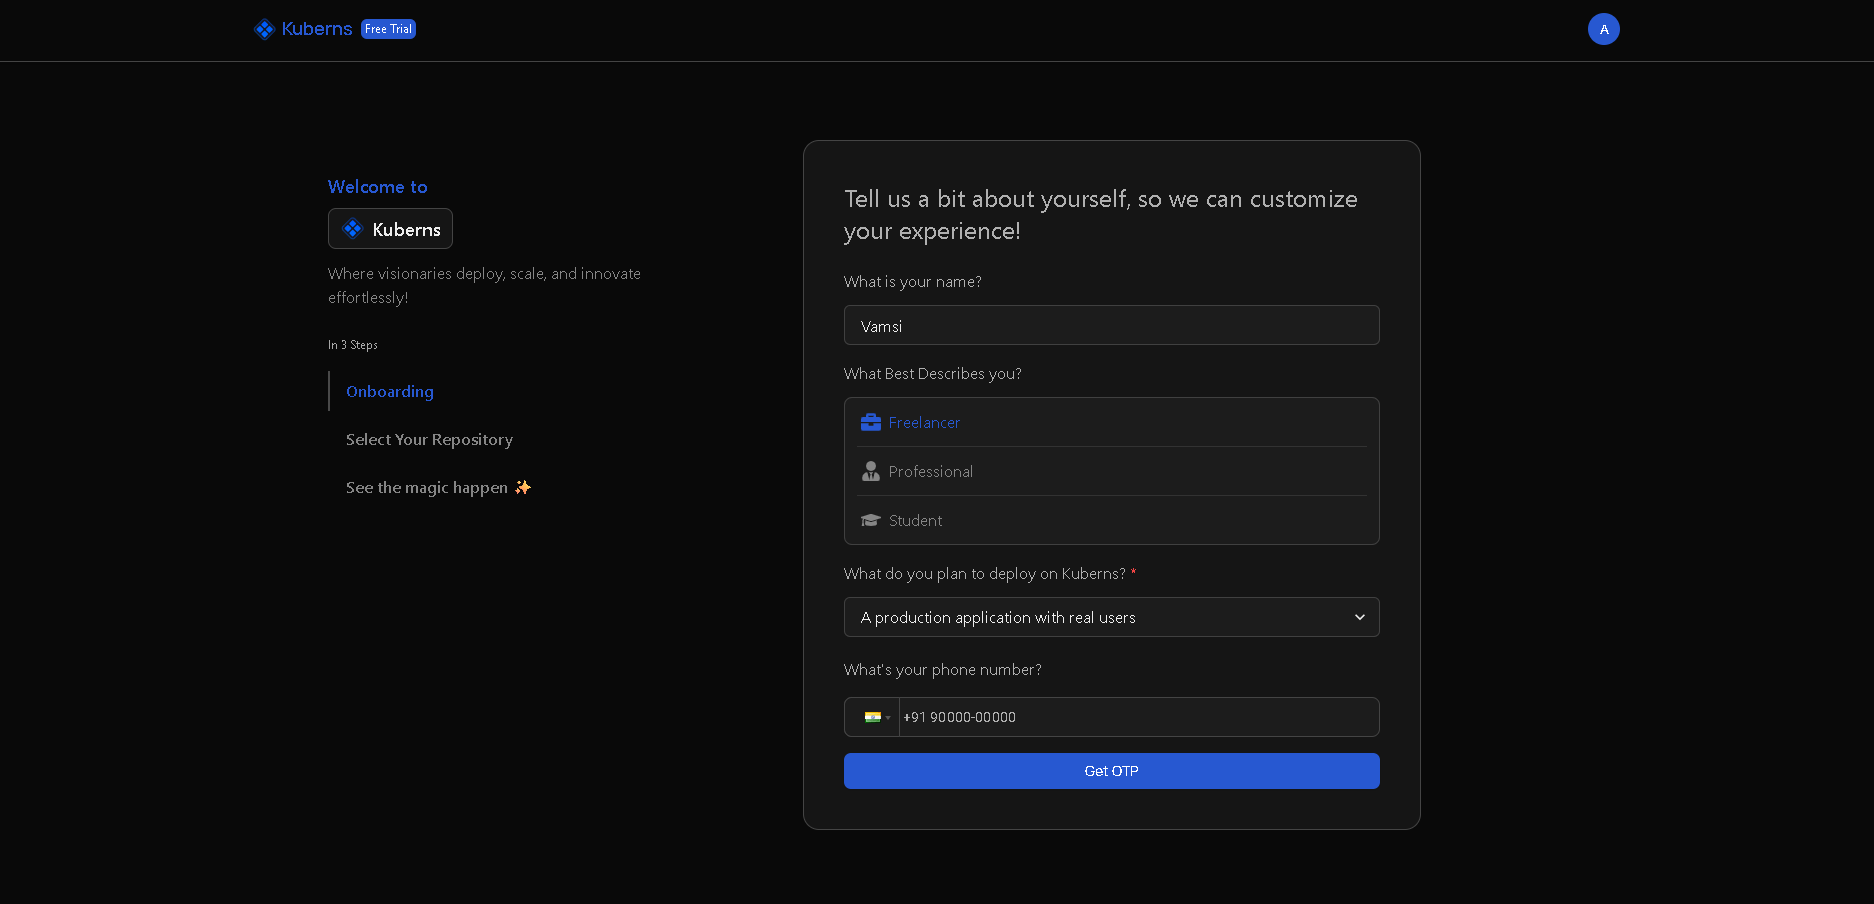
Step 2: Sign Up on Kuberns
- Sign up using your email or connect with GitHub / Google
- Complete the brief onboarding process (takes around 2 minutes)
You are now ready to deploy.
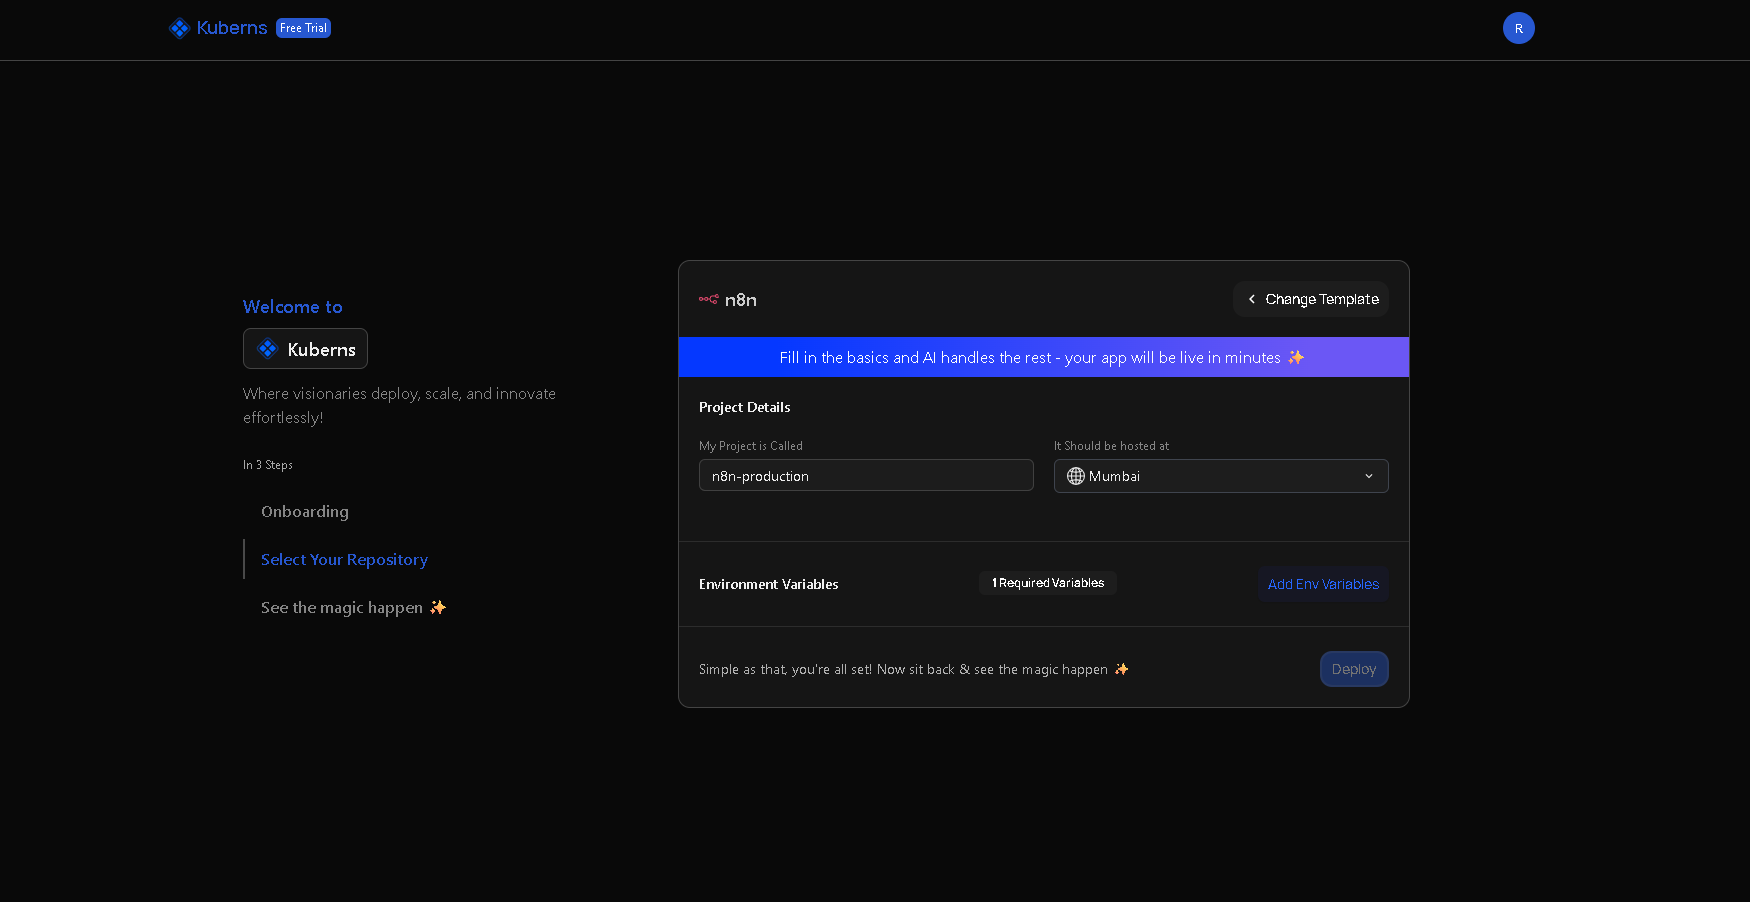
Step 3: Fill in Basic Project Details
Basic Settings
- Project Name:
n8n-production(or your preferred name) - Pricing Plan: Start with Starter (free tier) or Pro for production
- Environment Variables: Click Add Env Environment to add required variables
At this stage, no infrastructure or runtime configuration is required. All infrastructure setup is handled automatically by Kuberns AI.
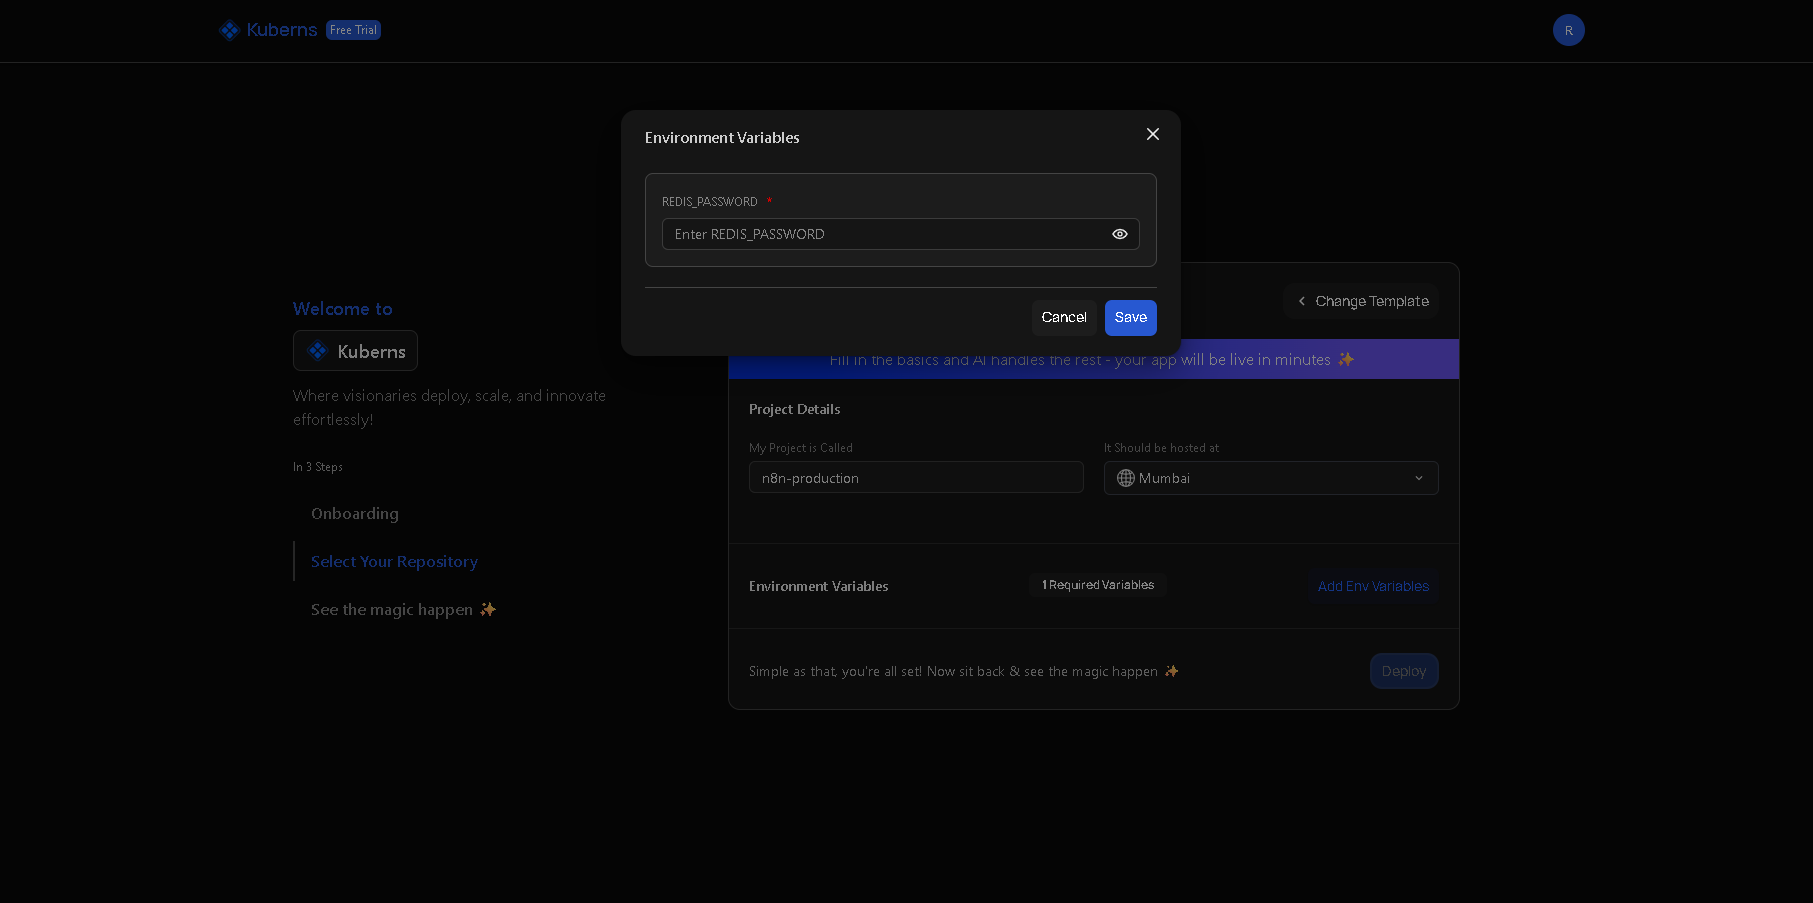
Step 4: Add Environment Variables
Environment variables are the only required manual configuration for deploying N8N on Kuberns.
Before deploying your N8N workflow automation, add the following environment variable. This allows N8N to connect with Redis for caching and queue management.
Required Environment Variables
| Environment Variable | Description |
|---|---|
REDIS_PASSWORD | Secret key for the Redis server, used for secure admin authentication |
How to Generate Secrets
For REDIS_PASSWORD, generate a secure random string.
Open your terminal and run:
# Generate REDIS_PASSWORD (24+ characters recommended)
openssl rand -base64 24
Copy the output and use it as your environment variable value.
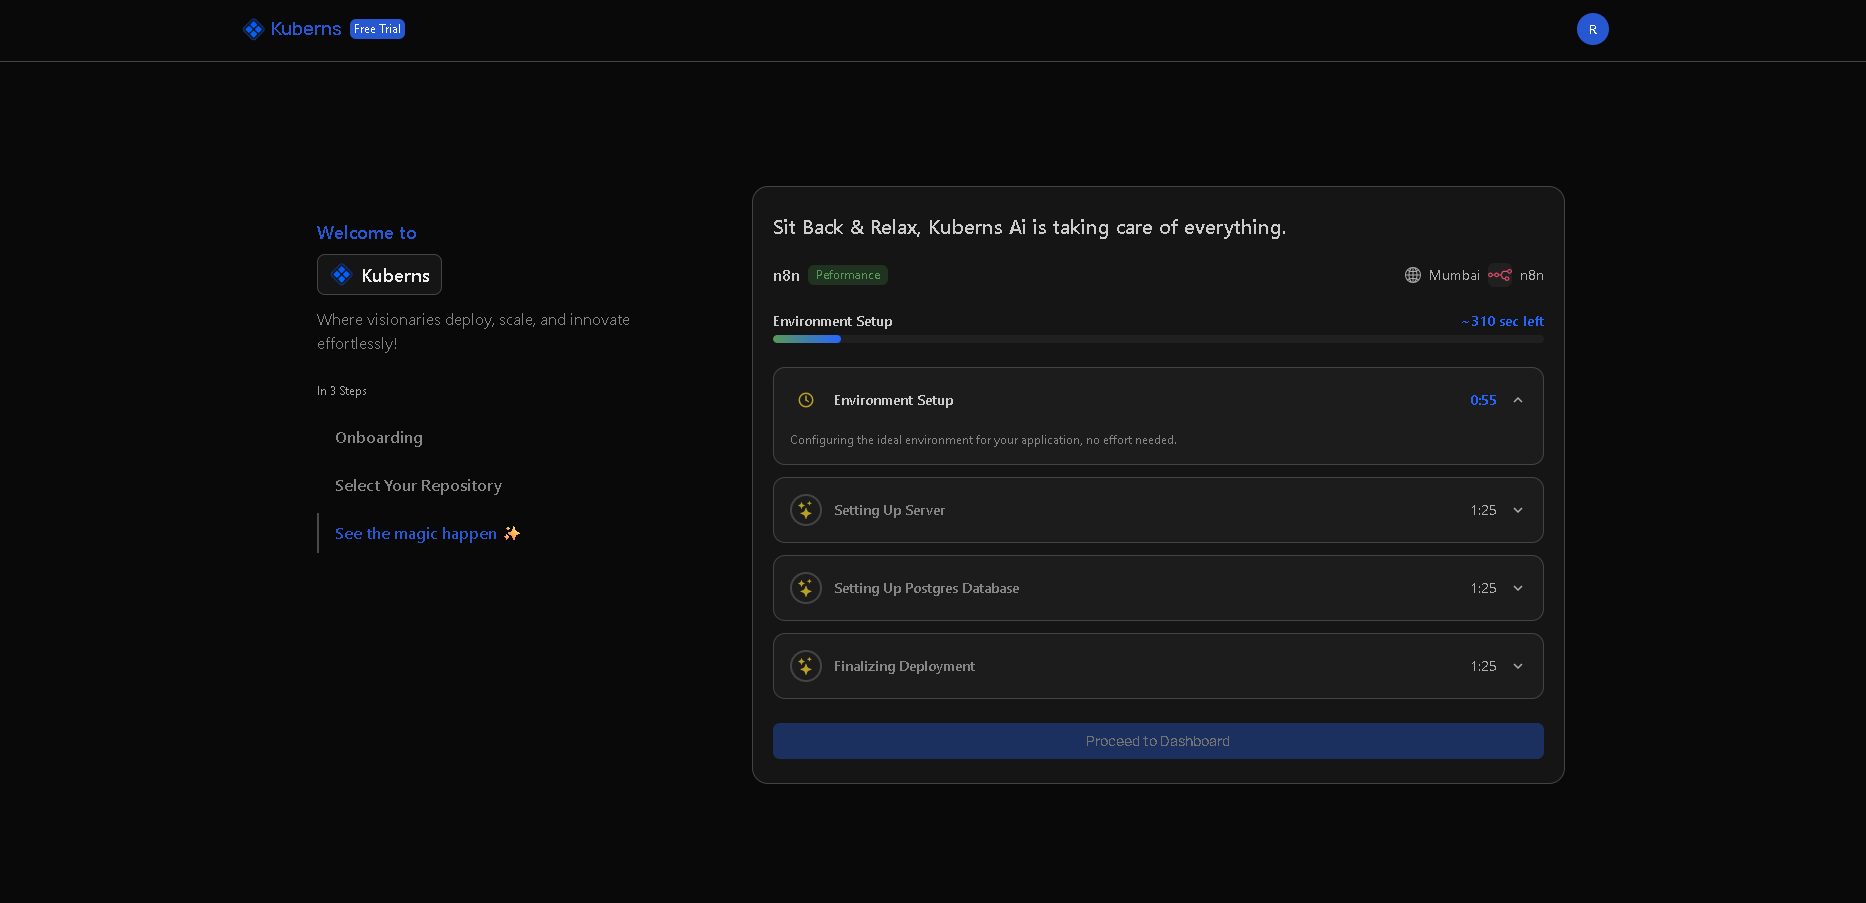
Step 5: Deploy
Once all required environment variables are added:
Click Deploy and Kuberns AI will automatically:
- Provision infrastructure including PostgreSQL database and Redis cache
- Configure networking and set up SSL/TLS certificates
- Enable SSL for secure HTTPS connections
- Start the N8N service with proper health checks
Deployment typically completes in 5–8 minutes.
No manual configurations required like on Render or Heroku. Kuberns AI handles everything automatically.
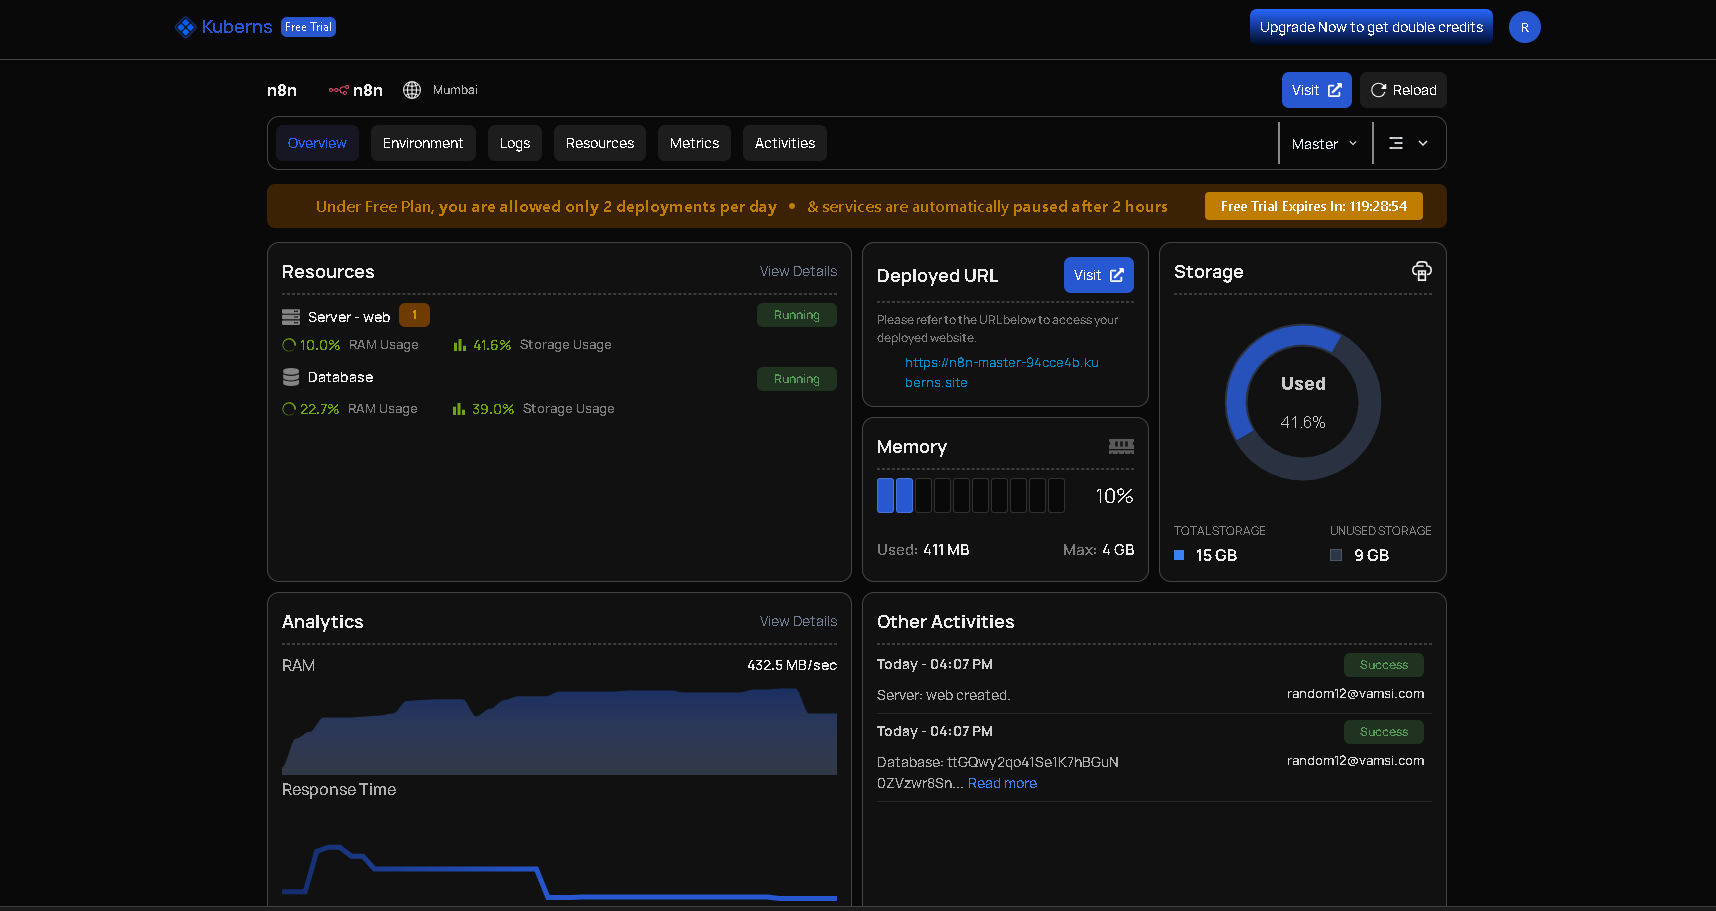
Accessing Your N8N Instance
Once deployment is complete, your workflow automation will be available at:
-
A default Kuberns-provided HTTPS URL Example:
https://your-app-name.kuberns.cloud -
SSL is enabled automatically
-
No manual certificate setup required
You can access the N8N interface and start building your automation workflows immediately.
Why Deploy n8n on Kuberns
Self-hosting N8N on Kuberns gives you:
- One-click deployment – No complex setup
- Production-ready setup – PostgreSQL, Redis, SSL, and monitoring included
- Zero DevOps work – No server management, database setup, or SSL configuration
- Cost-effective – Avoid expensive managed services, pay only for what you use
- Scalable – Easily scale resources as your workflow automation grows
Get started today and launch your N8N workflow automation in minutes, not days.
Support & Resources
- Official N8N Docs: https://docs.n8n.io
- GitHub Repository: https://github.com/n8n-io/n8n
- Kuberns Support: Available in your dashboard