Bytebot Deployment Guide on Kuberns | Deploy in One Click
This guide explains how to deploy Bytebot on Kuberns using the one-click template. The entire deployment process is designed to be simple and automated. You do not need to configure servers, write Docker files, or manage infrastructure.
Kuberns uses AI to handle the complete deployment process. You only select the template, add one API key, and click deploy. Everything else is handled automatically.
Before You Begin
Before starting, make sure you have:
- A Kuberns account
- An API key from one of these providers:
- OpenAI
- Google Gemini
- Claude
- Anthropic
No cloud provider accounts, GitHub repositories, or infrastructure knowledge are required.
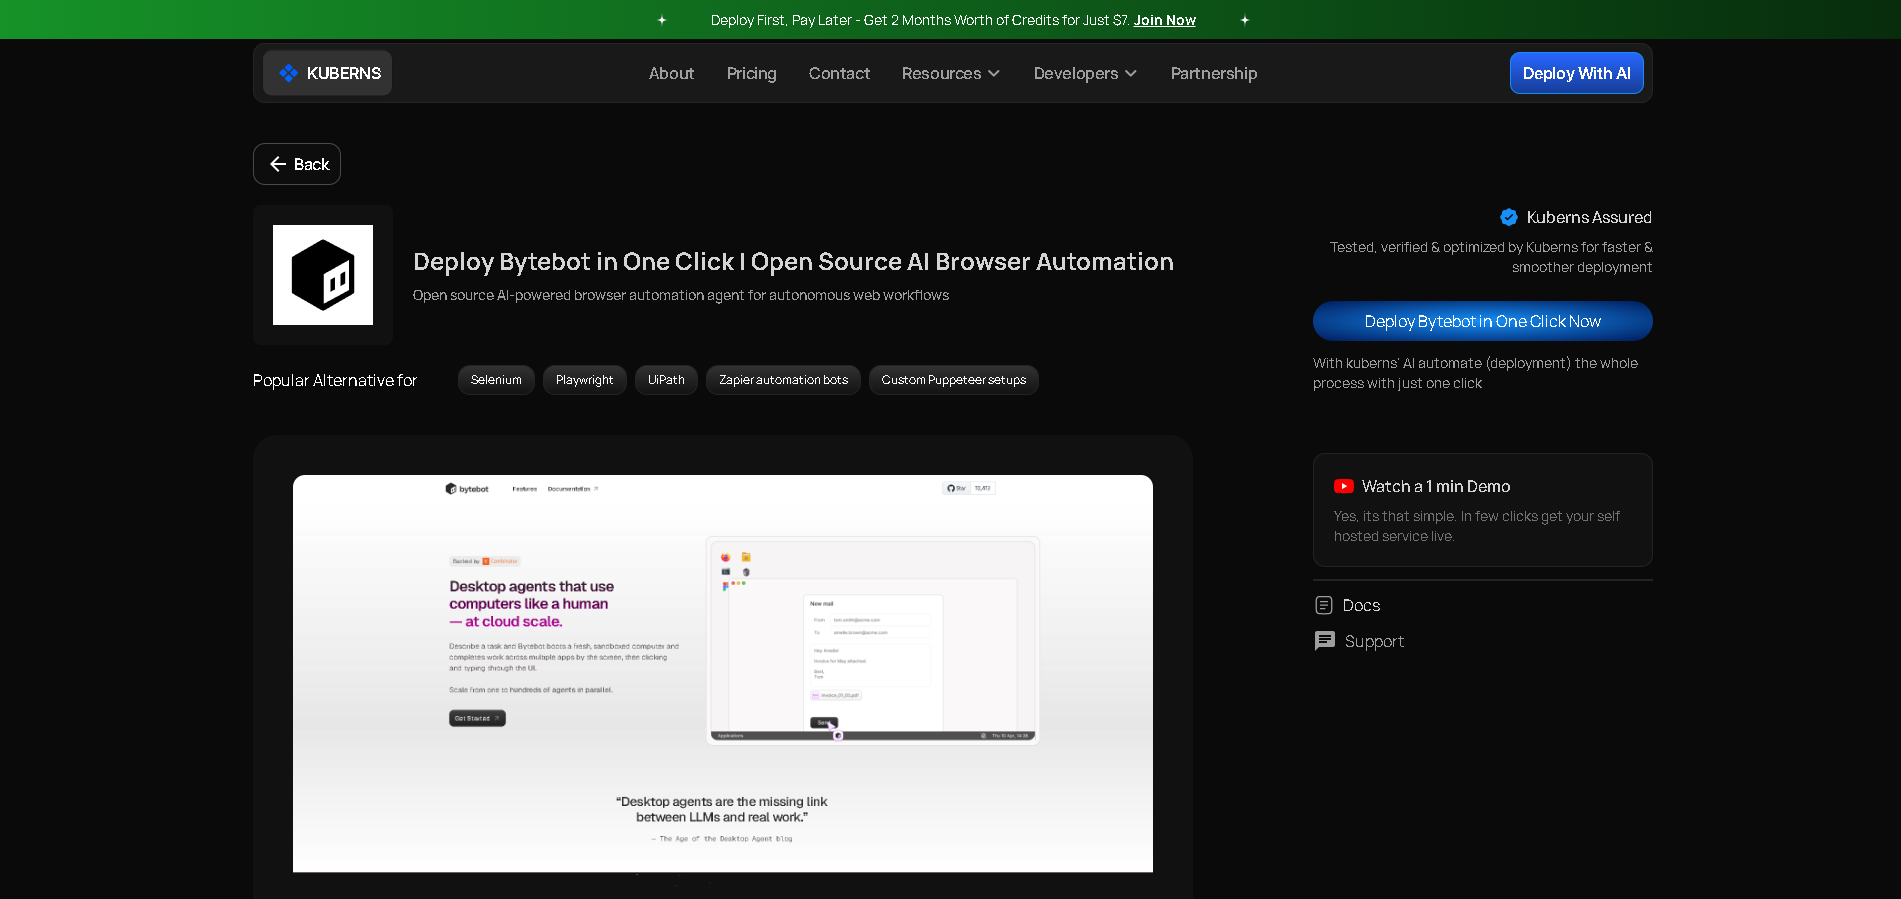
Step 1: Open the Bytebot One-Click Template
- Go to the Templates page on Kuberns
- Find and select the Bytebot One-Click Template
- Click on Deploy to begin the deployment process
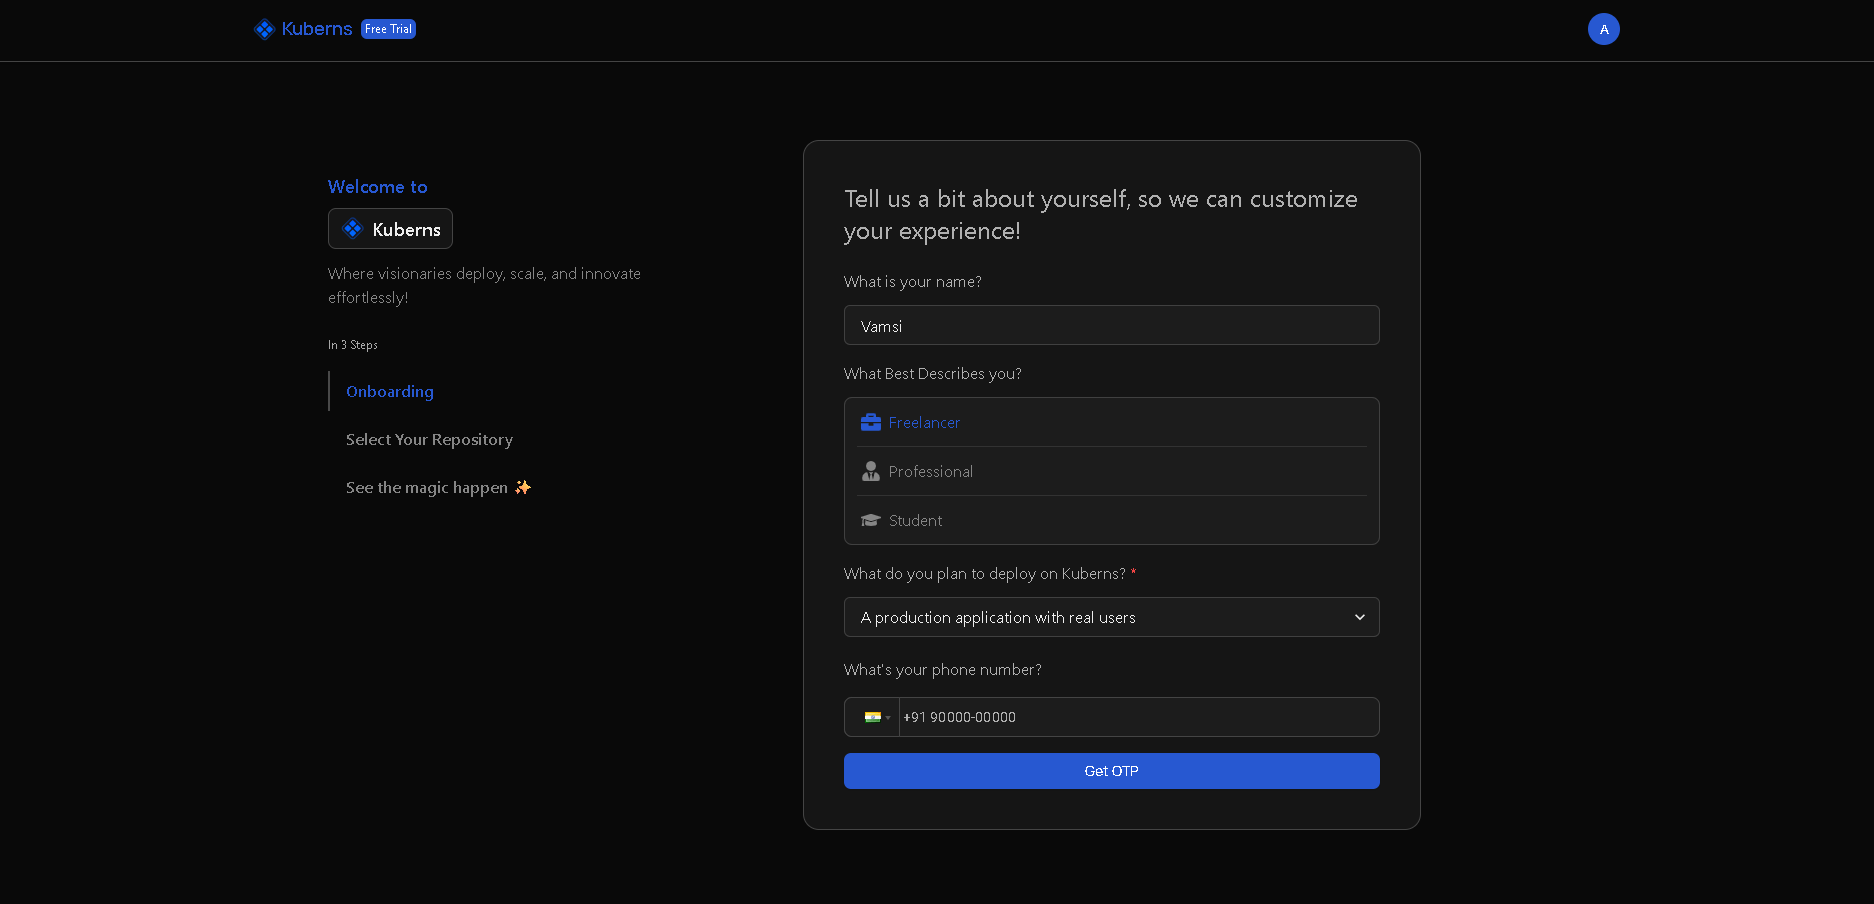
Step 2: Sign Up on Kuberns
- Sign up using your email or connect with GitHub / Google
- Complete the brief onboarding process (takes 2 minutes)
You are now ready to deploy.
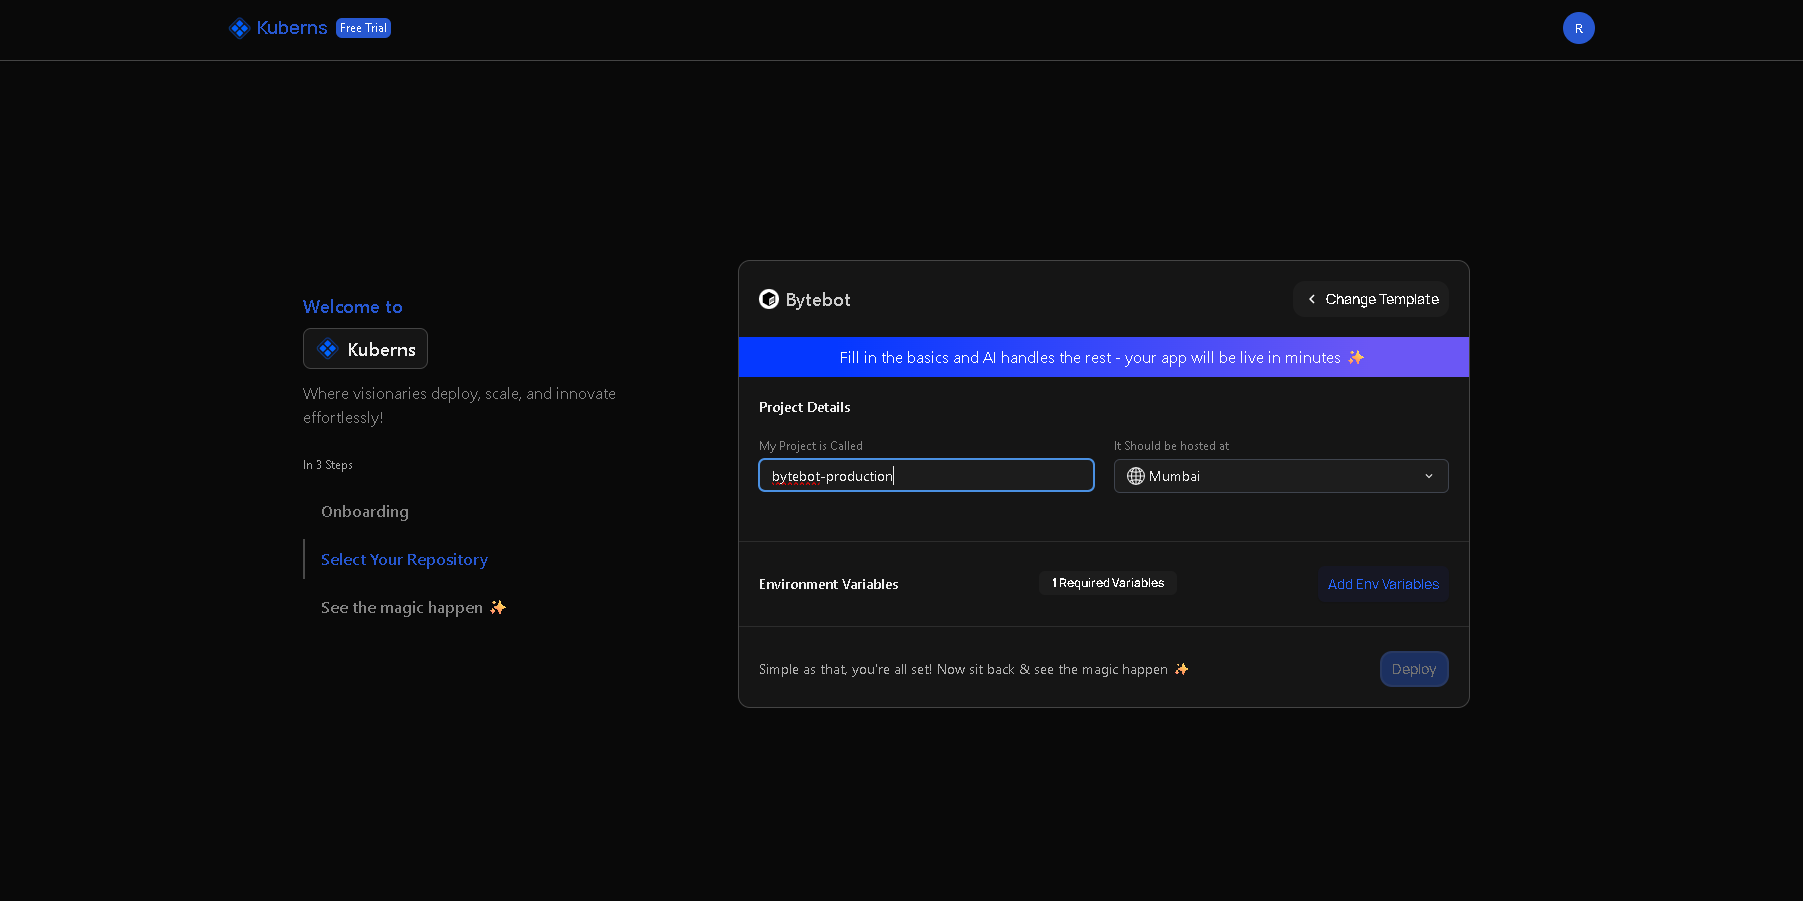
Step 3: Fill in Basic Project Details
Fill in the basic service details:
- Project Name:
bytebot-production(or your preferred name) - Environment Variables: Click Add Env Environment to add required variables
At this stage, no infrastructure or runtime configuration is required. All infrastructure-related setup is handled automatically by Kuberns AI.
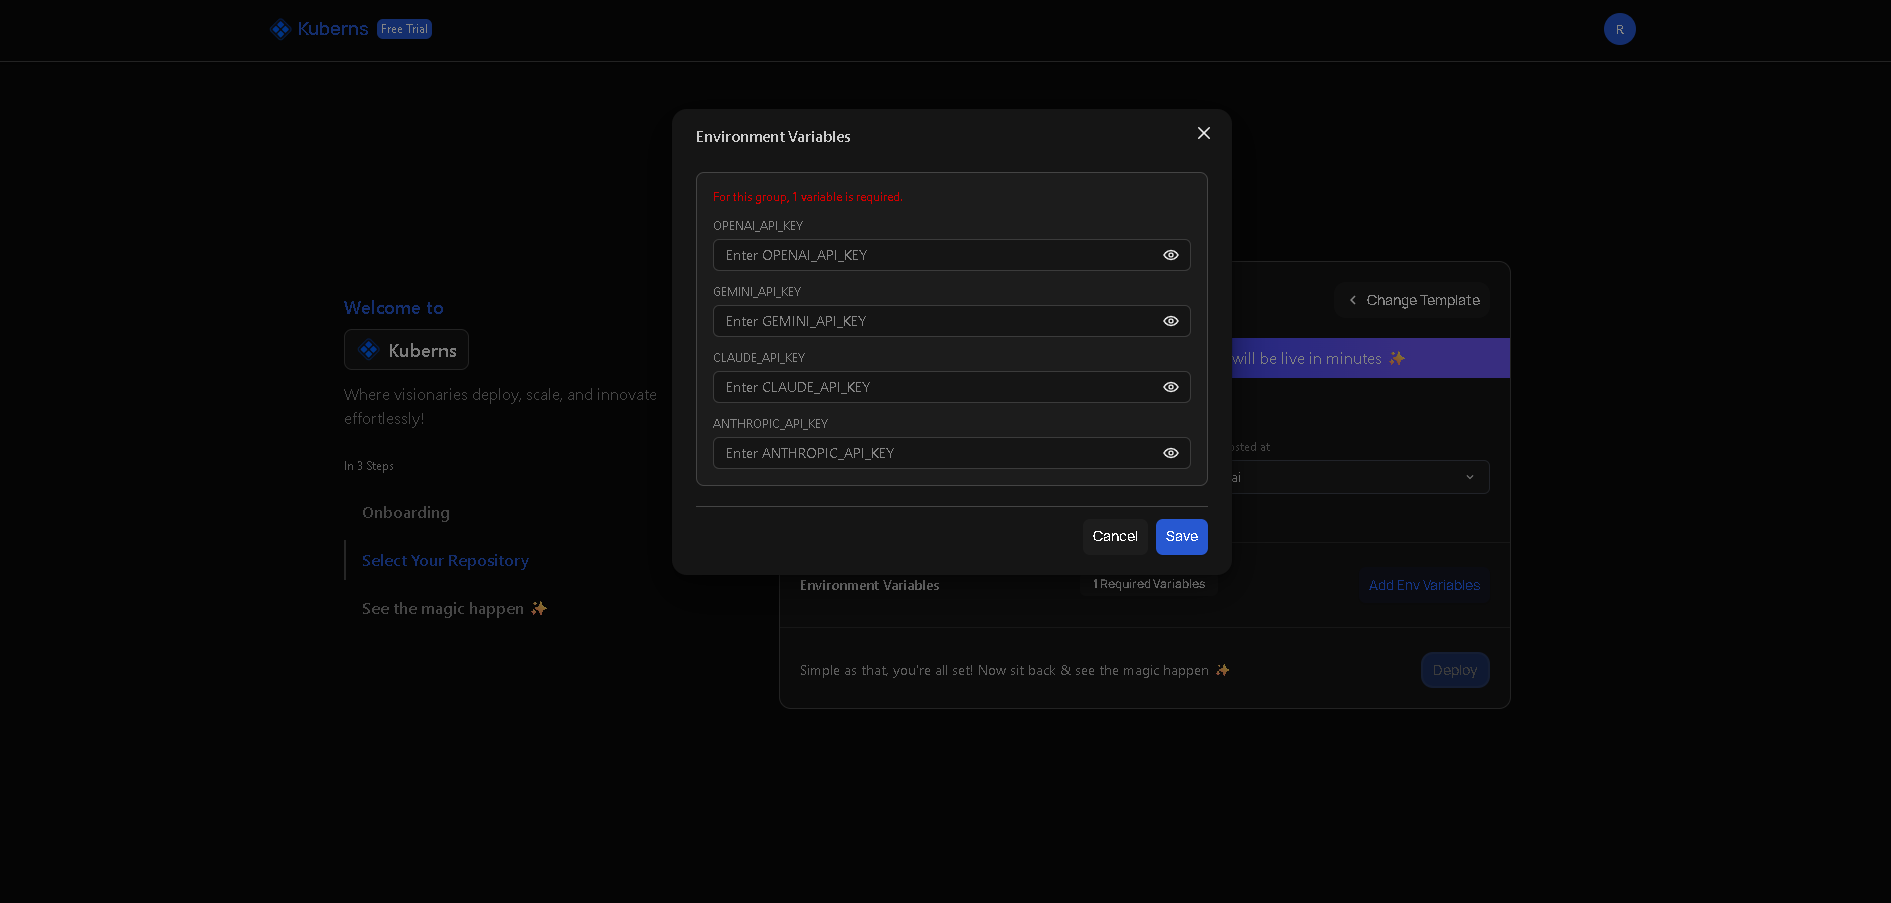
Step 4: Add Your AI Provider API Key
You only need to provide one API key.
Choose any one of the following environment variables:
OPENAI_API_KEYGEMINI_API_KEYCLAUDE_API_KEYANTHROPIC_API_KEY
That's it.
All other infrastructure, runtime, and browser configuration is handled automatically.
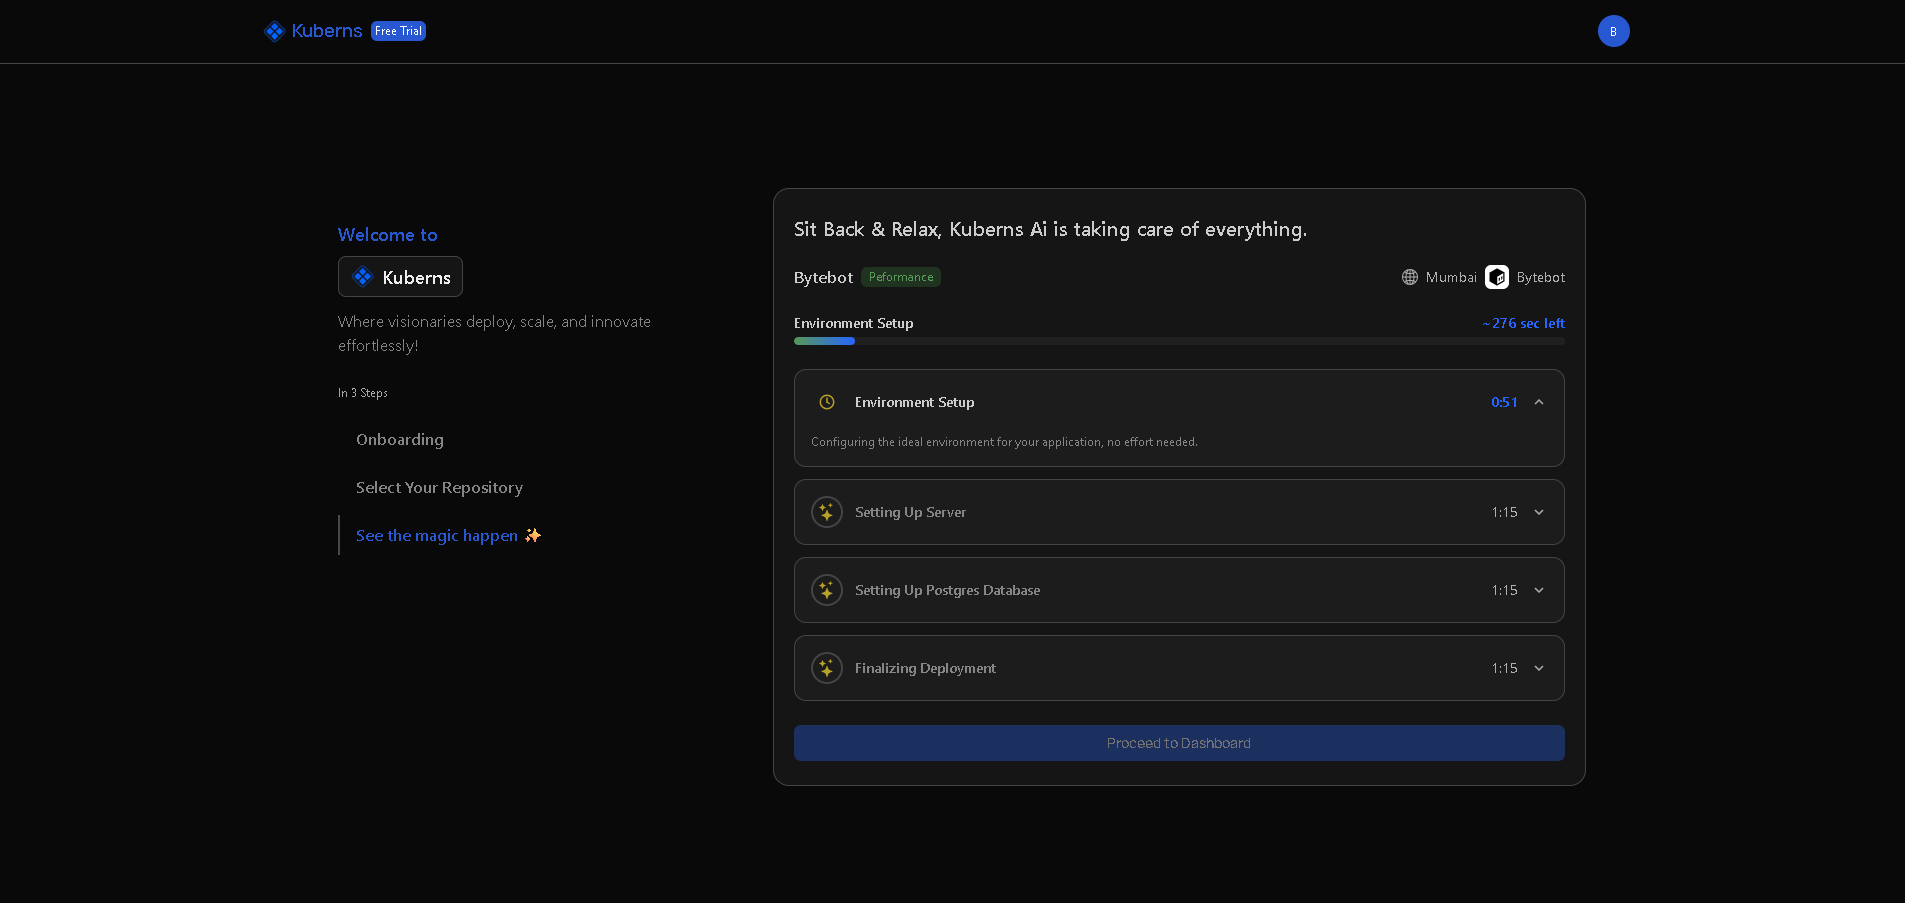
Step 5: Click Deploy
Once your API key is added, click Deploy.
Kuberns AI will automatically:
- Build the application
- Provision infrastructure including PostgreSQL database and Redis cache
- Configure networking and set up SSL/TLS certificates
- Enable SSL for secure HTTPS connections
- Start the Bytebot service with proper health checks
Deployment typically completes in 5–8 minutes.
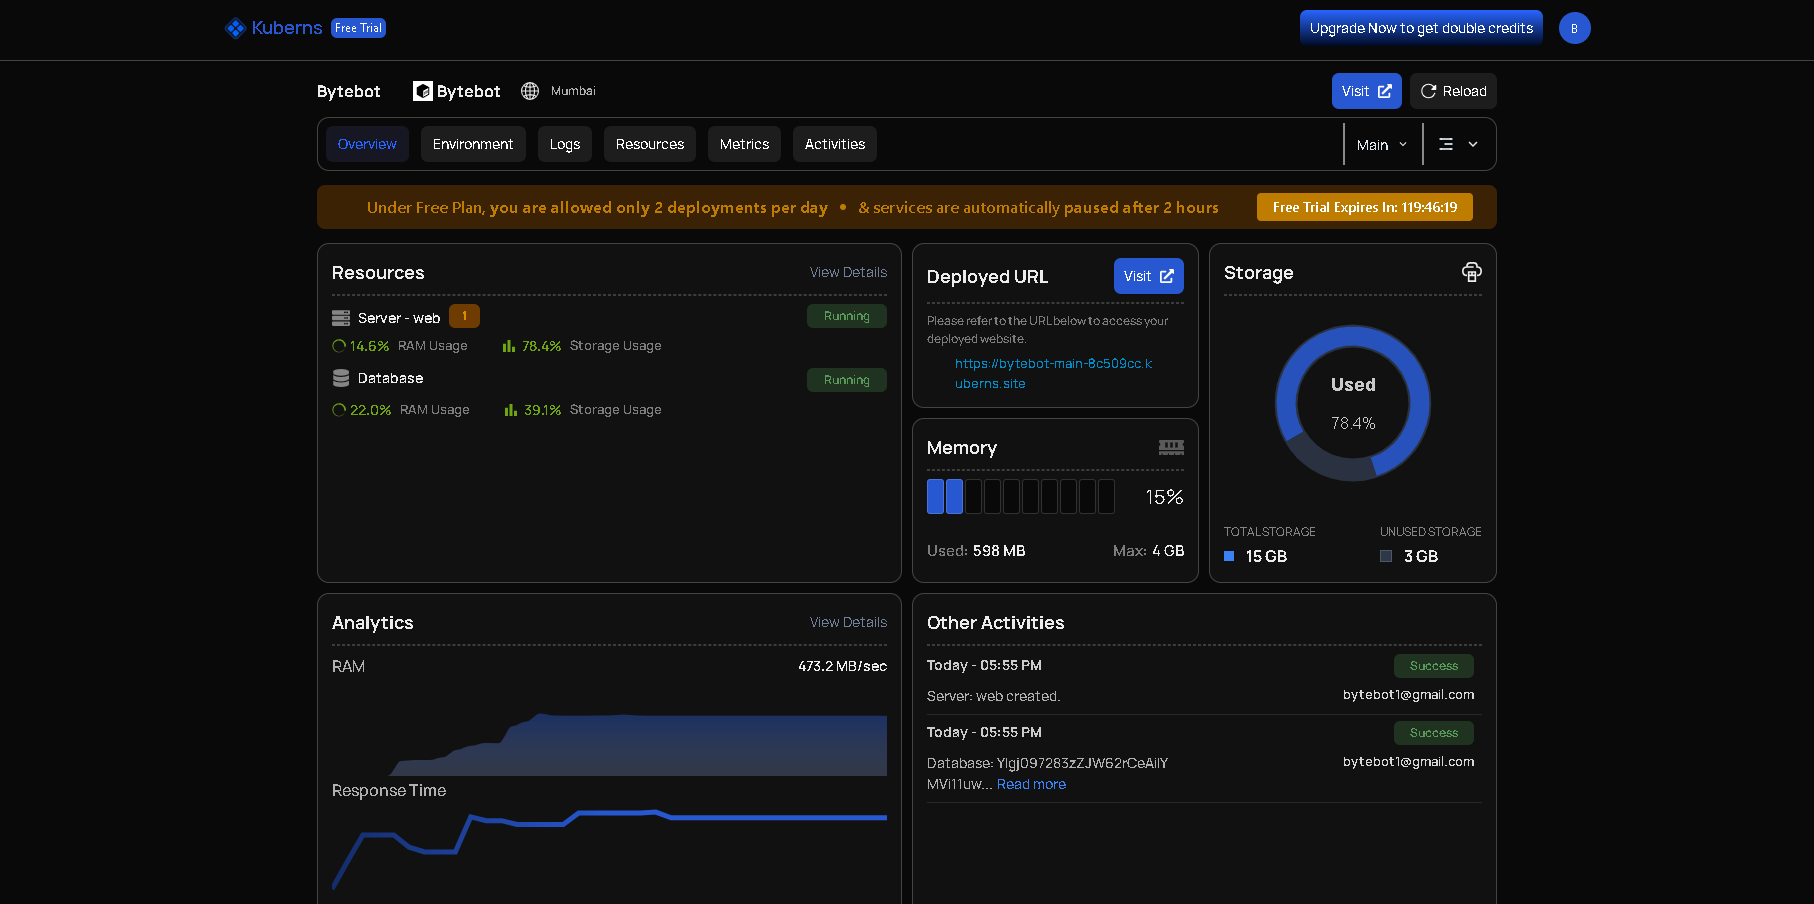
When the deployment finishes, your Bytebot application is live.
Accessing Your Bytebot Instance
After deployment, click the application URL shown in the Kuberns dashboard. This opens the Bytebot interface in your browser.
Once deployment is complete, your browser automation agent will be available at:
-
A default Kuberns-provided HTTPS URL Example:
https://your-app-name.kuberns.cloud -
SSL is enabled automatically
-
No manual certificate setup required
You can access the Bytebot interface and start automating browser tasks immediately.
Why Deploy Bytebot on Kuberns
Deploying Bytebot on Kuberns gives you:
- Zero infrastructure setup – No servers, containers, or cloud services to manage
- Minimal configuration – Only one API key is required
- One-click deployment – Select template, add API key, click deploy
- AI-driven deployment – Kuberns AI configures runtime, provisions infrastructure, and sets up the environment automatically
- Production-ready by default – Runs 24/7 with SSL, monitoring, and reliable infrastructure already configured
Support & Resources
- Official Bytebot Docs: Check GitHub repository
- GitHub Repository: https://github.com/bytedance/bytebot
- Kuberns Support: Available in your dashboard