Deploy Medusa JS on Kuberns
This guide explains how to self-host Medusa JS on Kuberns using the official one-click template.
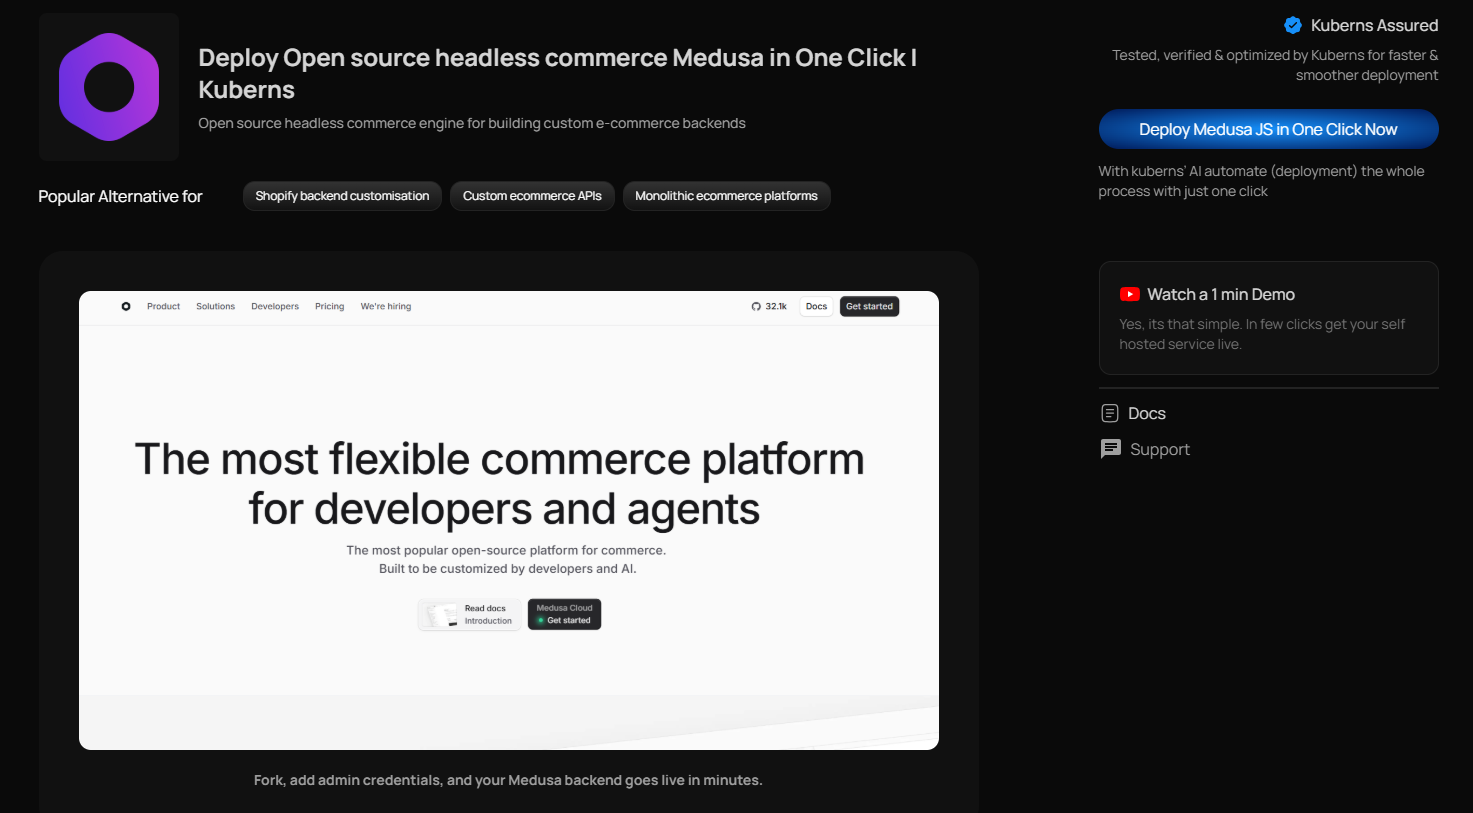
Medusa is an open-source headless commerce engine built with Node.js. It allows you to build custom e-commerce backends with full control over products, orders, payments, and APIs. Unlike traditional SaaS e-commerce platforms, Medusa gives you complete ownership of your backend logic and customisation.
Kuberns simplifies the self-hosting Medusa process by providing a production-ready one-click template that handles infrastructure automatically.
Before You Begin
Before deploying Medusa on Kuberns, make sure you have:
- A Kuberns account
- A GitHub account
- Basic familiarity with Medusa
You do not need to:
- Configure databases manually
- Set up reverse proxies
- Manage SSL certificates
- Handle persistent storage
- Write Dockerfiles
Kuberns handles all infrastructure configuration automatically.
Steps for Self-Hosting Medusa JS on Kuberns
Deploying Medusa on Kuberns is done using AI with just one click deployment template combined with your own GitHub repository.
Kuberns handles the runtime, storage, and infrastructure automatically. You only configure basic project details and the required admin credentials.
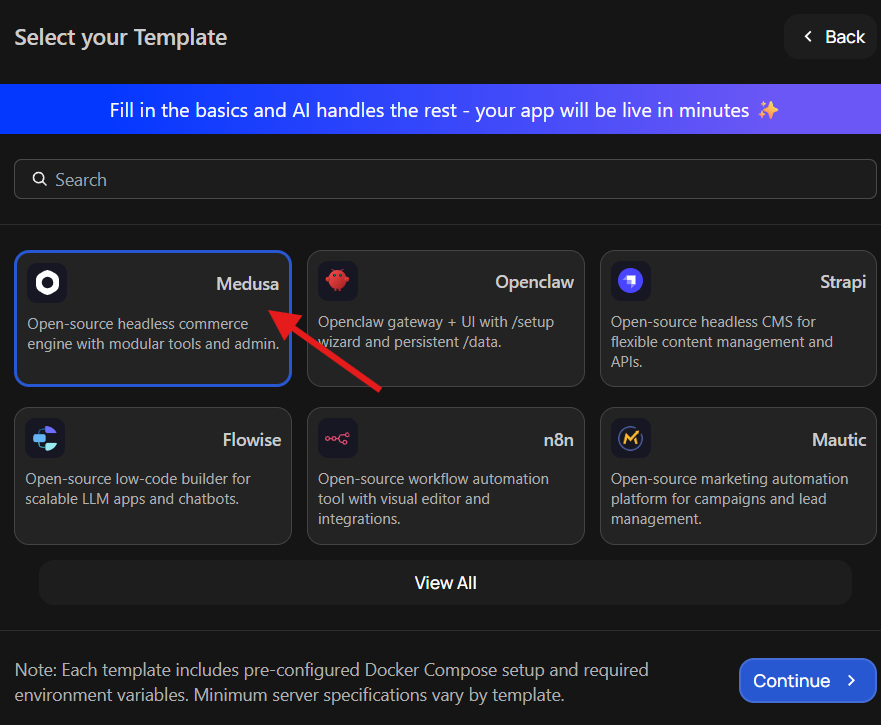
Step 1: Open the Medusa One-Click Template
Start by going to the Templates page on Kuberns. Choose the Medusa JS one-click AI template and click Deploy.
This template is already prepared to run Medusa in a production environment. You are not starting from scratch or building a container manually. The correct runtime configuration and storage setup are already handled in the background.
Once you select the template, you will be taken directly to the deployment screen, where you can begin configuring your project.
Step 2: Fork the Repository, Connect GitHub, and Add Environment Variables
Medusa is a fully customisable commerce backend. Because of that, you need your own copy of the starter repository. Forking the repository gives you complete control over your store logic, payment integrations, and any custom features you want to add later.
After forking the repository to your GitHub account, come back to the Kuberns deployment screen and click Connect & Configure under GitHub Configuration and select your forked repository.
Next, fill in the basic project details such as your project name, server region, and preferred resource plan.
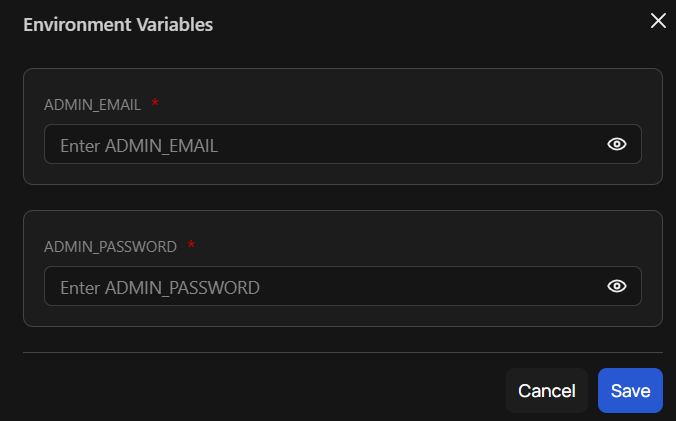
Medusa requires two environment variables to create the initial admin account. You need to add:
ADMIN_EMAILADMIN_PASSWORD
These credentials will be used to log into the Medusa admin dashboard after deployment. Choose a secure email and a strong password. These values are stored securely inside Kuberns and are not publicly exposed.
Once these details are added, you are ready to deploy.
Step 3: Click Deploy
After your repository is connected and the required environment variables are added, simply click Deploy.
From this point, Kuberns handles everything automatically. It builds your Medusa backend, configures the runtime, sets up storage so your data persists, and exposes the application securely with HTTPS.
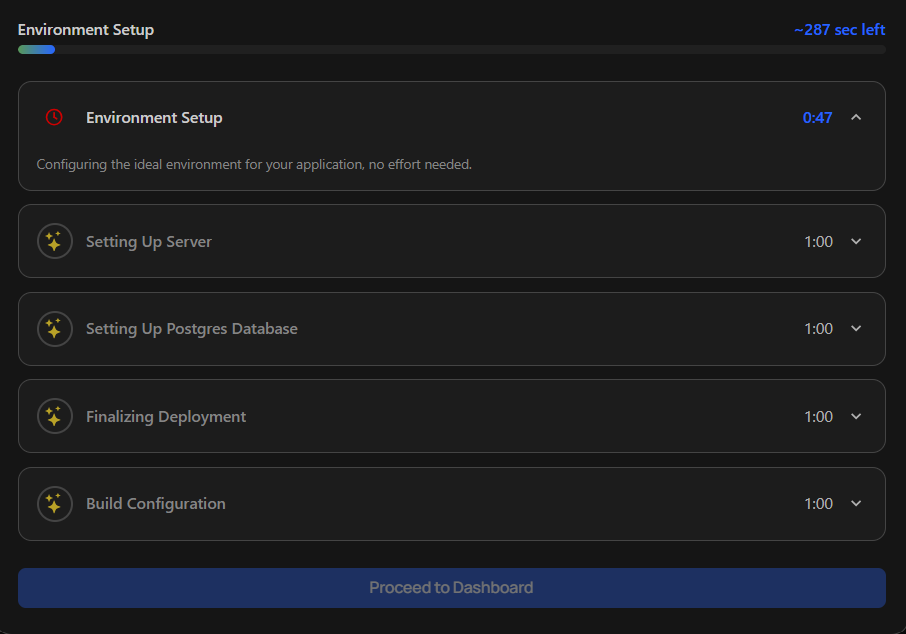
You can watch the logs update in real time while the deployment runs in the background.
When it finishes, you will see a live URL in your dashboard. Open it, log in using the admin email and password you set earlier, and your Medusa backend will be up and running.
Your commerce backend is now live and production-ready.
How to Set the Required Environment Variables for Medusa
Medusa requires two environment variables during deployment:
ADMIN_EMAILADMIN_PASSWORD
These are used to automatically create your first admin user when the application starts.
| Variable Name | Purpose | How to Set It |
|---|---|---|
| ADMIN_EMAIL | Email address used to log into the Medusa admin dashboard | Choose a valid email address you control |
| ADMIN_PASSWORD | Password for the initial Medusa admin account | Create a strong, secure password |
Important Security Notes
- Never share them publicly.
- Store them only inside Kuberns environment variables.
- Keep them consistent for your production environment.
Accessing Your Medusa Live Link
Once deployment finishes, your LIVE URL will be available in the Kuberns dashboard.
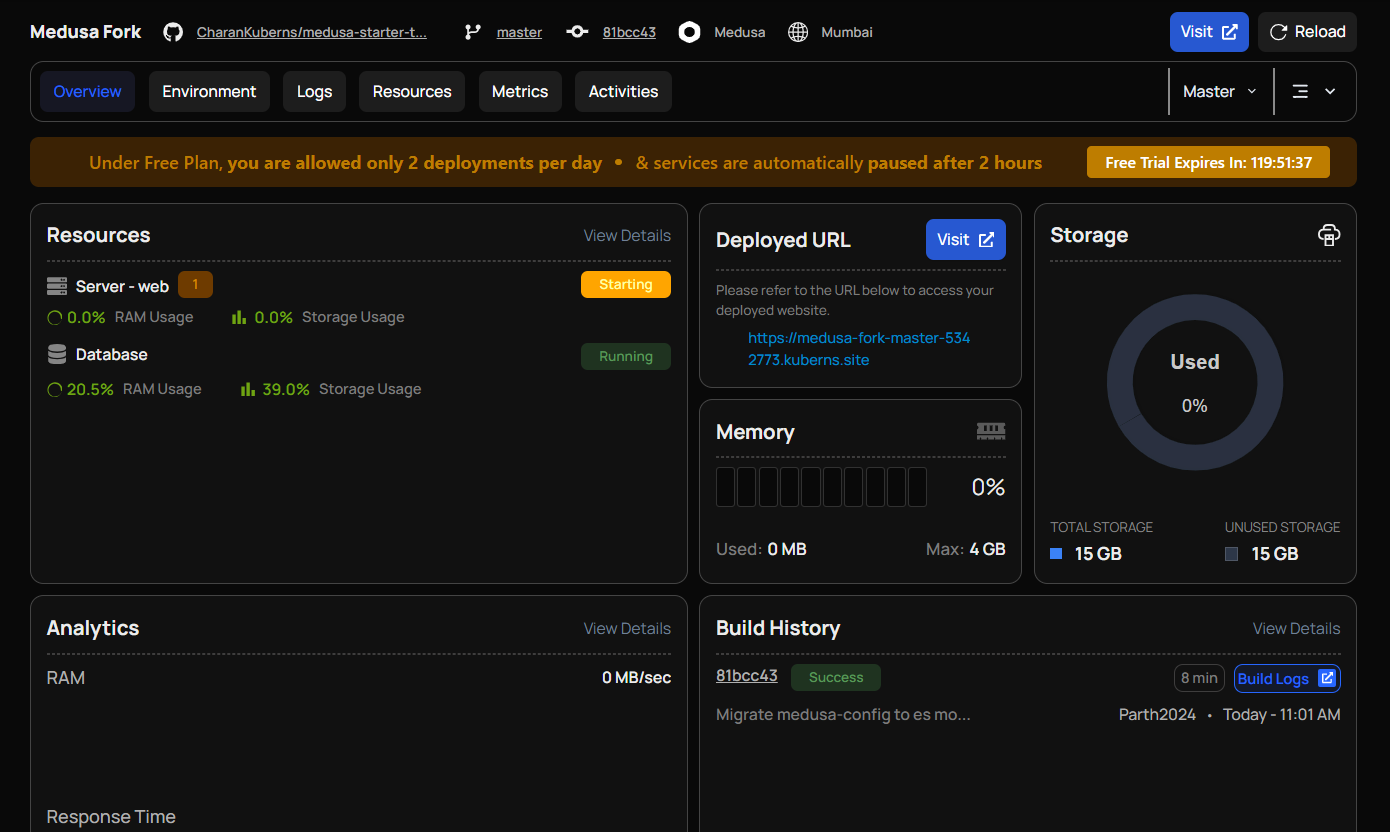
You will receive:
- A default Kuberns-provided HTTPS URL
- SSL enabled automatically
- No manual certificate setup required
Your Medusa backend is now running in production.
Why Deploy Medusa on Kuberns
- Full Control with Your Own Repository: You deploy your own forked Medusa project, giving you complete flexibility to customise commerce logic, payment providers, and APIs.
- Production-Ready by Default: The correct Node.js runtime, storage, and networking are configured automatically.
- Secure Admin Setup: Admin credentials are stored securely as environment variables and not exposed publicly.
- Automatic HTTPS: Your Medusa backend is exposed with a secure HTTPS URL. No manual SSL setup required.
- No Infrastructure Management: You don't need to manage servers, containers, reverse proxies, or runtime configurations.
- Built-In Logs and Monitoring: Real-time logs and resource usage metrics are available directly from the Kuberns dashboard.
- Scalable When Needed: You can upgrade resources without manually reconfiguring your deployment.
- Focus on Commerce, Not Servers: Spend time building your e-commerce backend instead of handling infrastructure.