Getting Started with Kuberns
Kuberns is your AI-powered Cloud Autopilot, built to simplify cloud deployment, scaling, and DevOps automation. Whether you're a student, freelancer or a scaling startup, you can deploy faster than ever without touching YAML or configuring servers.
Let’s get your first app live in just a few clicks. With Kuberns, everything from on-boarding to deployment is smart, automated, and blazing fast. Here’s how to go from signup to launch in under 10 minutes.
Step-1: Sign Up and On-Board Yourself
- Head over to Kuberns.com.
- Click on “Deploy for Free”, on the top right.
- Fill up basic Details, Verify your Phone Number
- That’s it you're officially onboard!
Step 2: Connect your Repository
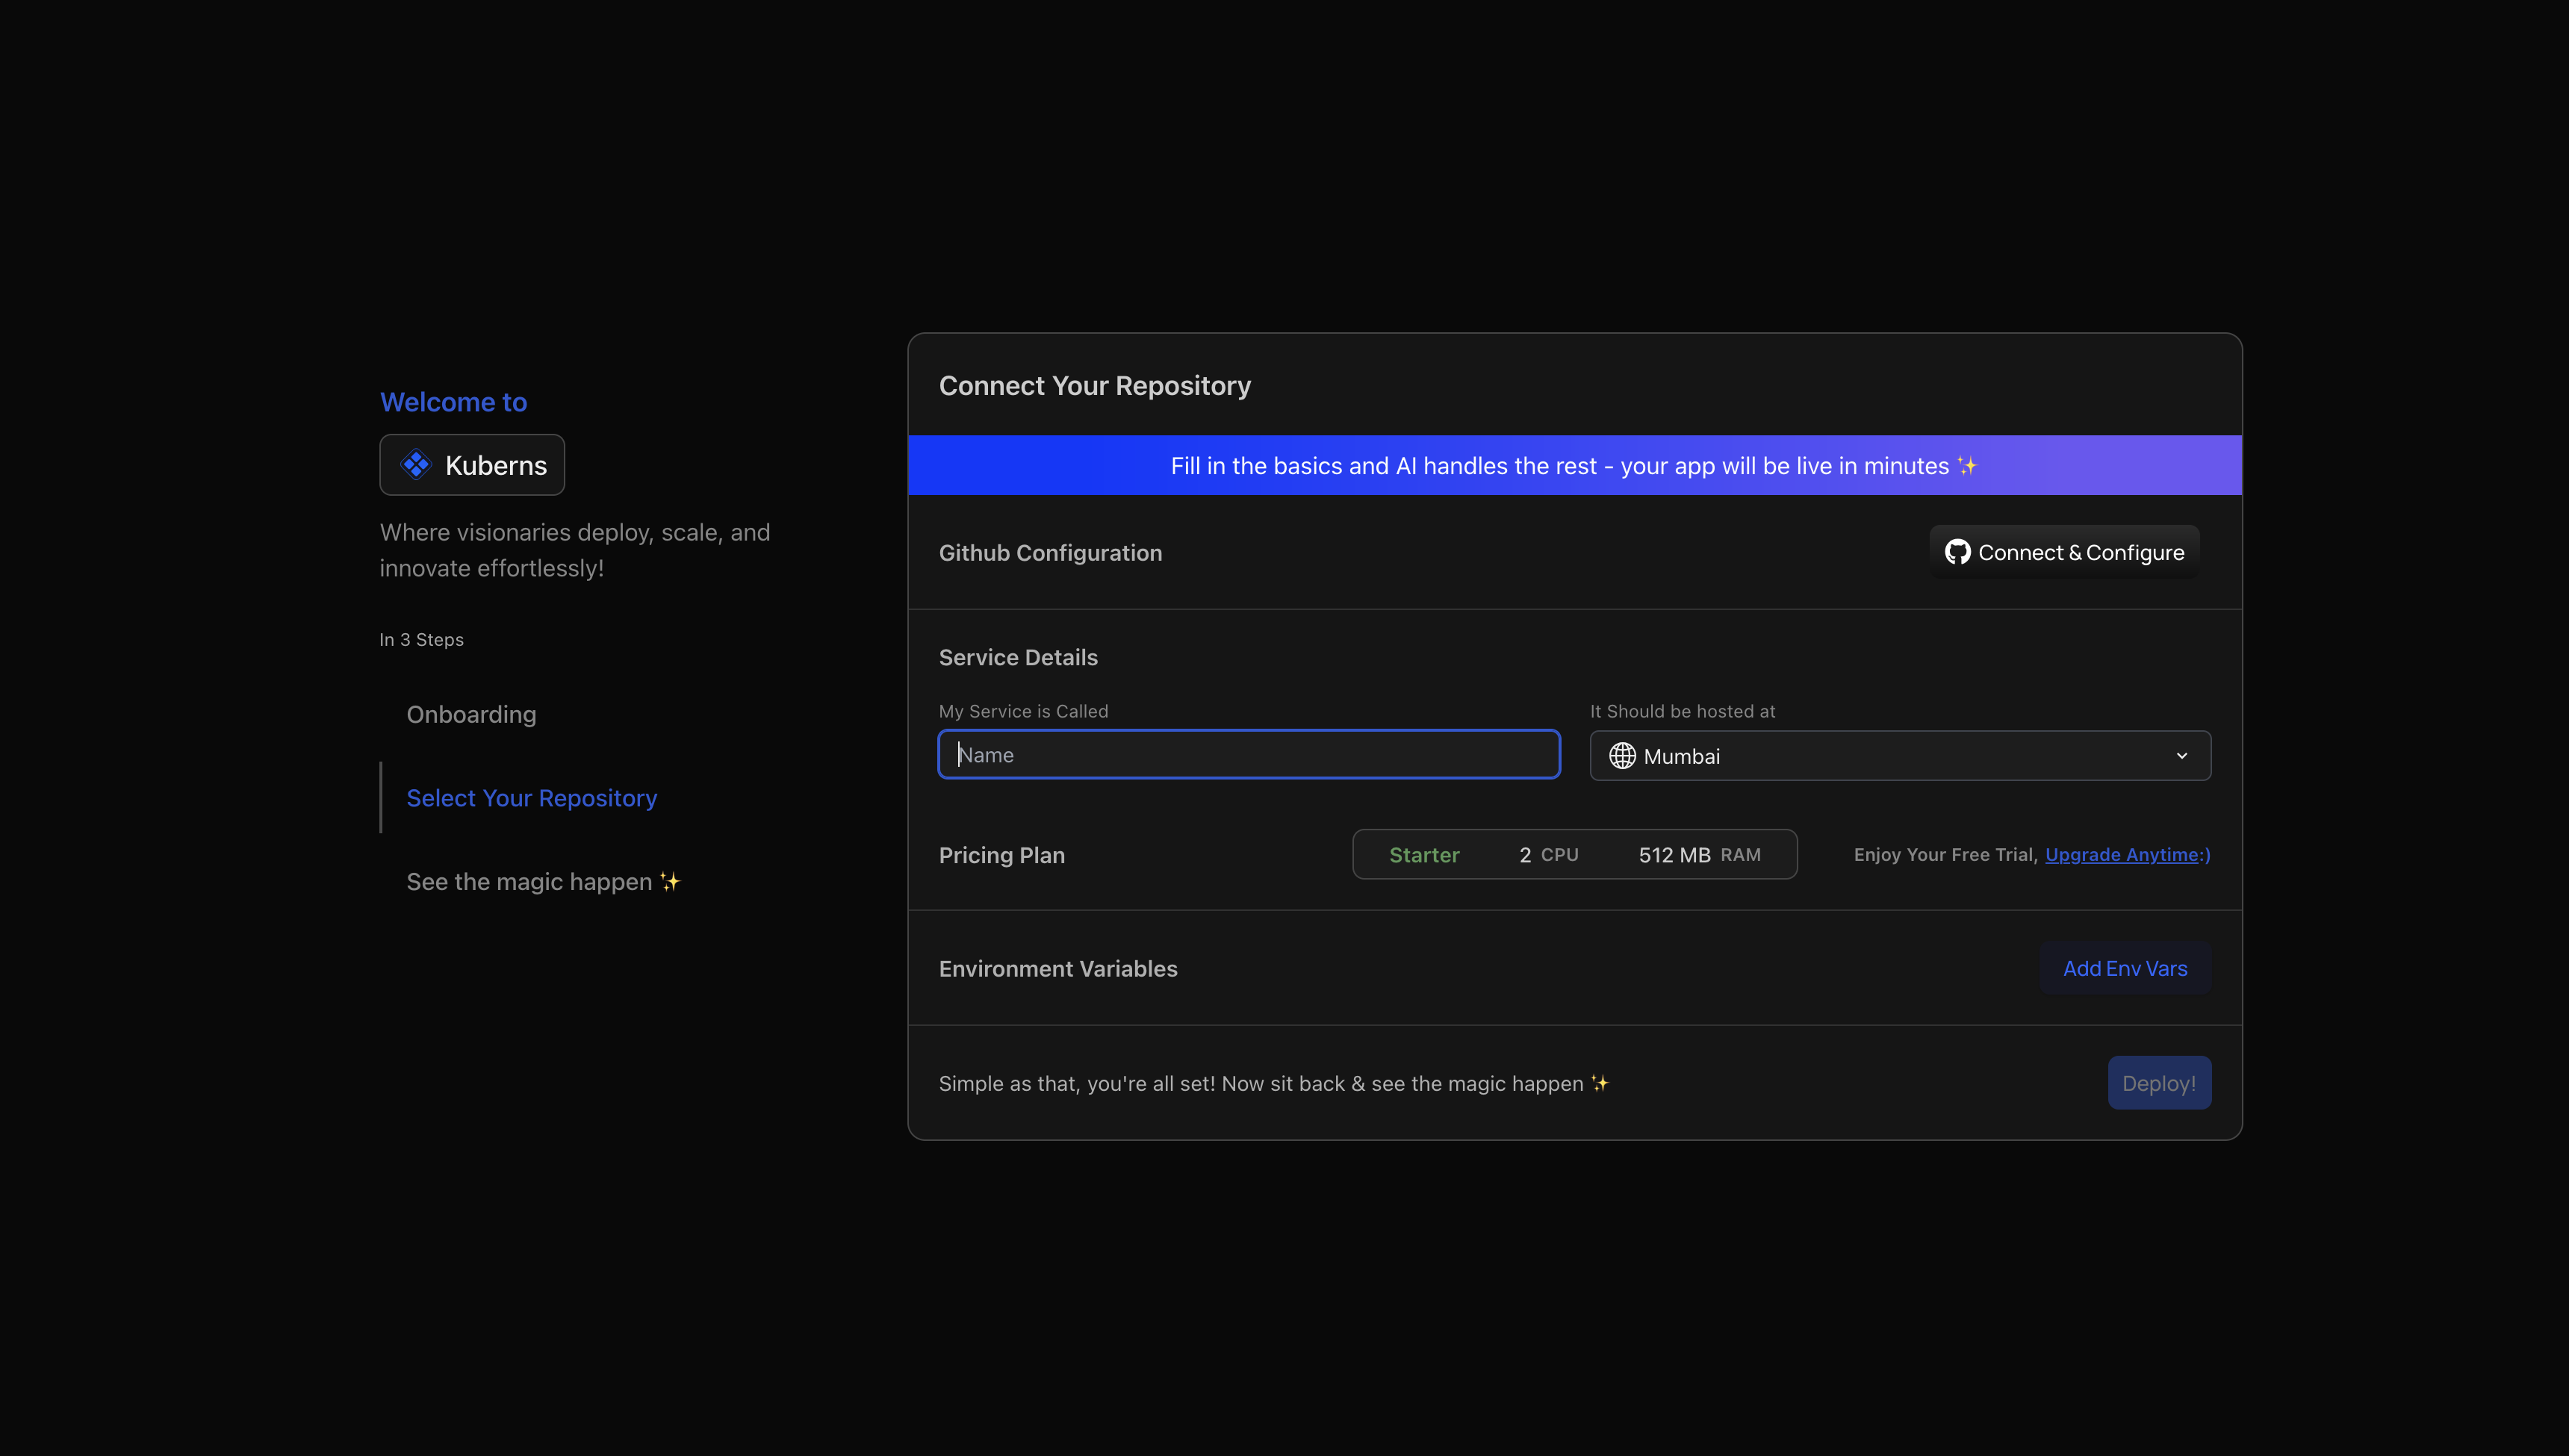
- Click on “Connect and Configure”, to connect your GitHub Repository
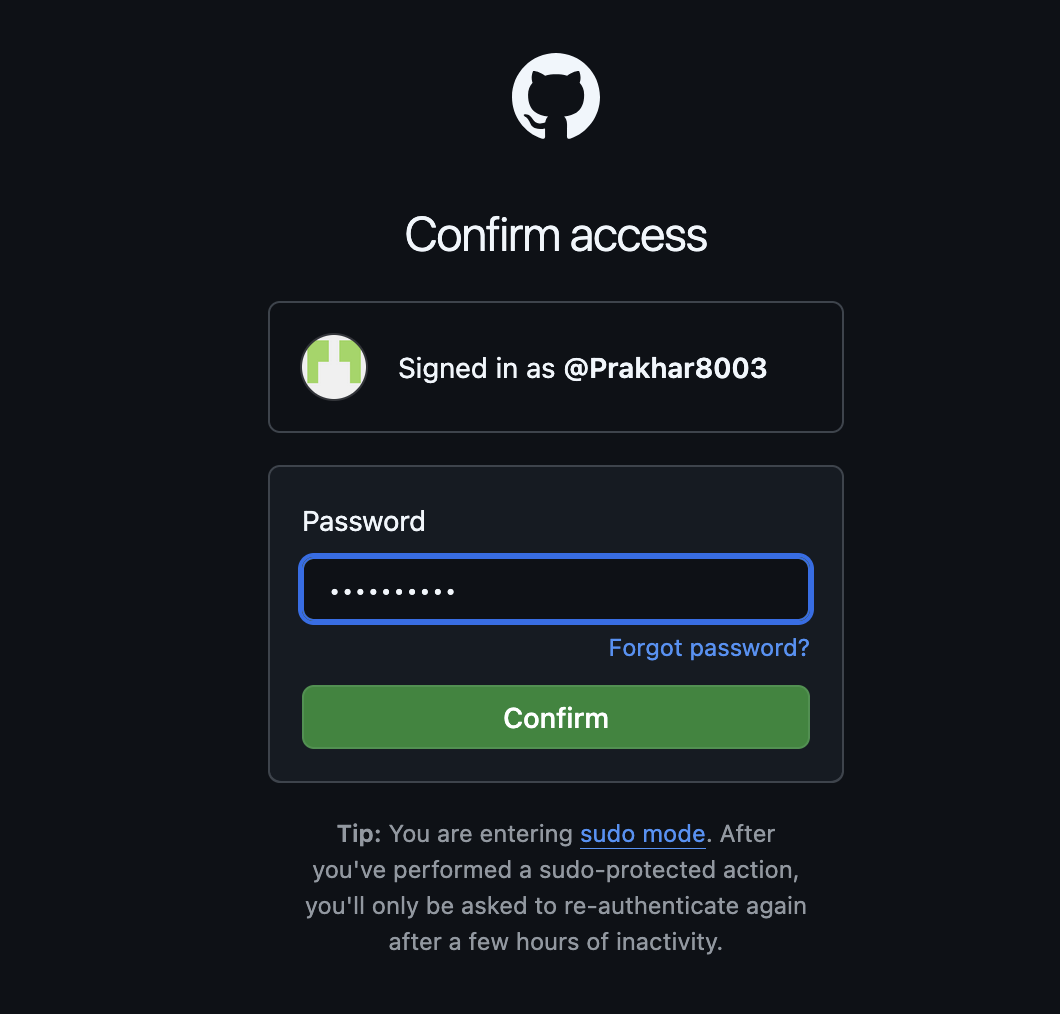
- Enter your GitHub ID and Password and Confirm Access
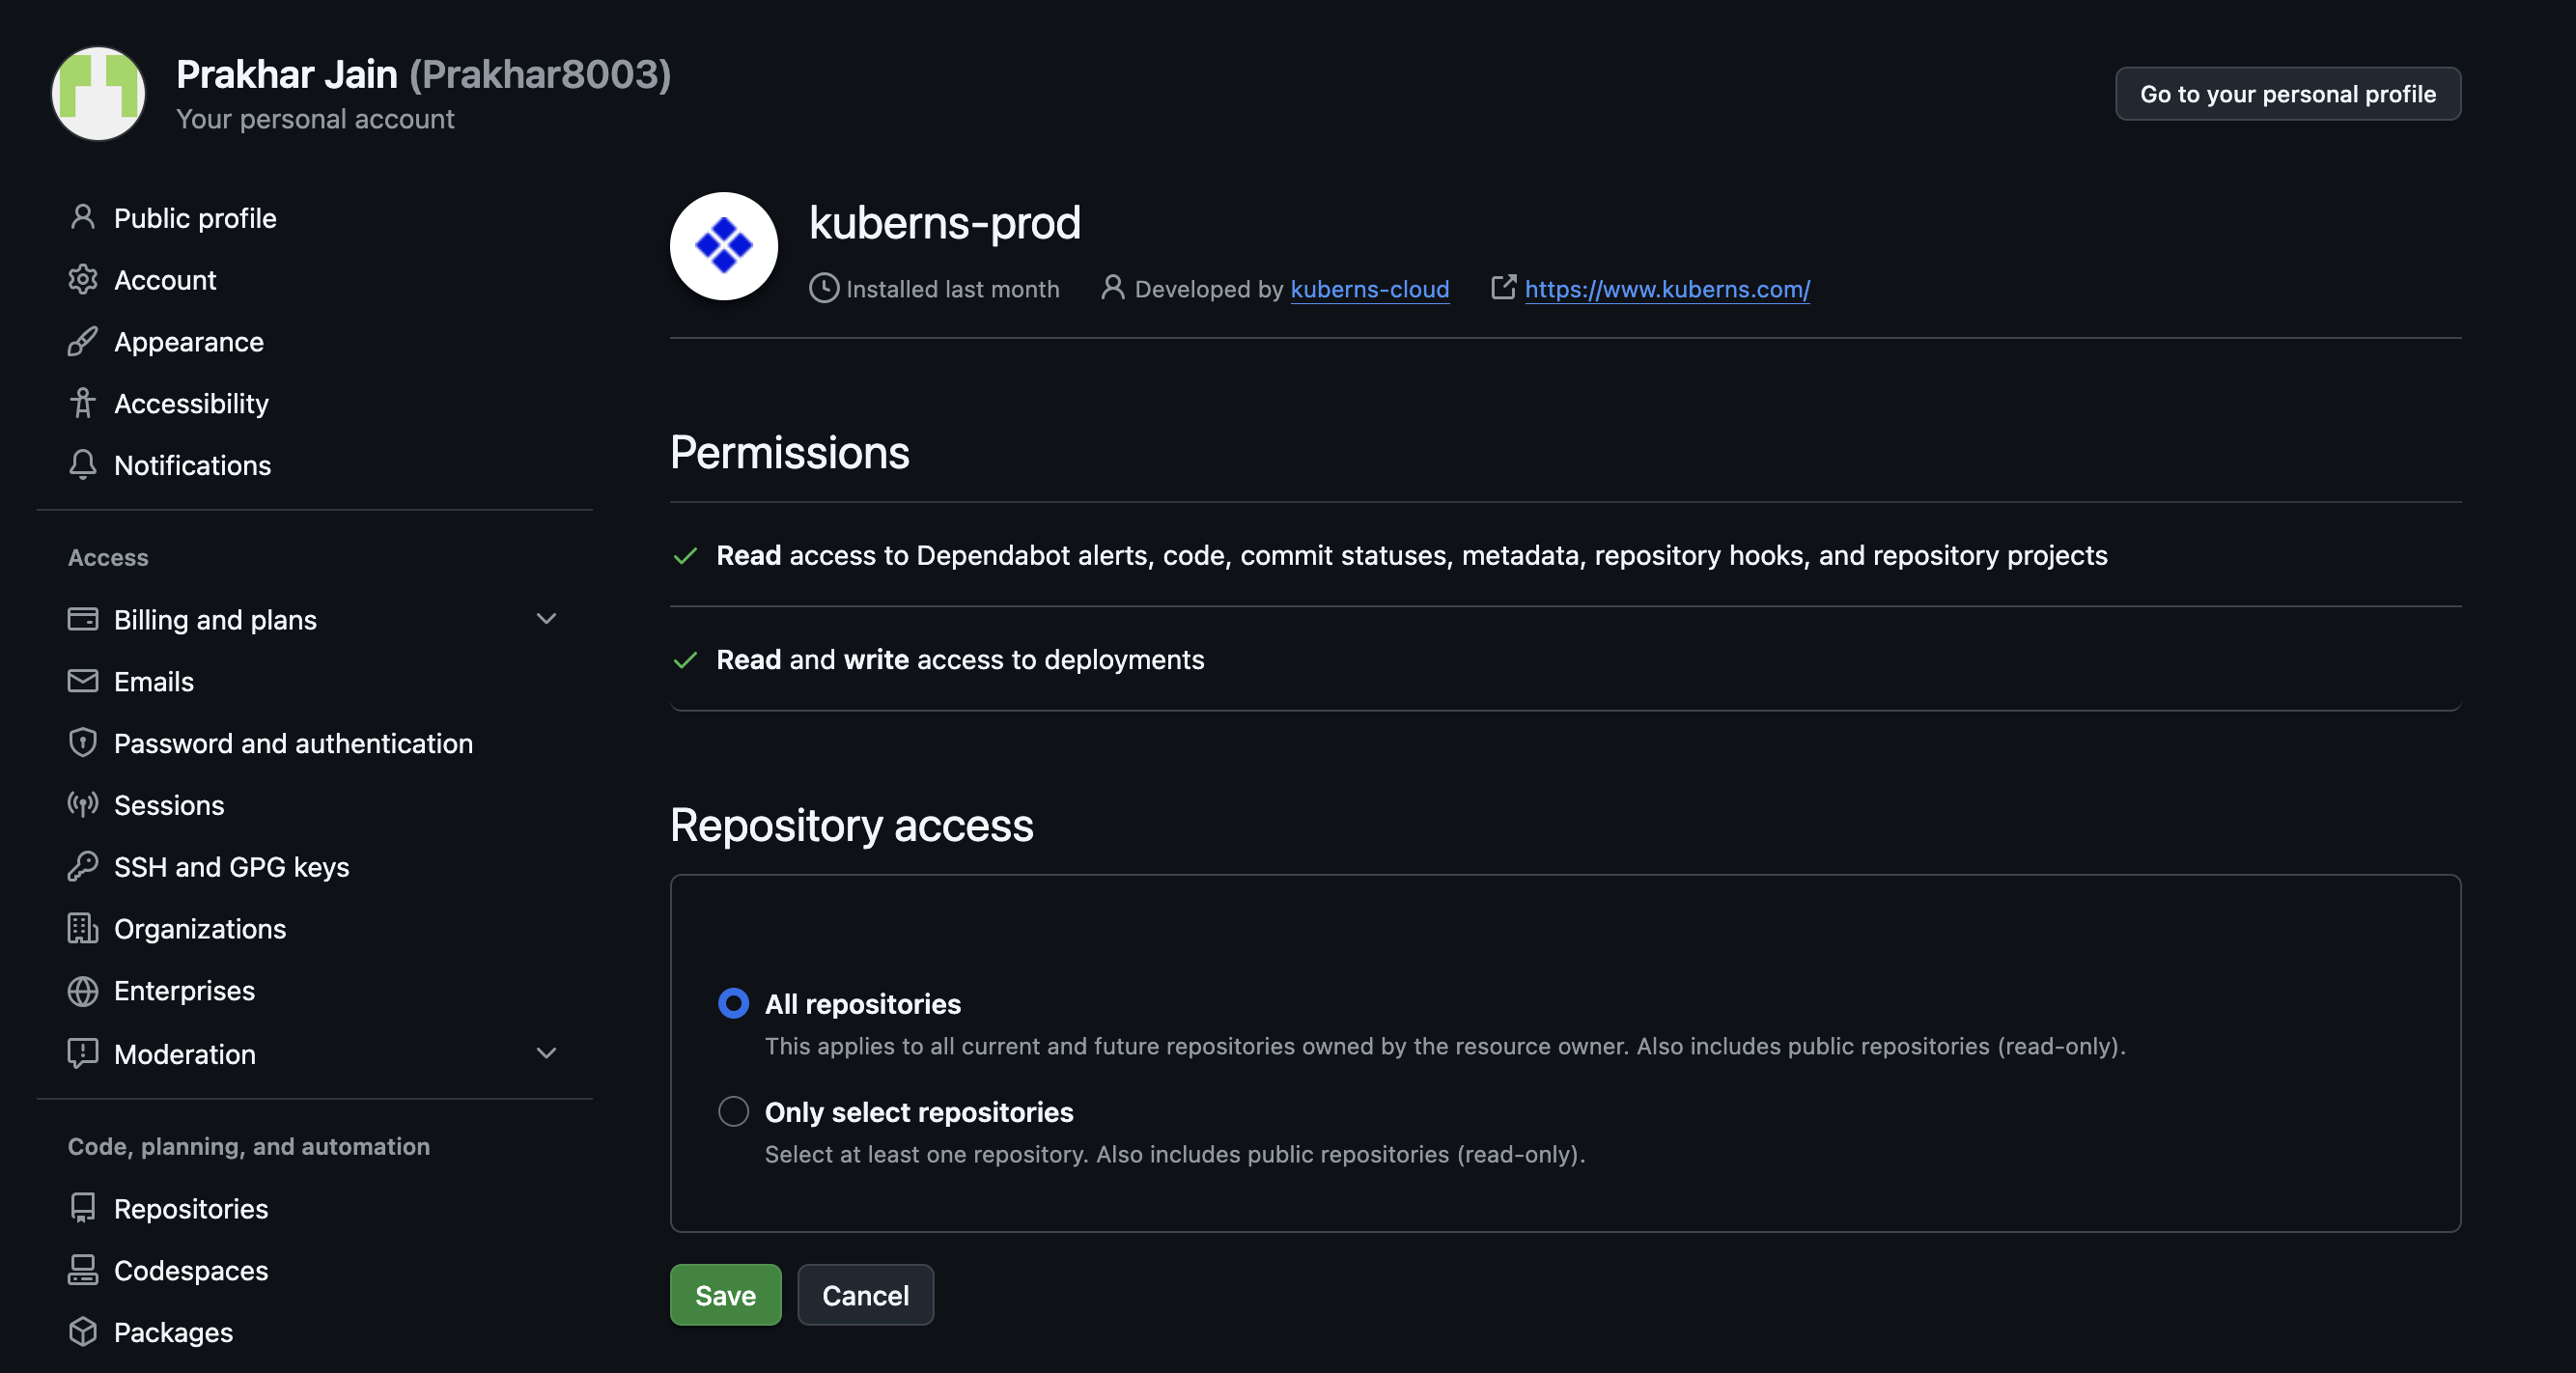
- Give the Permission and Repository Access to Kuberns
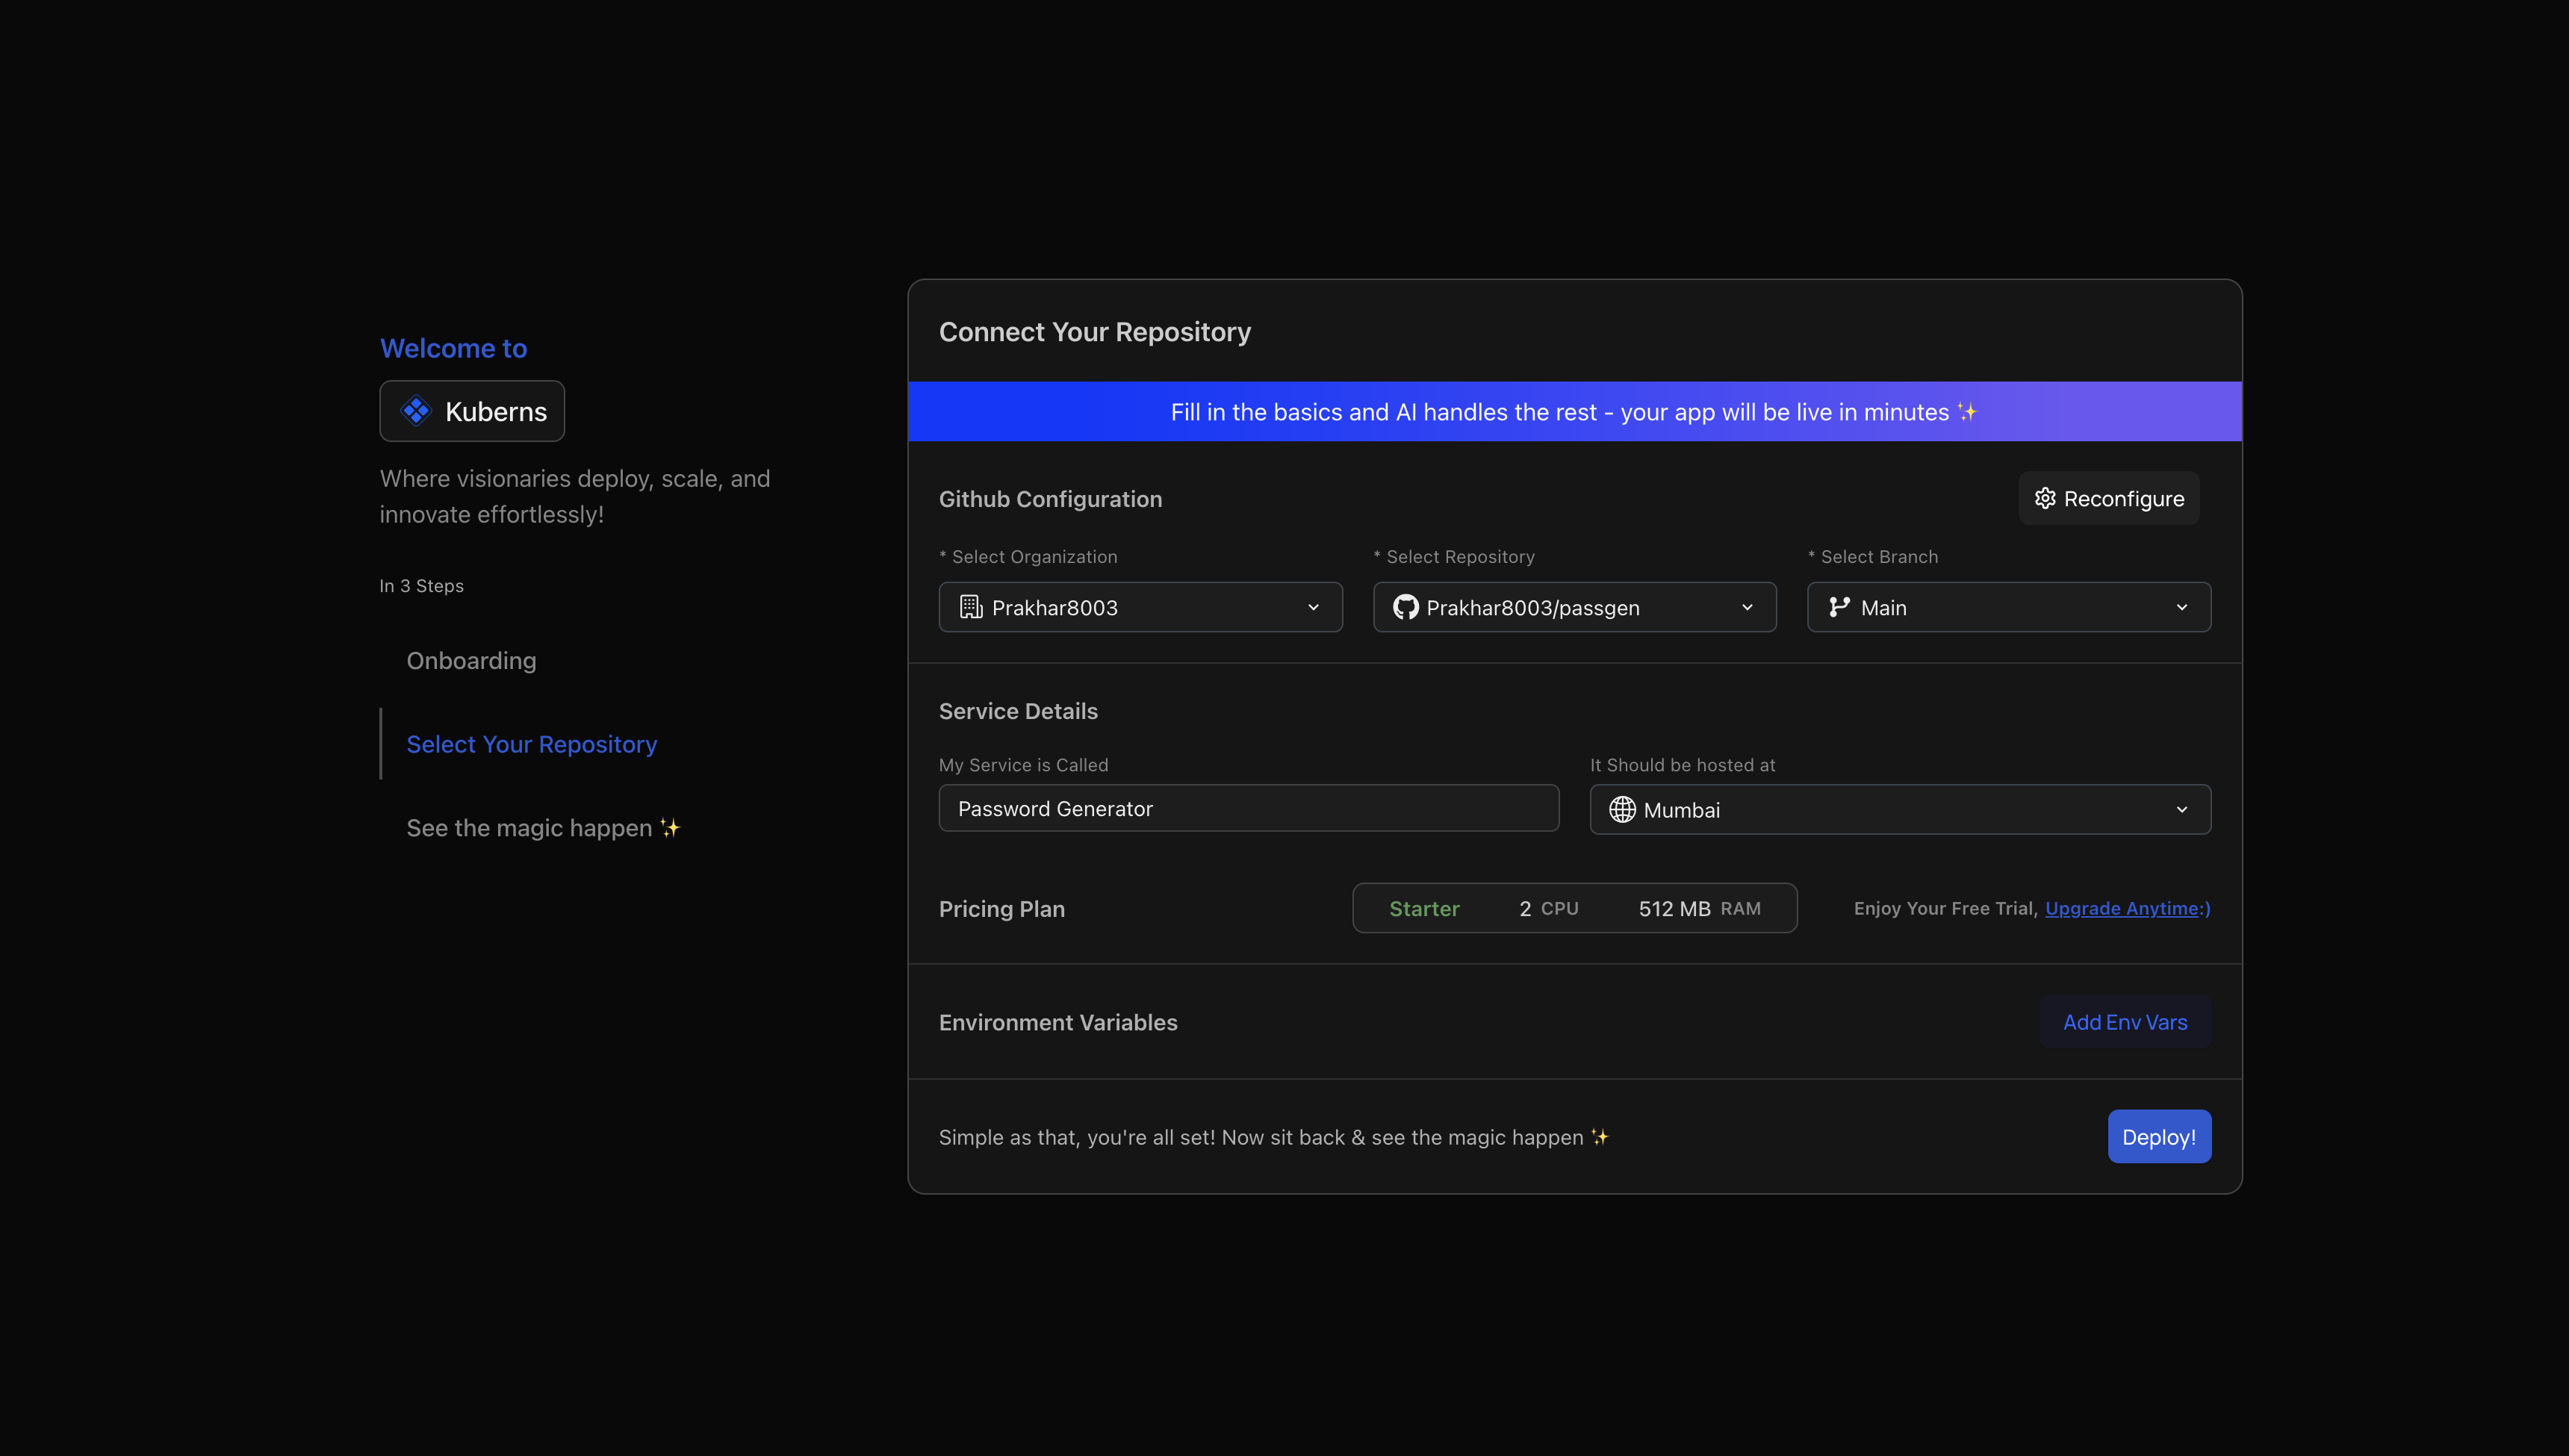
- Once your GitHub is connected, Select the Repository and Branch of your Service.
- Fill in the basics and let AI handle the rest
- Name your service.
- Choose your hosting Region
- Pick your Pricing Plan (Starter is free to get started).
- No need of Selecting Template, Filling Forms, Choosing Database, AI will handle everything
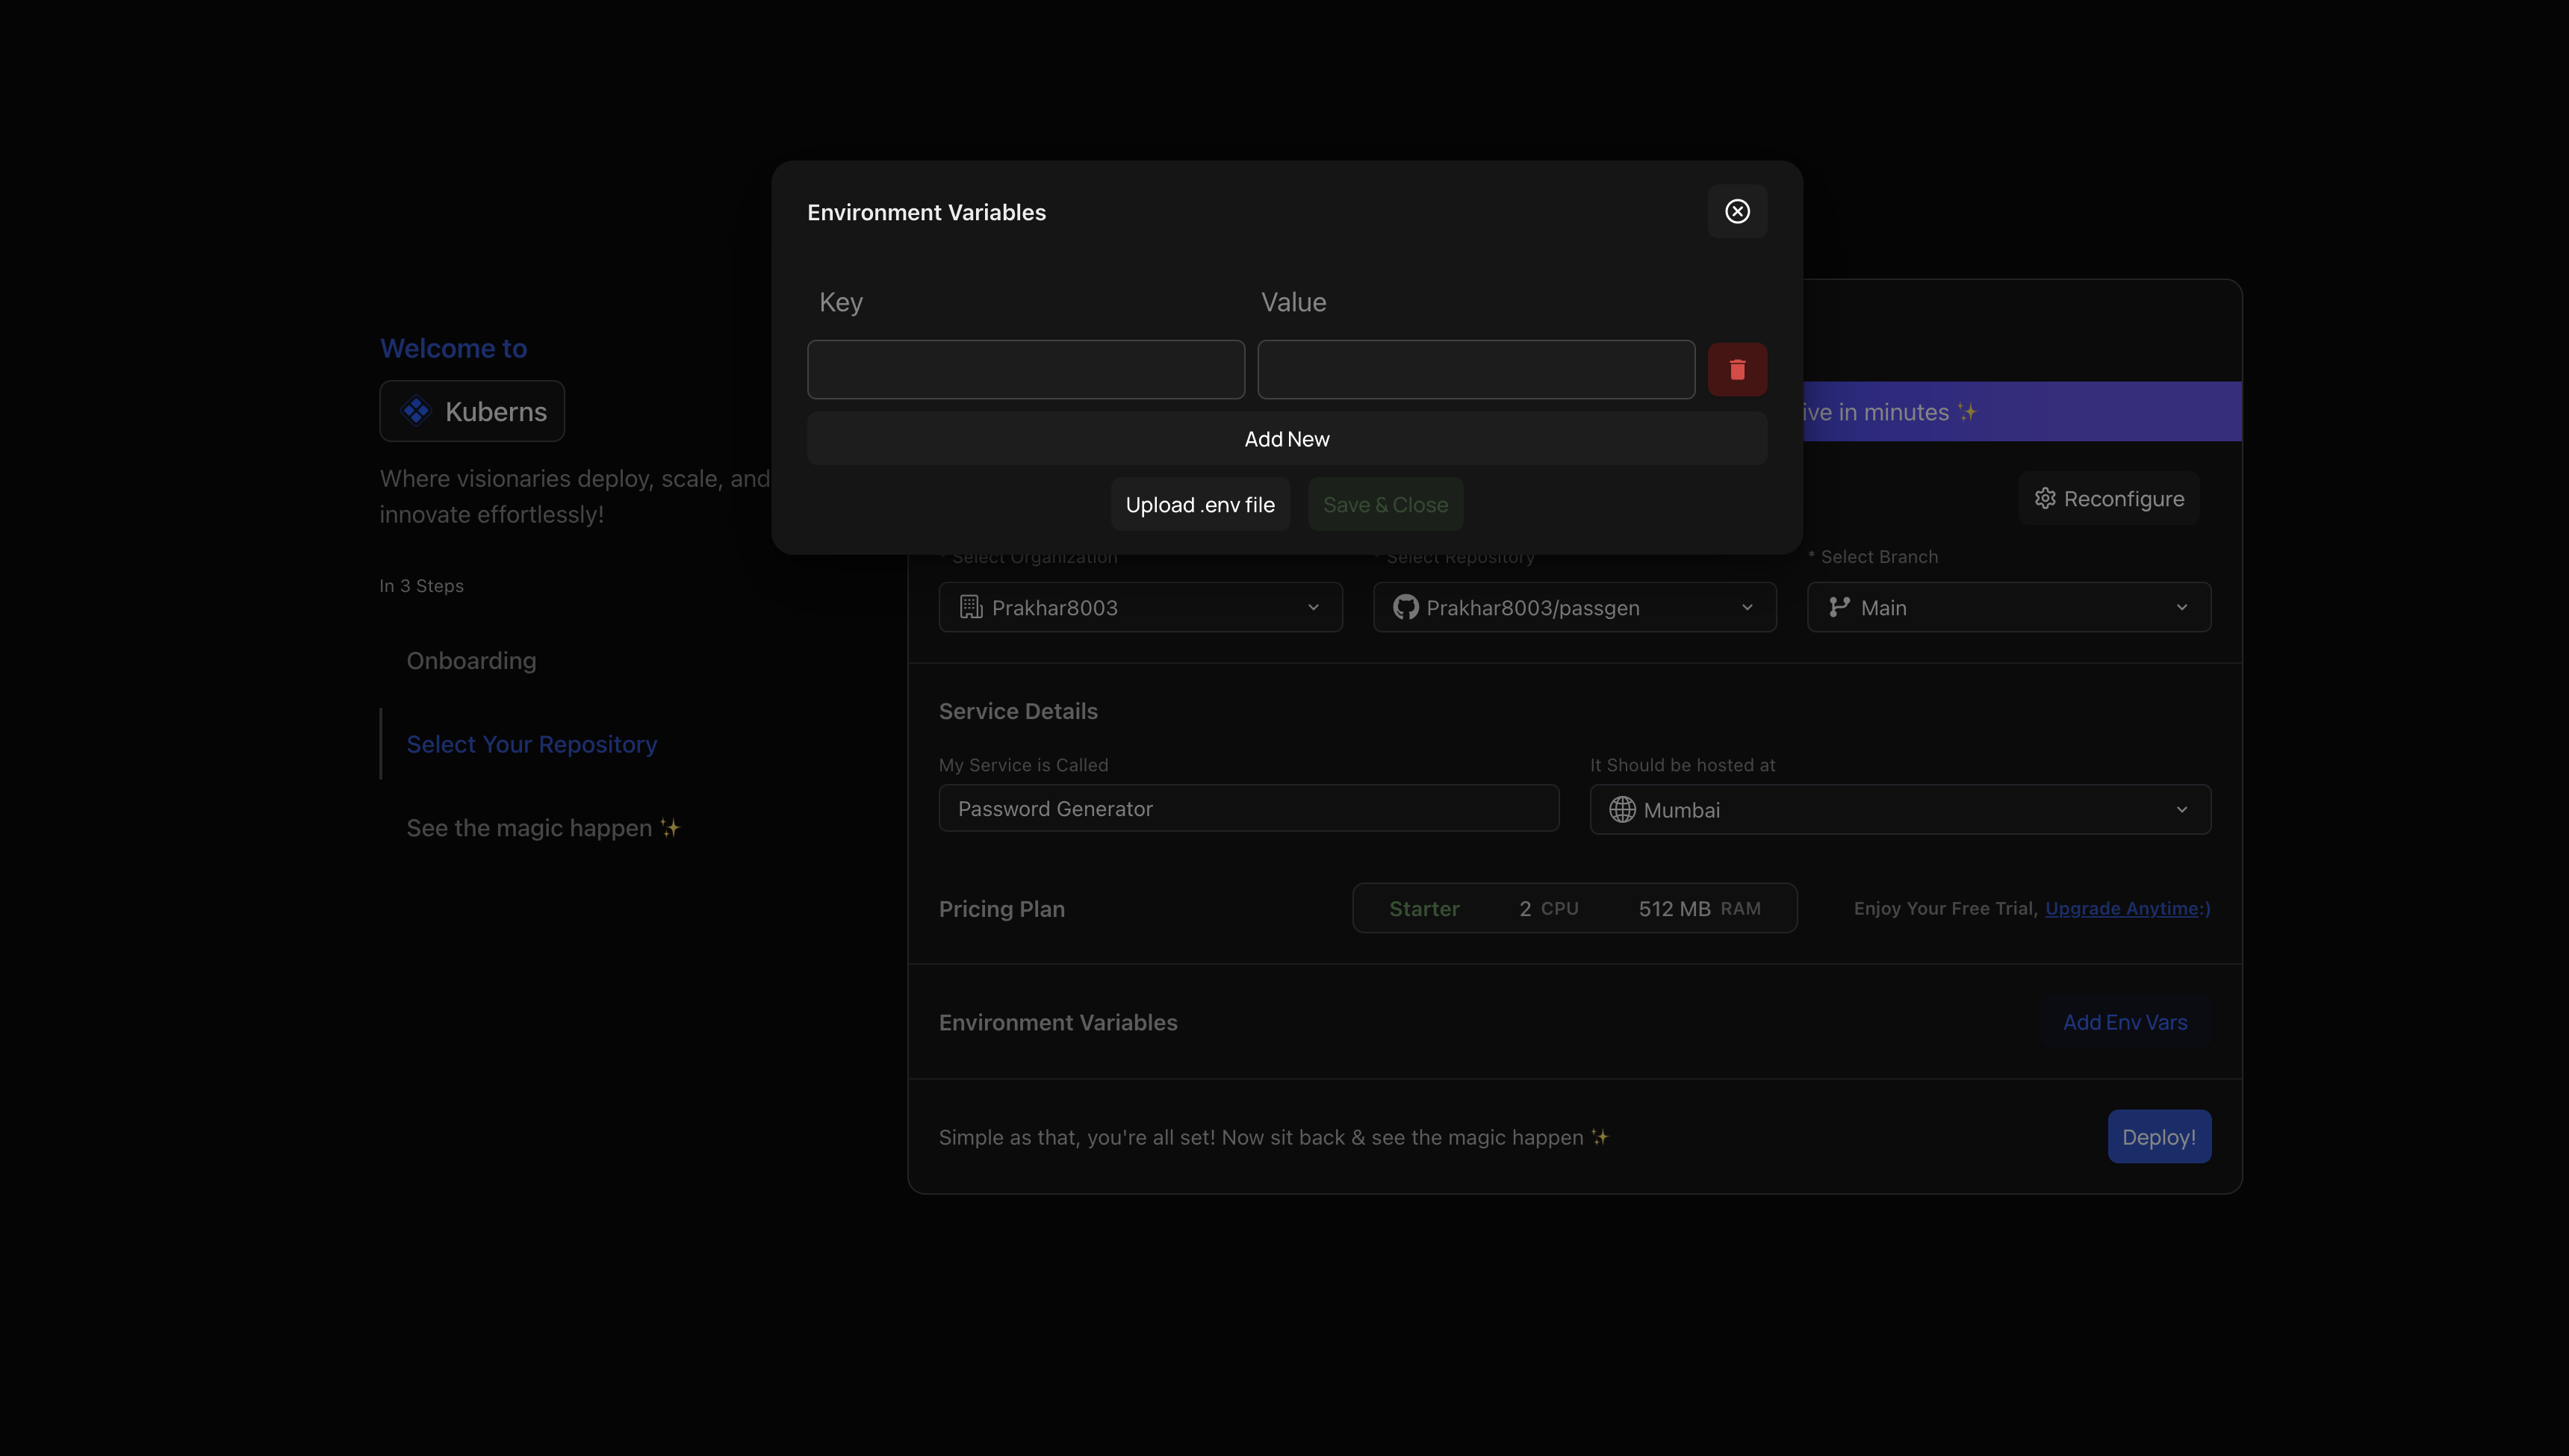
Step 3: Set Up Environment Variables
You can either:
- Type key-value pairs manually, or
- Click Upload .env file to import everything in one go.
Click Save & Close once you’re done.
Step 4: Let AI Take Over Deployment
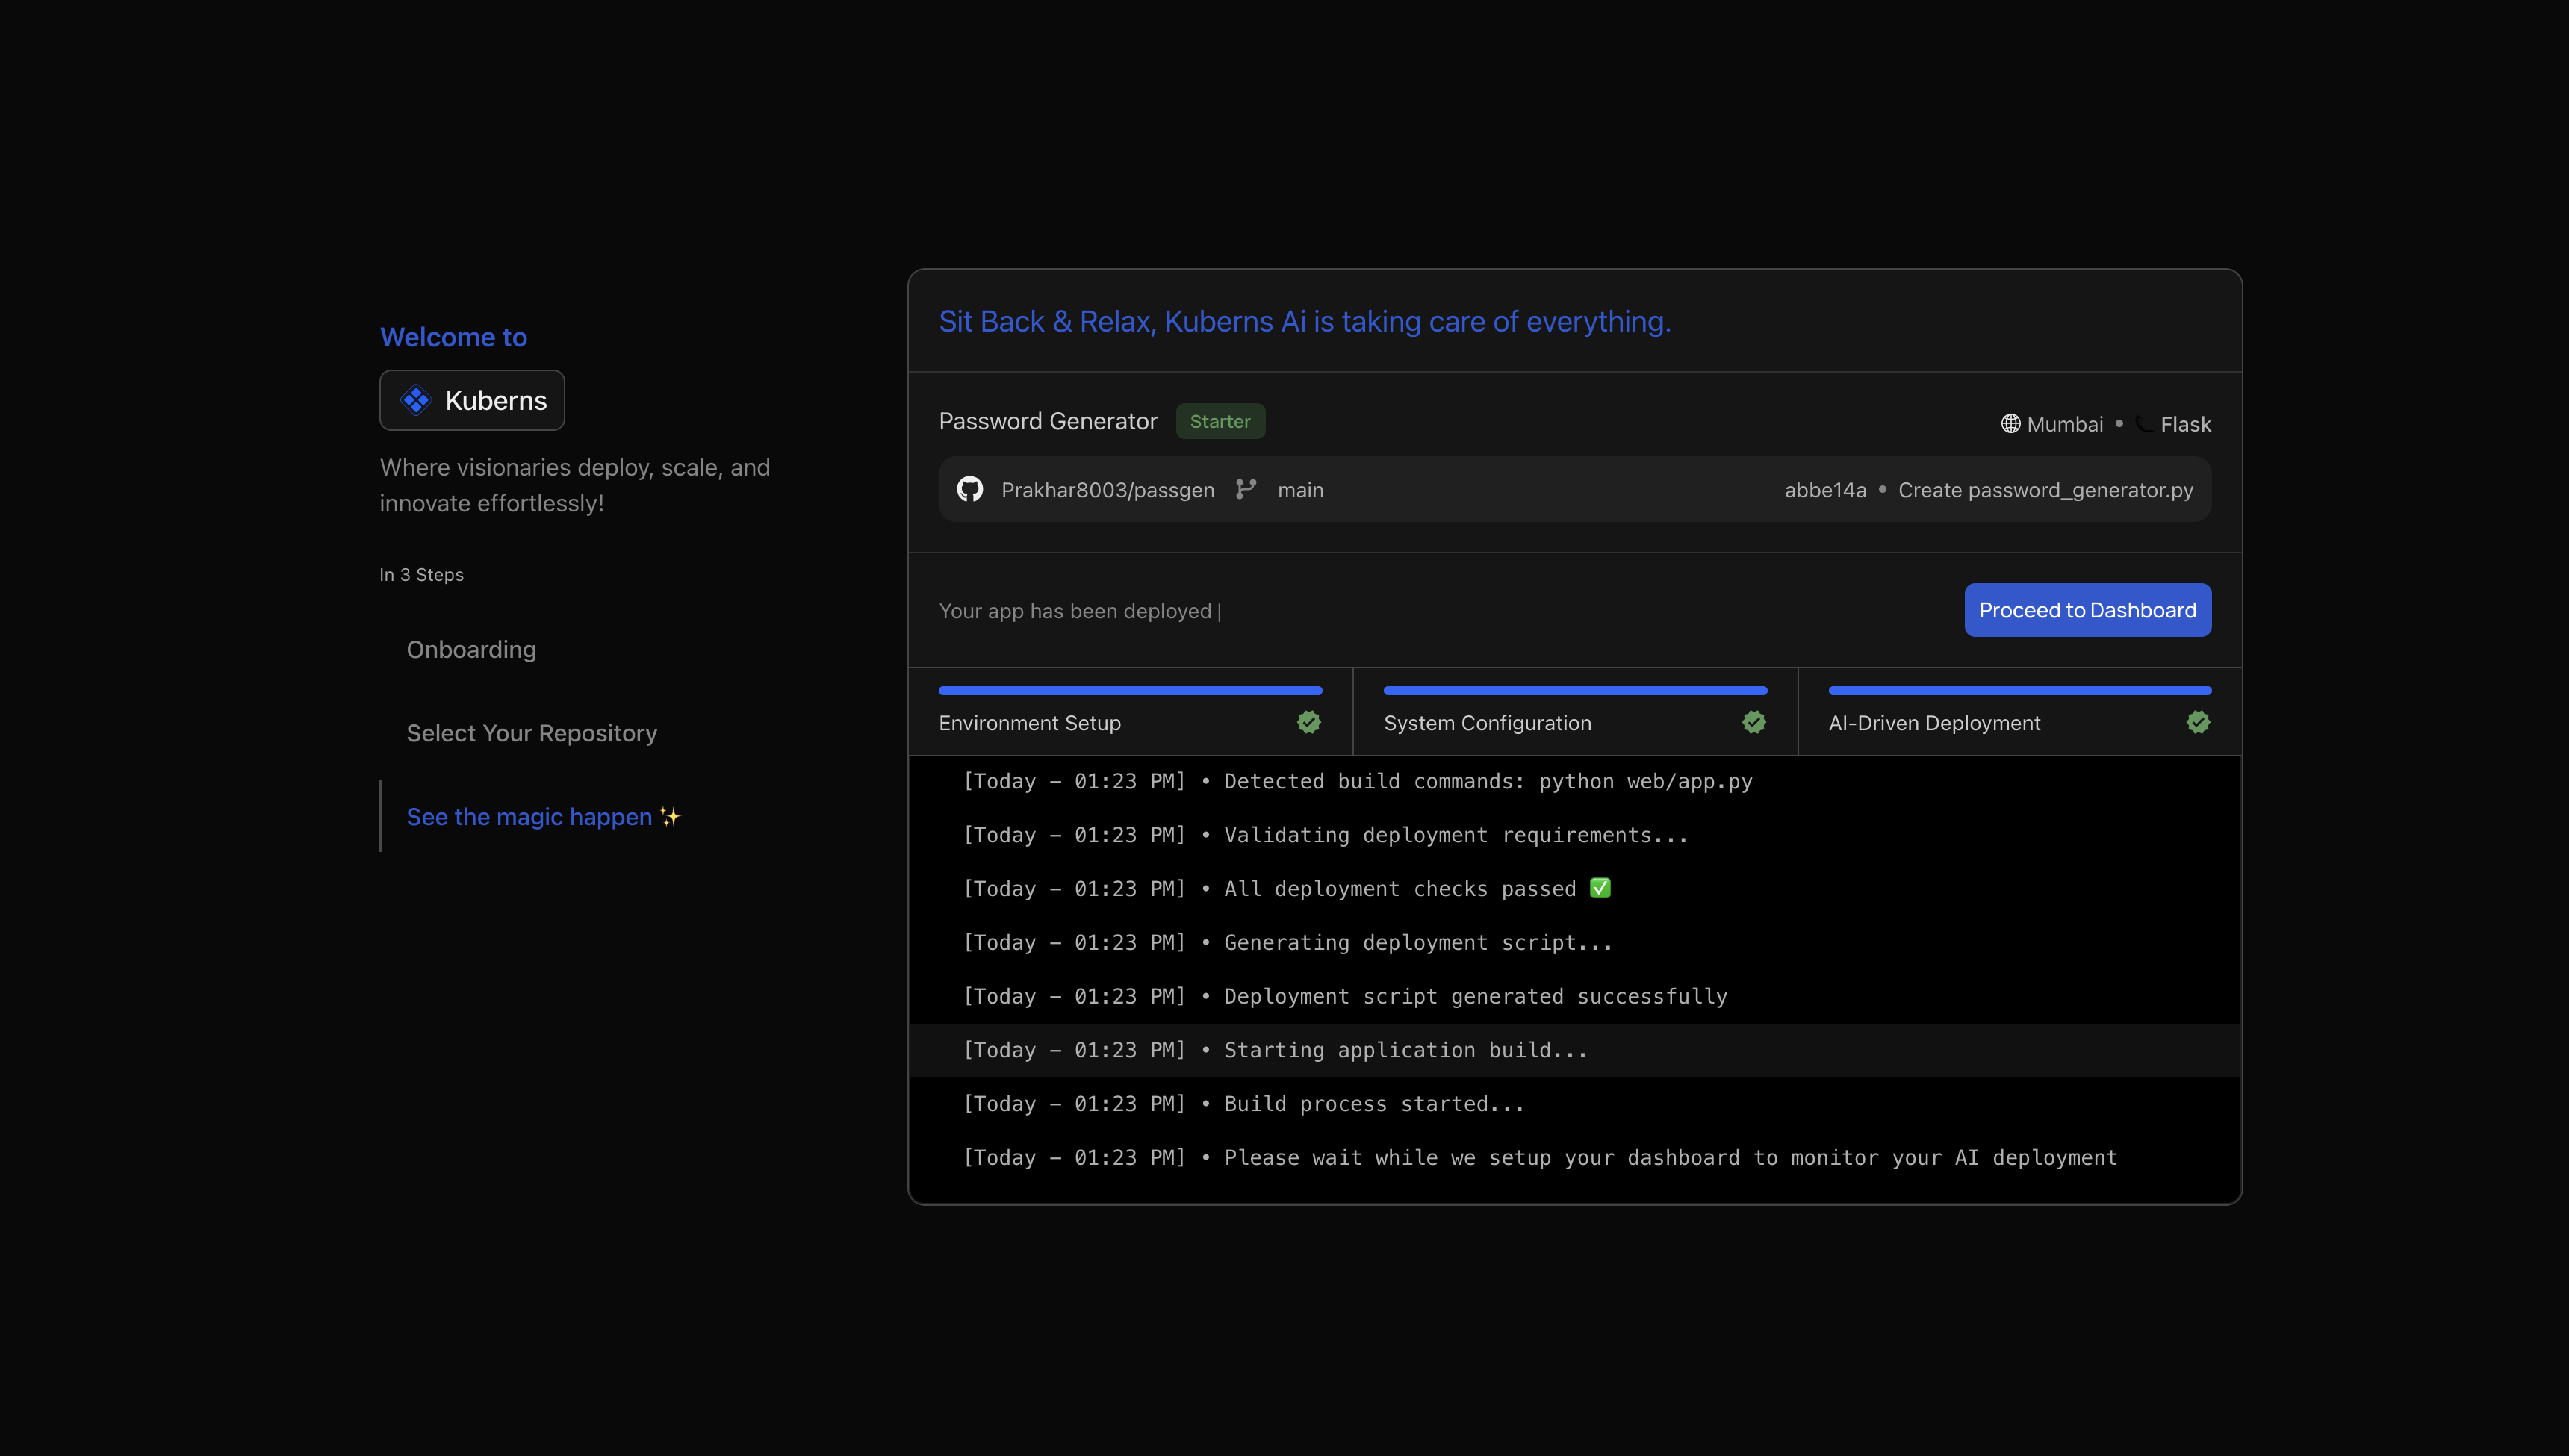
Click Deploy, and let Kuberns AI handle the rest.
- Watch real-time logs as your app is set up.
- The system handles environment setup, system config, repo cloning, checks, and more.
- Within a few minutes, your app is deployed
- “Sit back & relax, Kuberns AI is taking care of everything.”
Step 5: Manage everything from the AI Dashboard
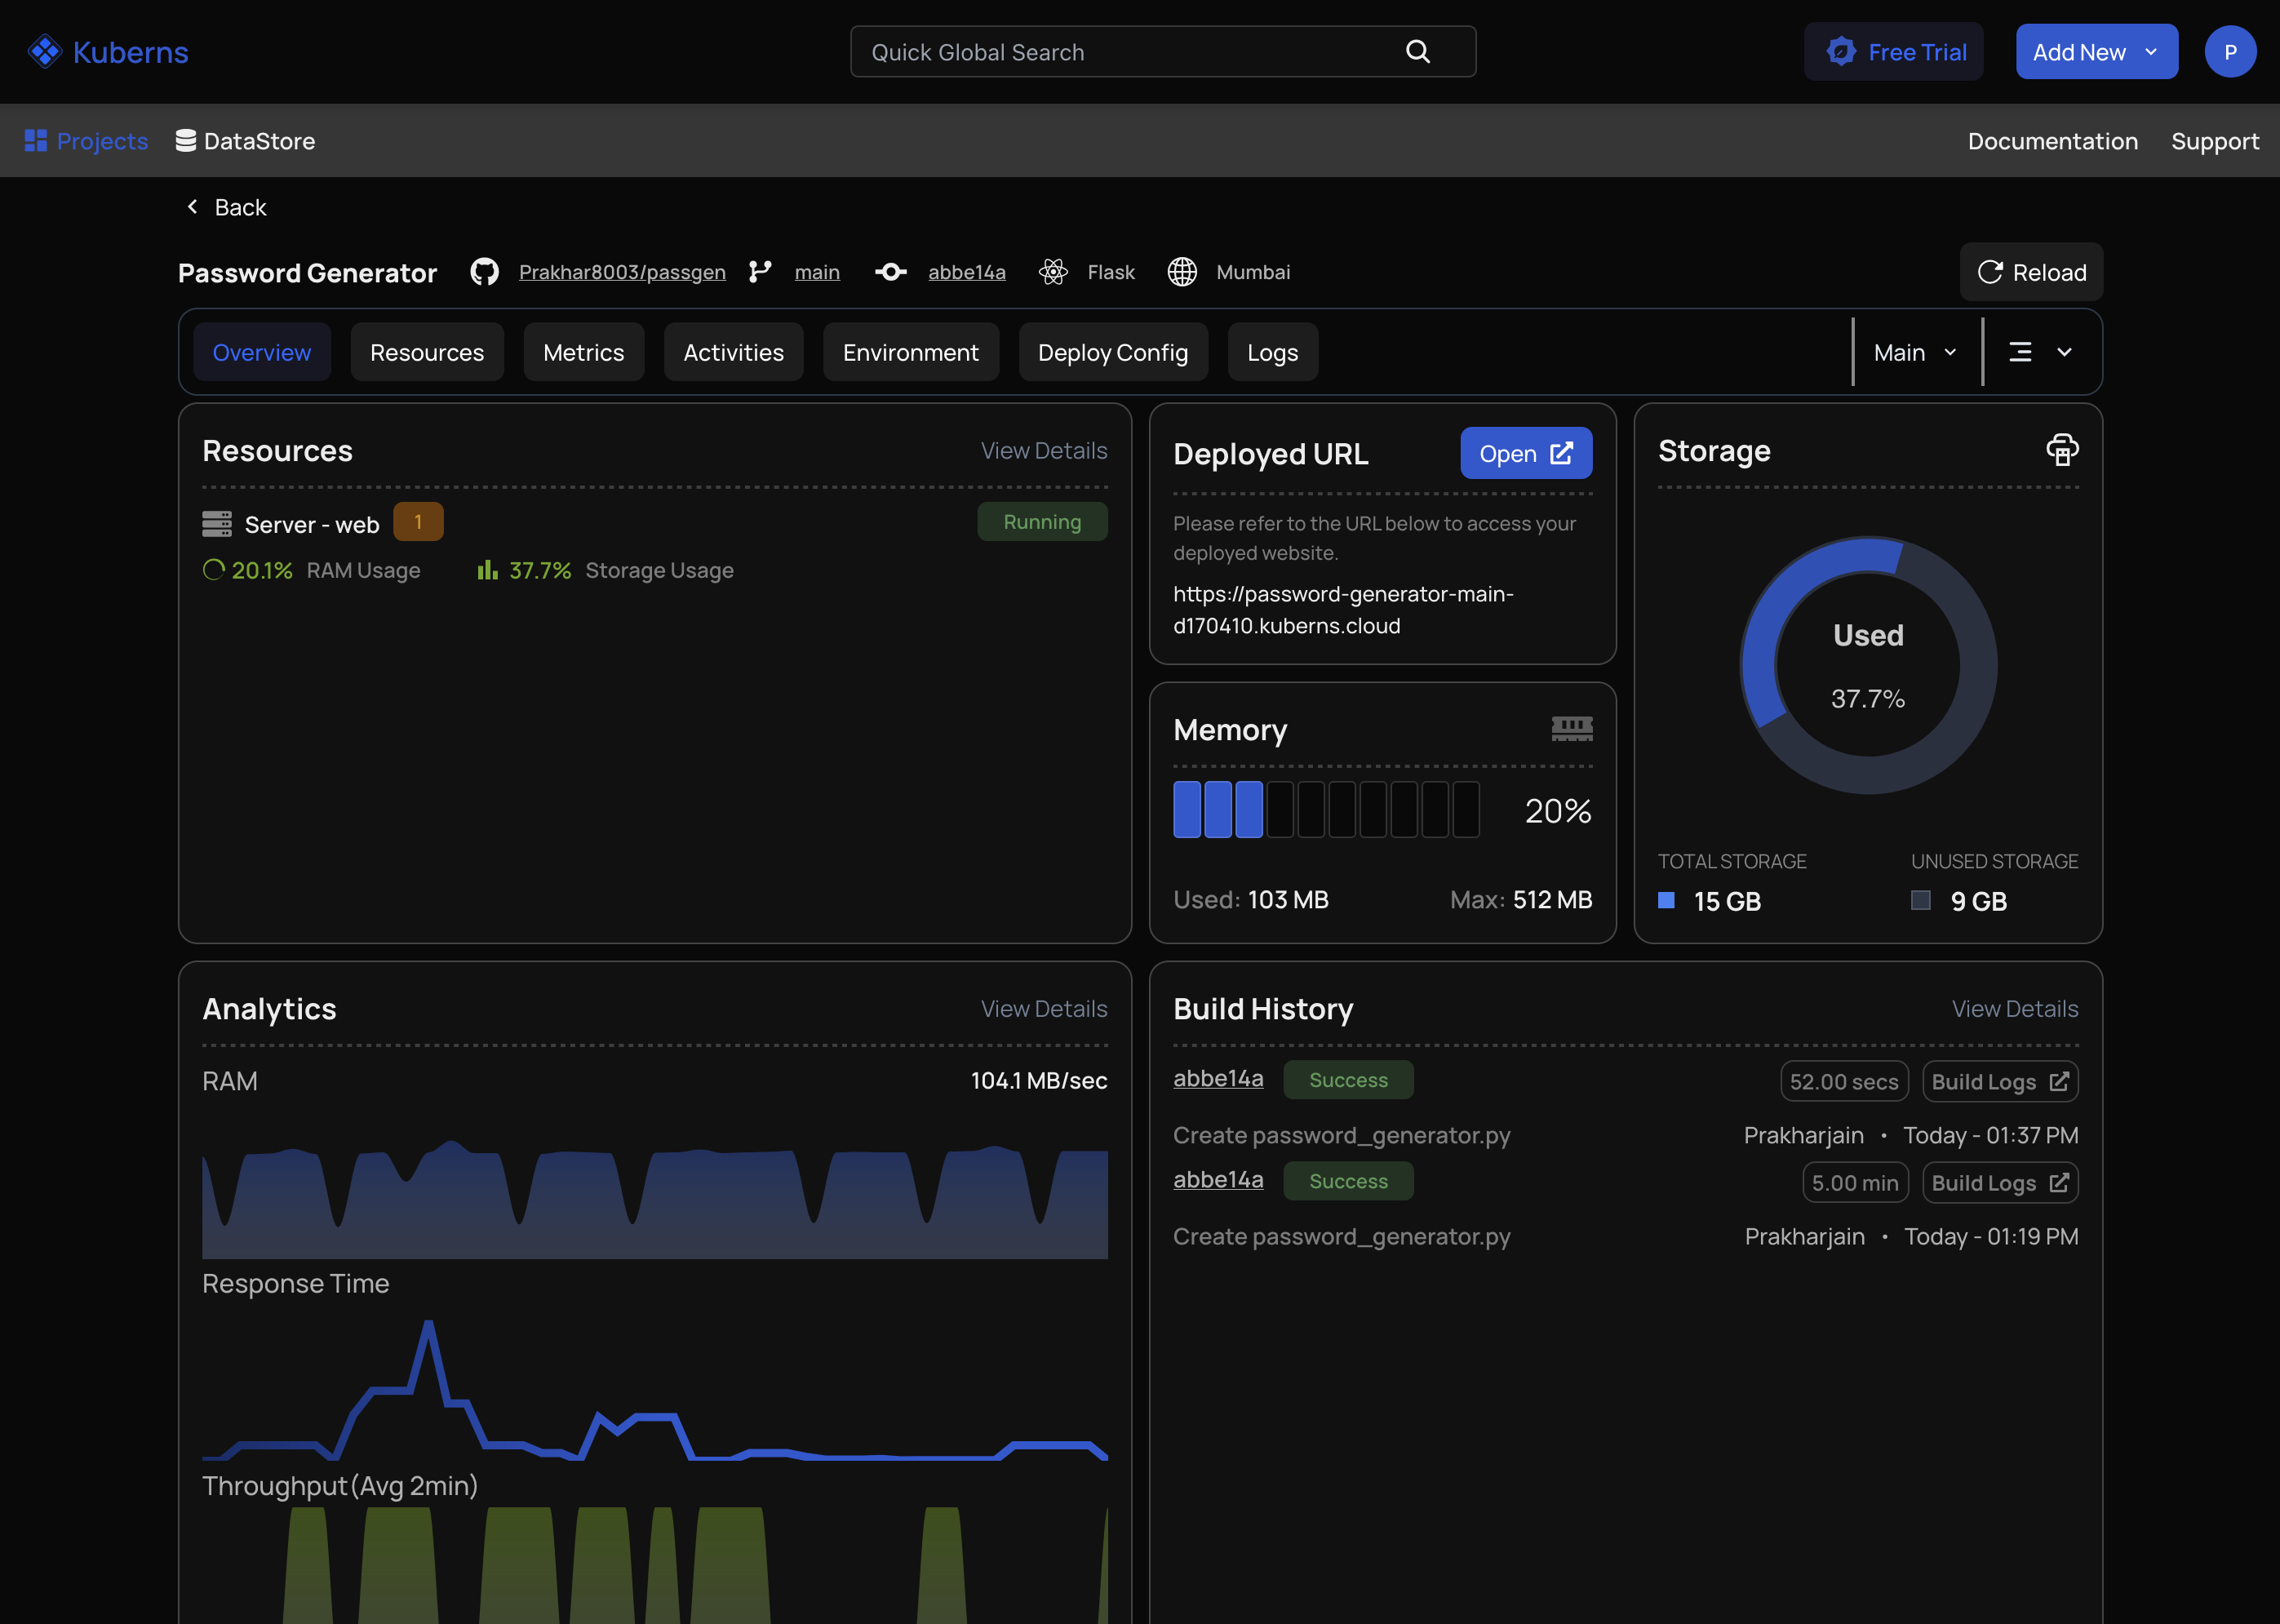
Welcome to your Kuberns Dashboard! Here you can:
- Open your deployed URL
- View live usage stats
- Check Your Resources (Server, Database, BG Workers)
- Get your detailed Metrics and Analytics
- Check Activities and Build History
- Configure your Environment, even after Deployment
- Customize your Deploy Config, According to you, in a easy way “NO YAML”
- Monitor real time logs
It’s your control room, re-imagined with clarity and power.
You’re Done!
You’ve just deployed like a PRO — no infrastructure stress, no YAML mess.
With Kuberns AI, you’re not just deploying apps. You’re launching faster, smarter, and without limits.