Custom Domoain
Once your application is deployed on Kuberns, you can enhance its accessibility and branding by adding a custom domain.
This allows your users to access your application using a domain of your choice instead of the default Kuberns-provided URL.
This document outlines the simple process of adding a custom domain via the Kuberns Dashboard and configuring your DNS settings to make it live.
Prerequisites
Before you begin, ensure:
- You own a custom domain and have access to its DNS management settings through your domain registrar or DNS provider.
Step-by-Step guide to adding a custom domain
Follow these steps to add and configure a custom domain for your deployed application.
Step 1: Navigate to the Environments Section
- Log in to your Kuberns Dashboard.
- Select the project containing the deployed application you want to configure.
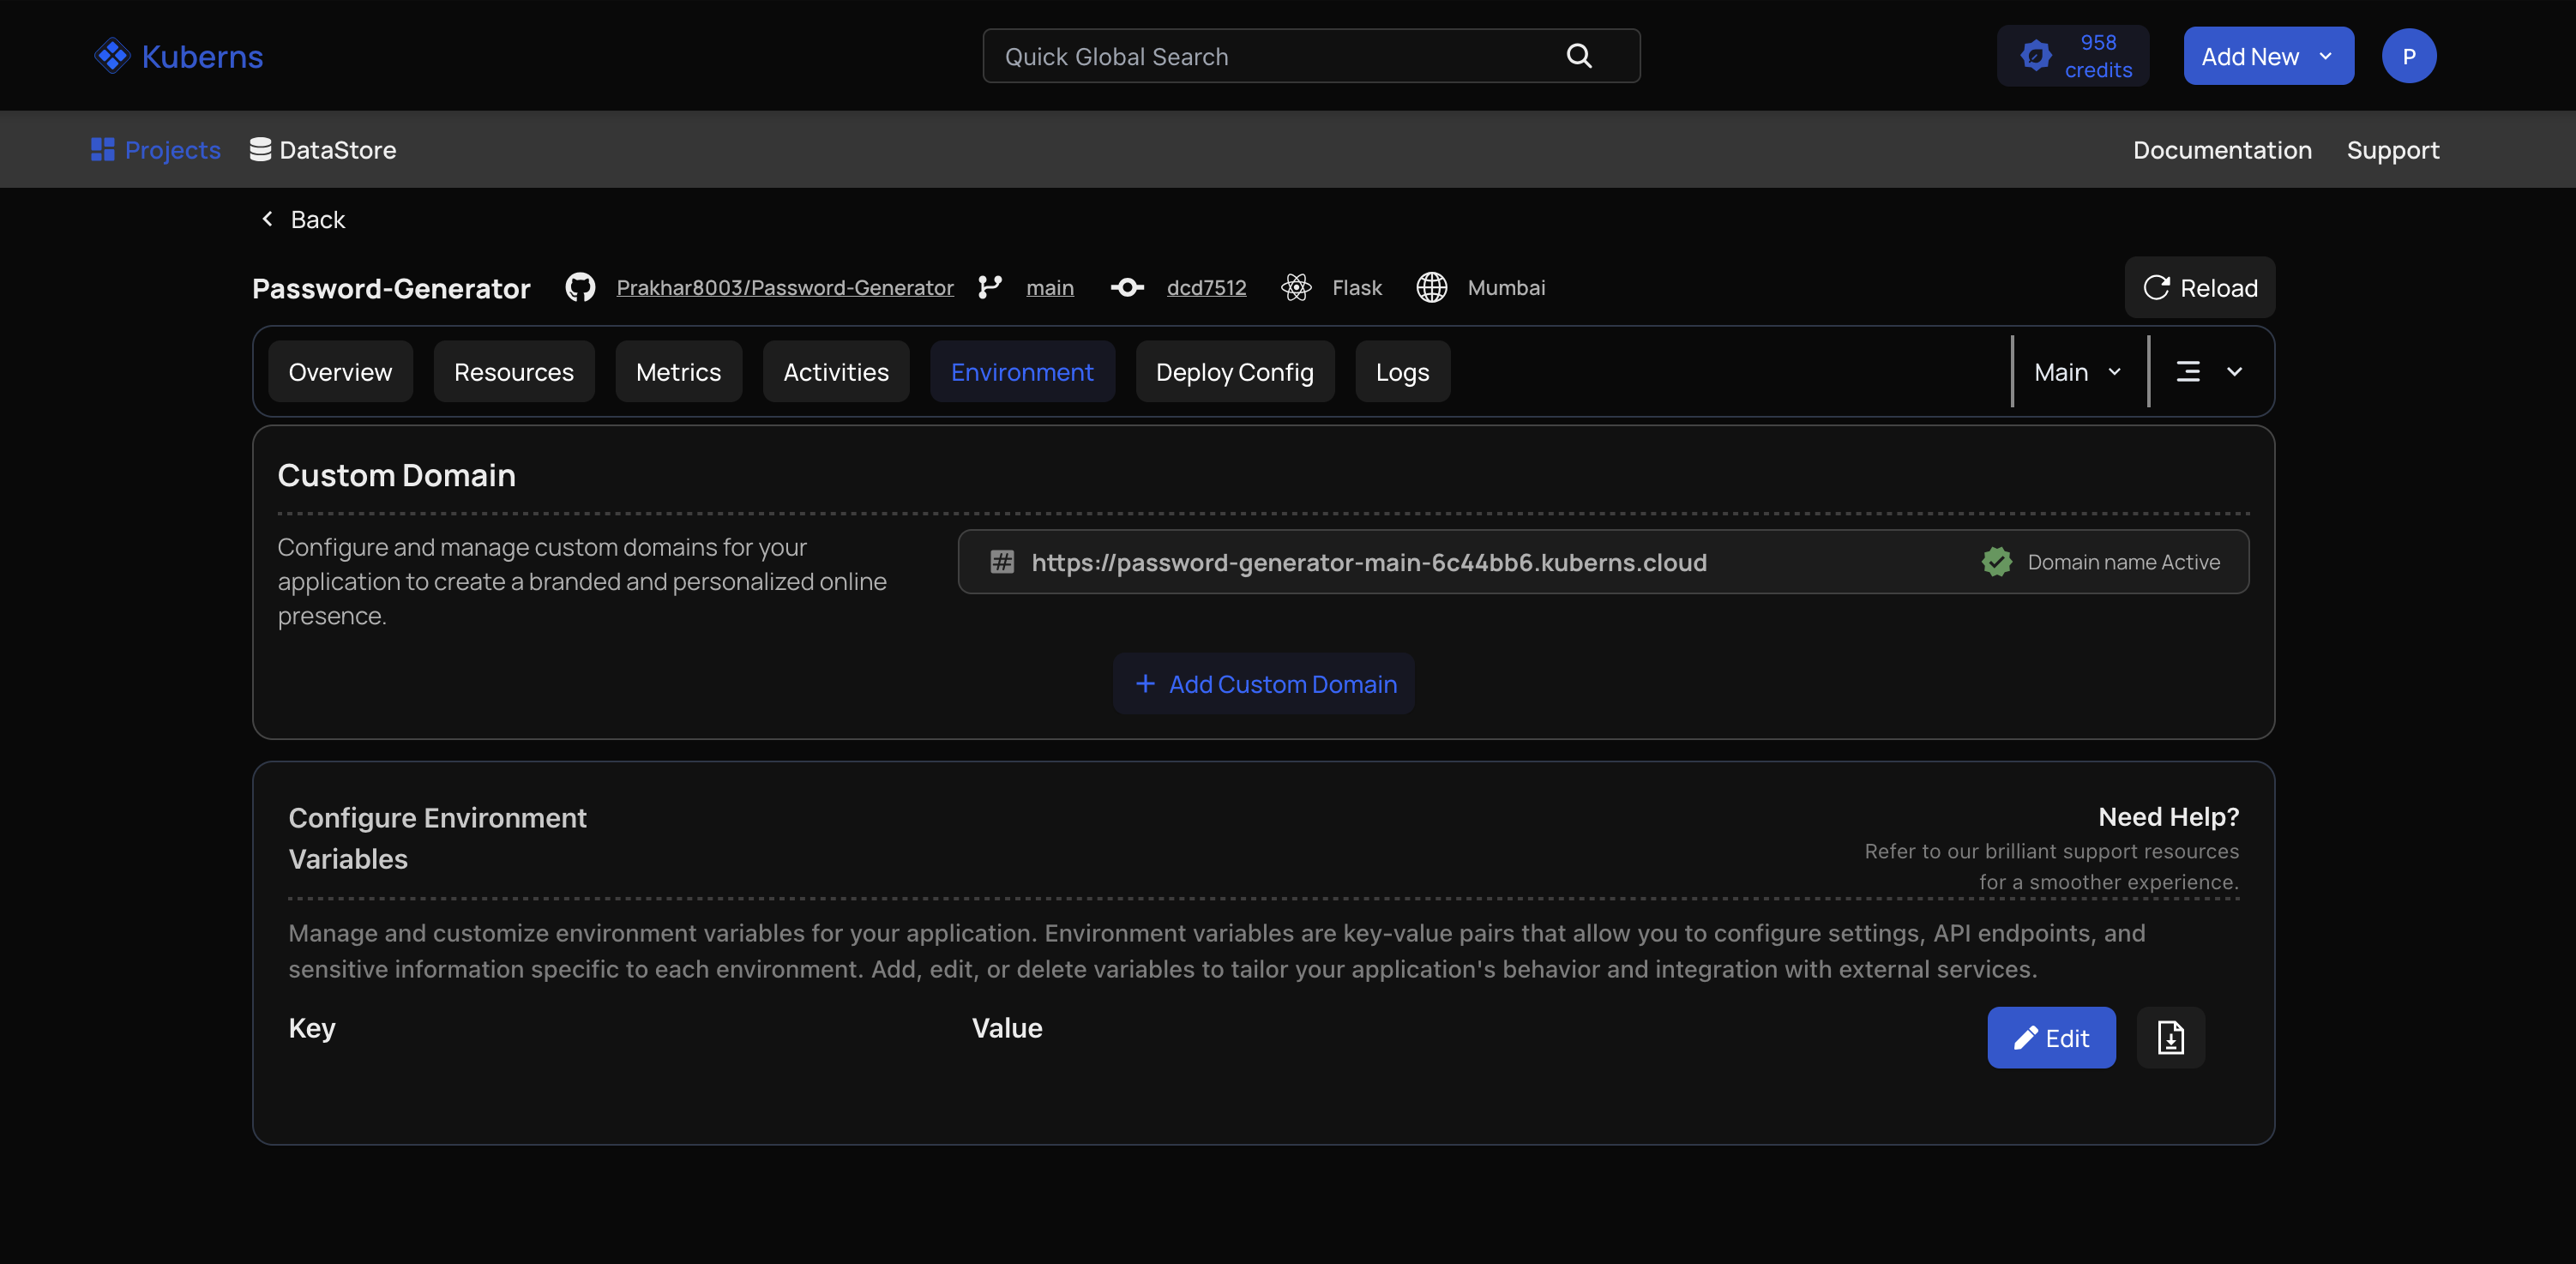
- In the dashboard, locate the Environments section for your service.
- This section allows you to manage environment-specific settings, including custom domains.
Step 2: Add Your Custom Domain
- In the Environments section, click the Add Custom Domain button.
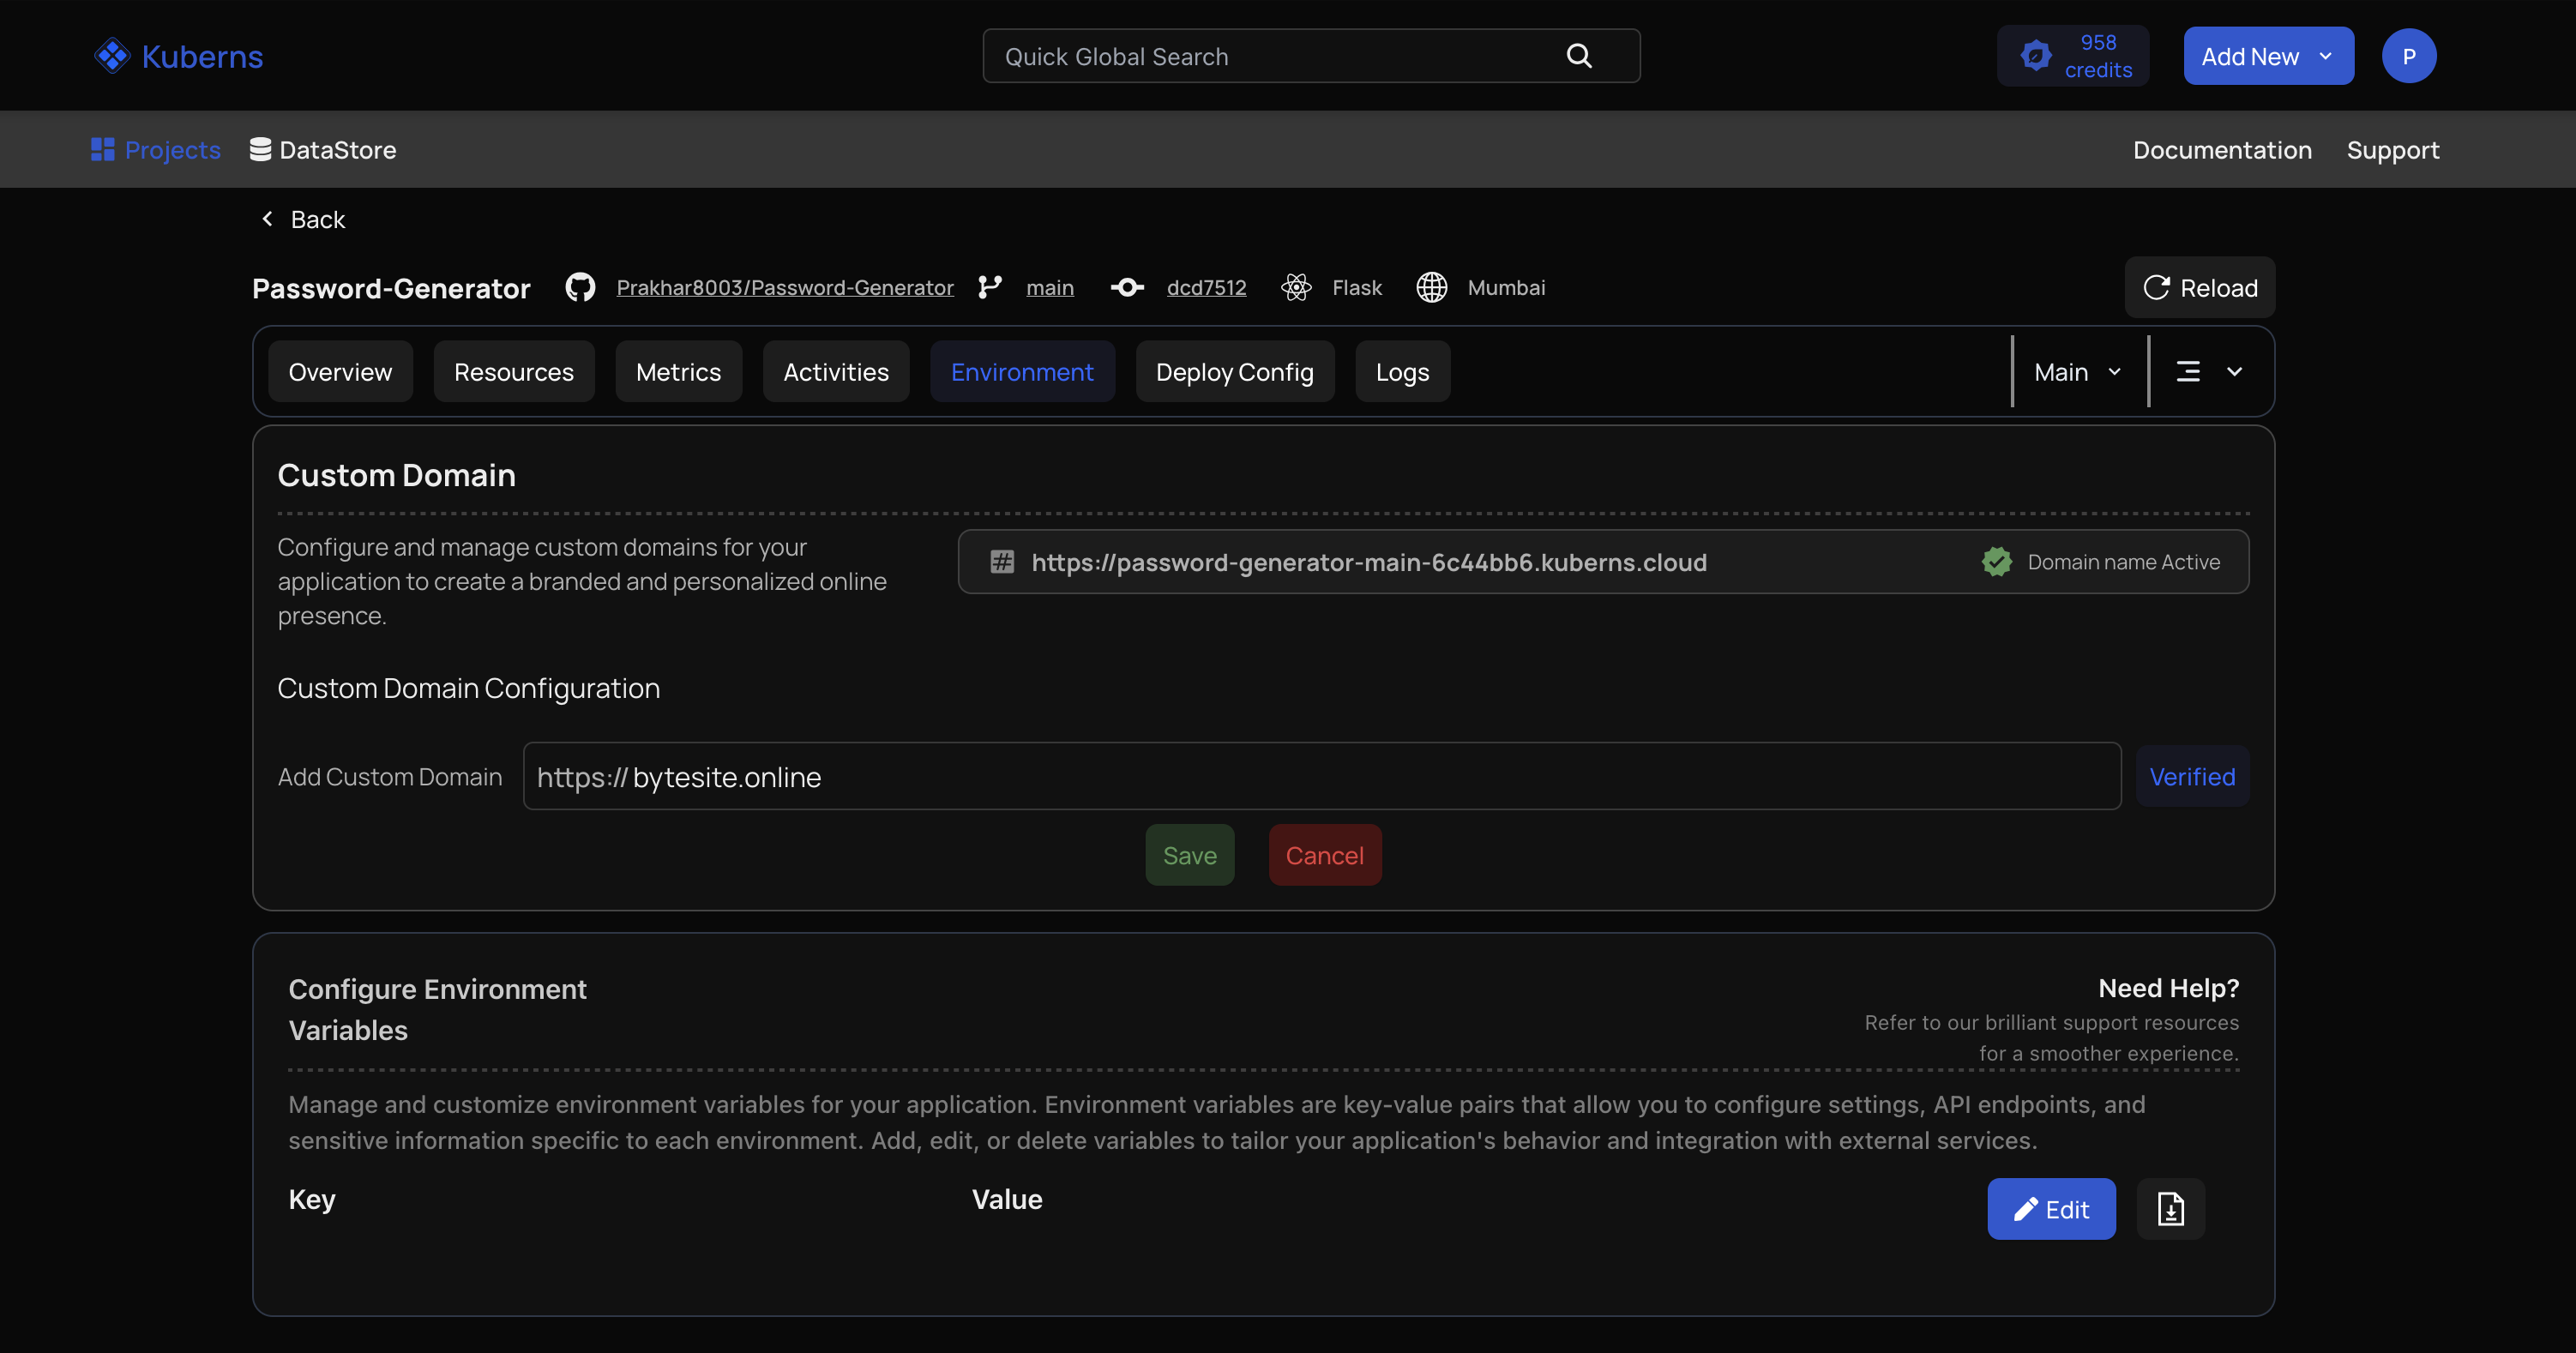
- A form will appear prompting you to enter your domain details.
- Enter your custom domain name in the provided field.
- Click Save to register the domain with Kuberns.
- Kuberns will generate a target address (CNAME value) that you’ll use in the next step.
Step 3: Configure Your DNS Settings
- Log in to your domain registrar or DNS provider’s management console.
- Navigate to the DNS settings or records section for your domain.
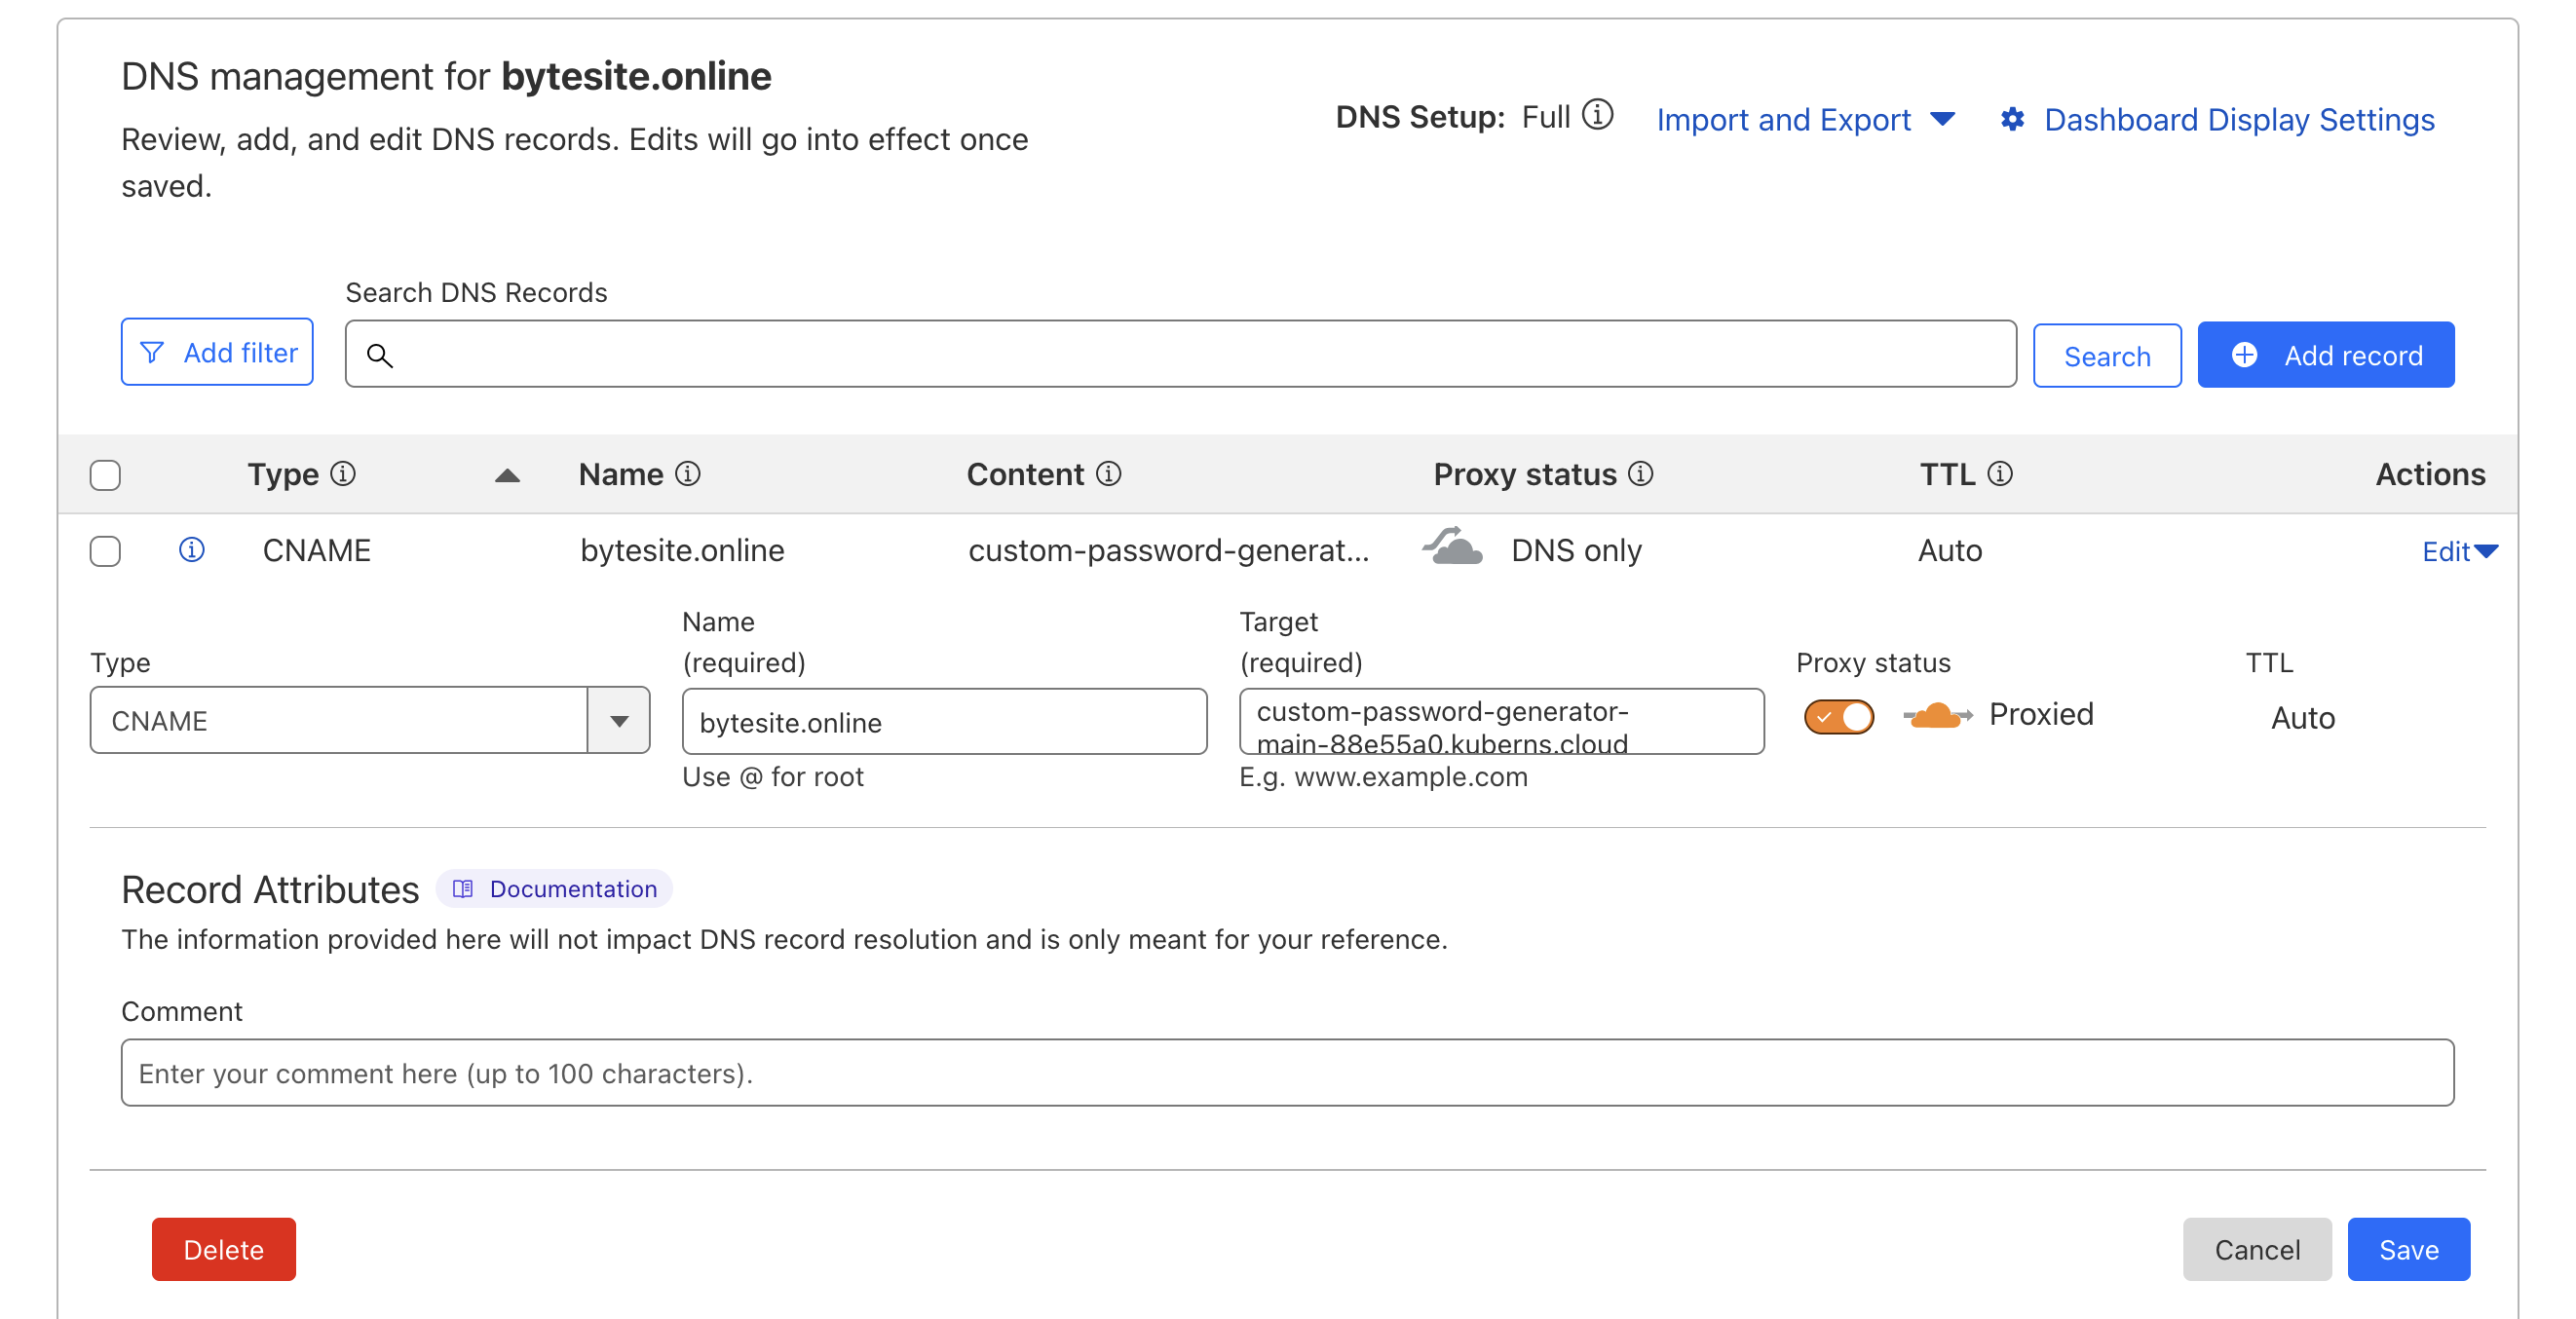
- Create a new CNAME record:
- Name/Host/Alias: Enter the subdomain you’re configuring.
- Value/Target: Paste the CNAME target provided by Kuberns in Step 2 (e.g., your-service.kuberns.app).
- TTL (Time to Live): Set to a low value (e.g., 300 seconds) for faster propagation, if your provider allows.
- Save the DNS record.
- Note: DNS propagation may take a few minutes to 48 hours, depending on your provider and TTL settings.
Step 4: Verify the Custom Domain
-
Return to the Kuberns Dashboard and navigate back to the Environments section.
-
Check the status of your custom domain.
- Once DNS propagation is complete click on Verify, Kuberns will verify the CNAME record and mark the domain as active.
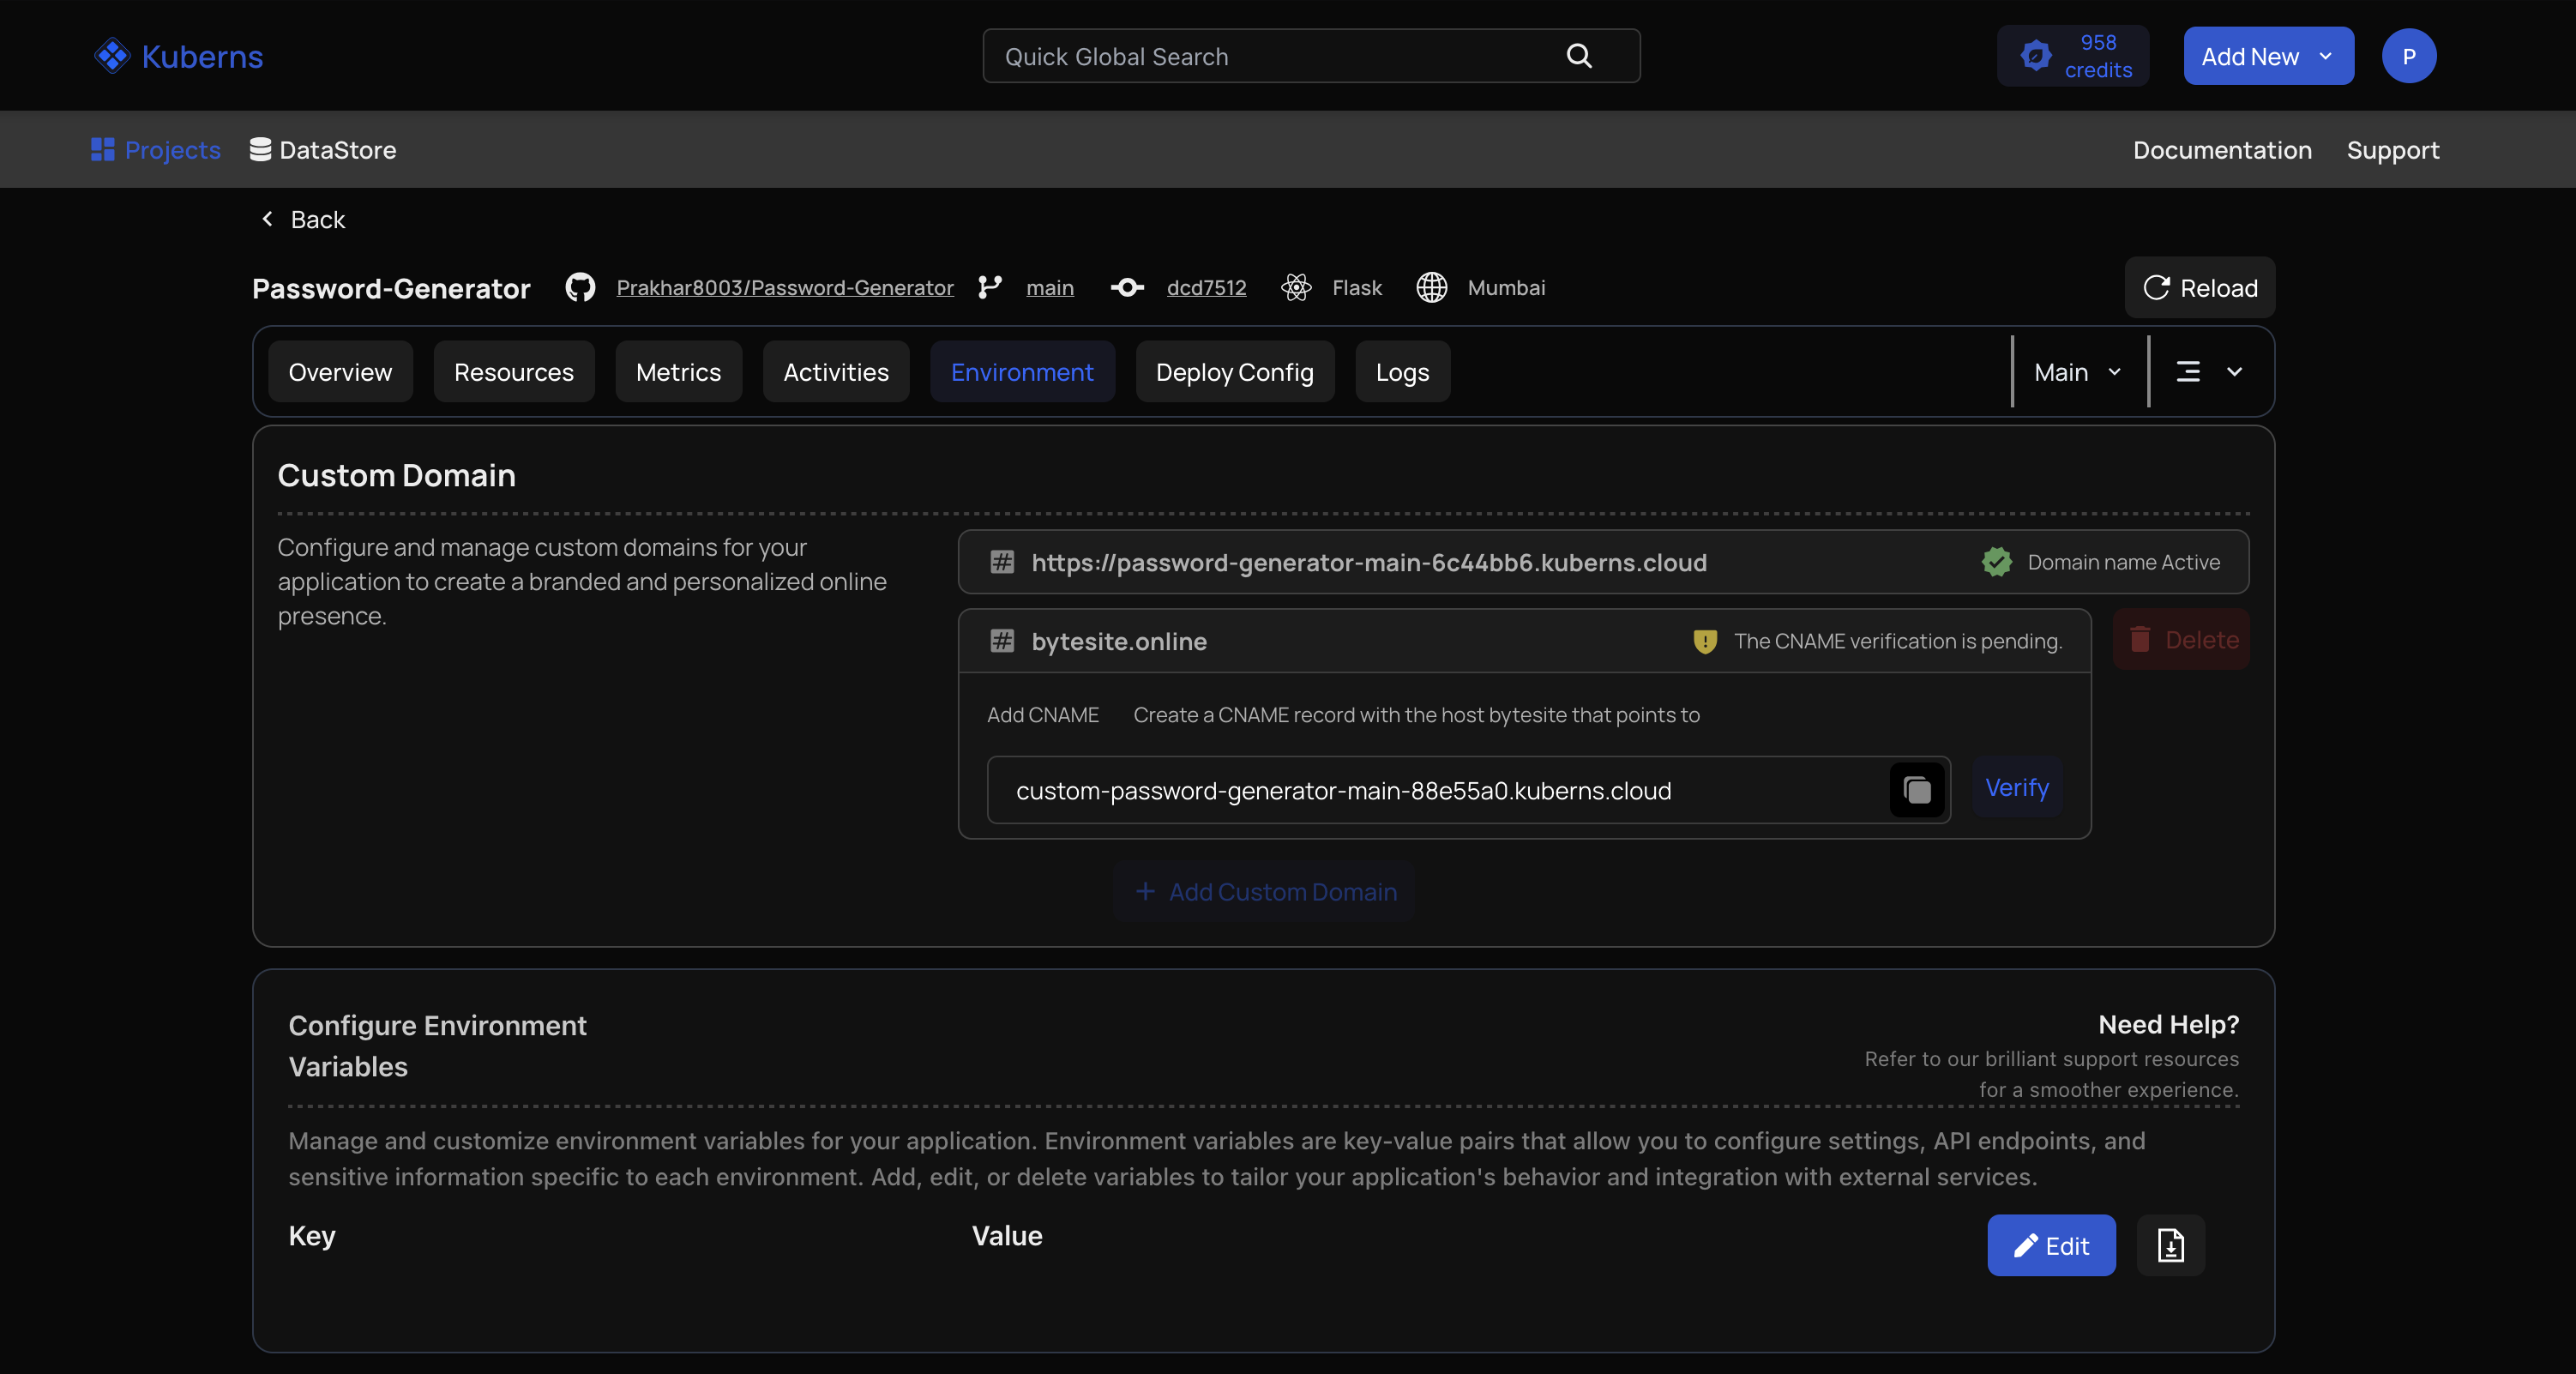
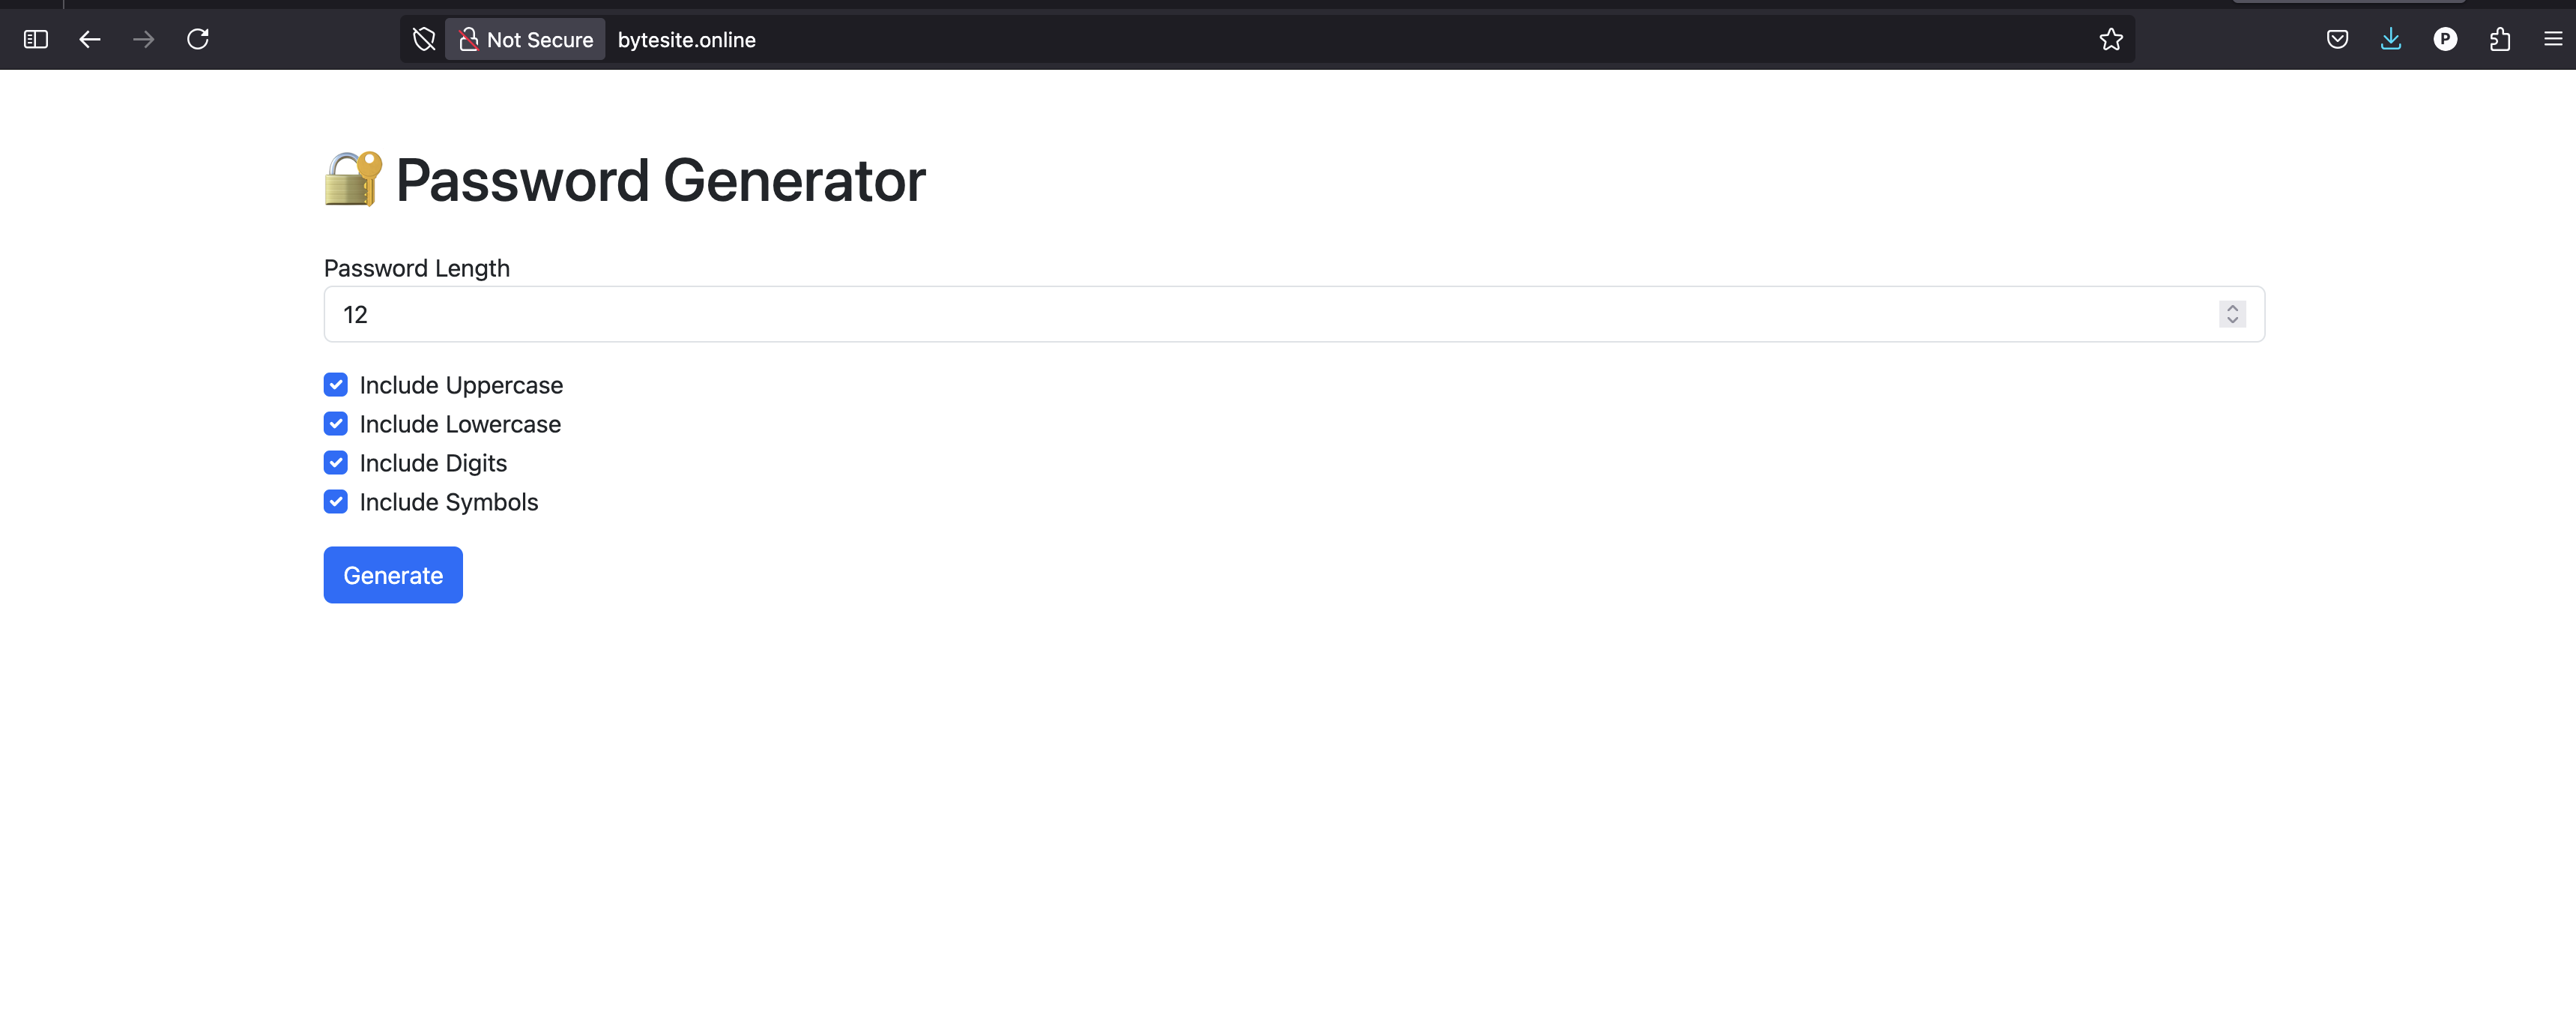
- Test your application by accessing it via the custom domain.
- If the domain is not working, ensure the CNAME record is correctly configured and wait for full propagation.
