Flask Deployment on Kuberns Guide | Deploy in One Click
Step-by-Step Guide to Deploying a Flask Application on Kuberns
1. Creating a Project
All your services come under a project. So to deploy your first Flask service let’s create a project to define different services that make up your application. New users are prompted with a new project screen by default but in case you missed it, you can create one by clicking on Add New button on the top right of your navigation bar.
- Start by giving your project an easy-to-remember and relatable name
- Pick the service you want to start your project with
- Here, we’ll select Backend Service.
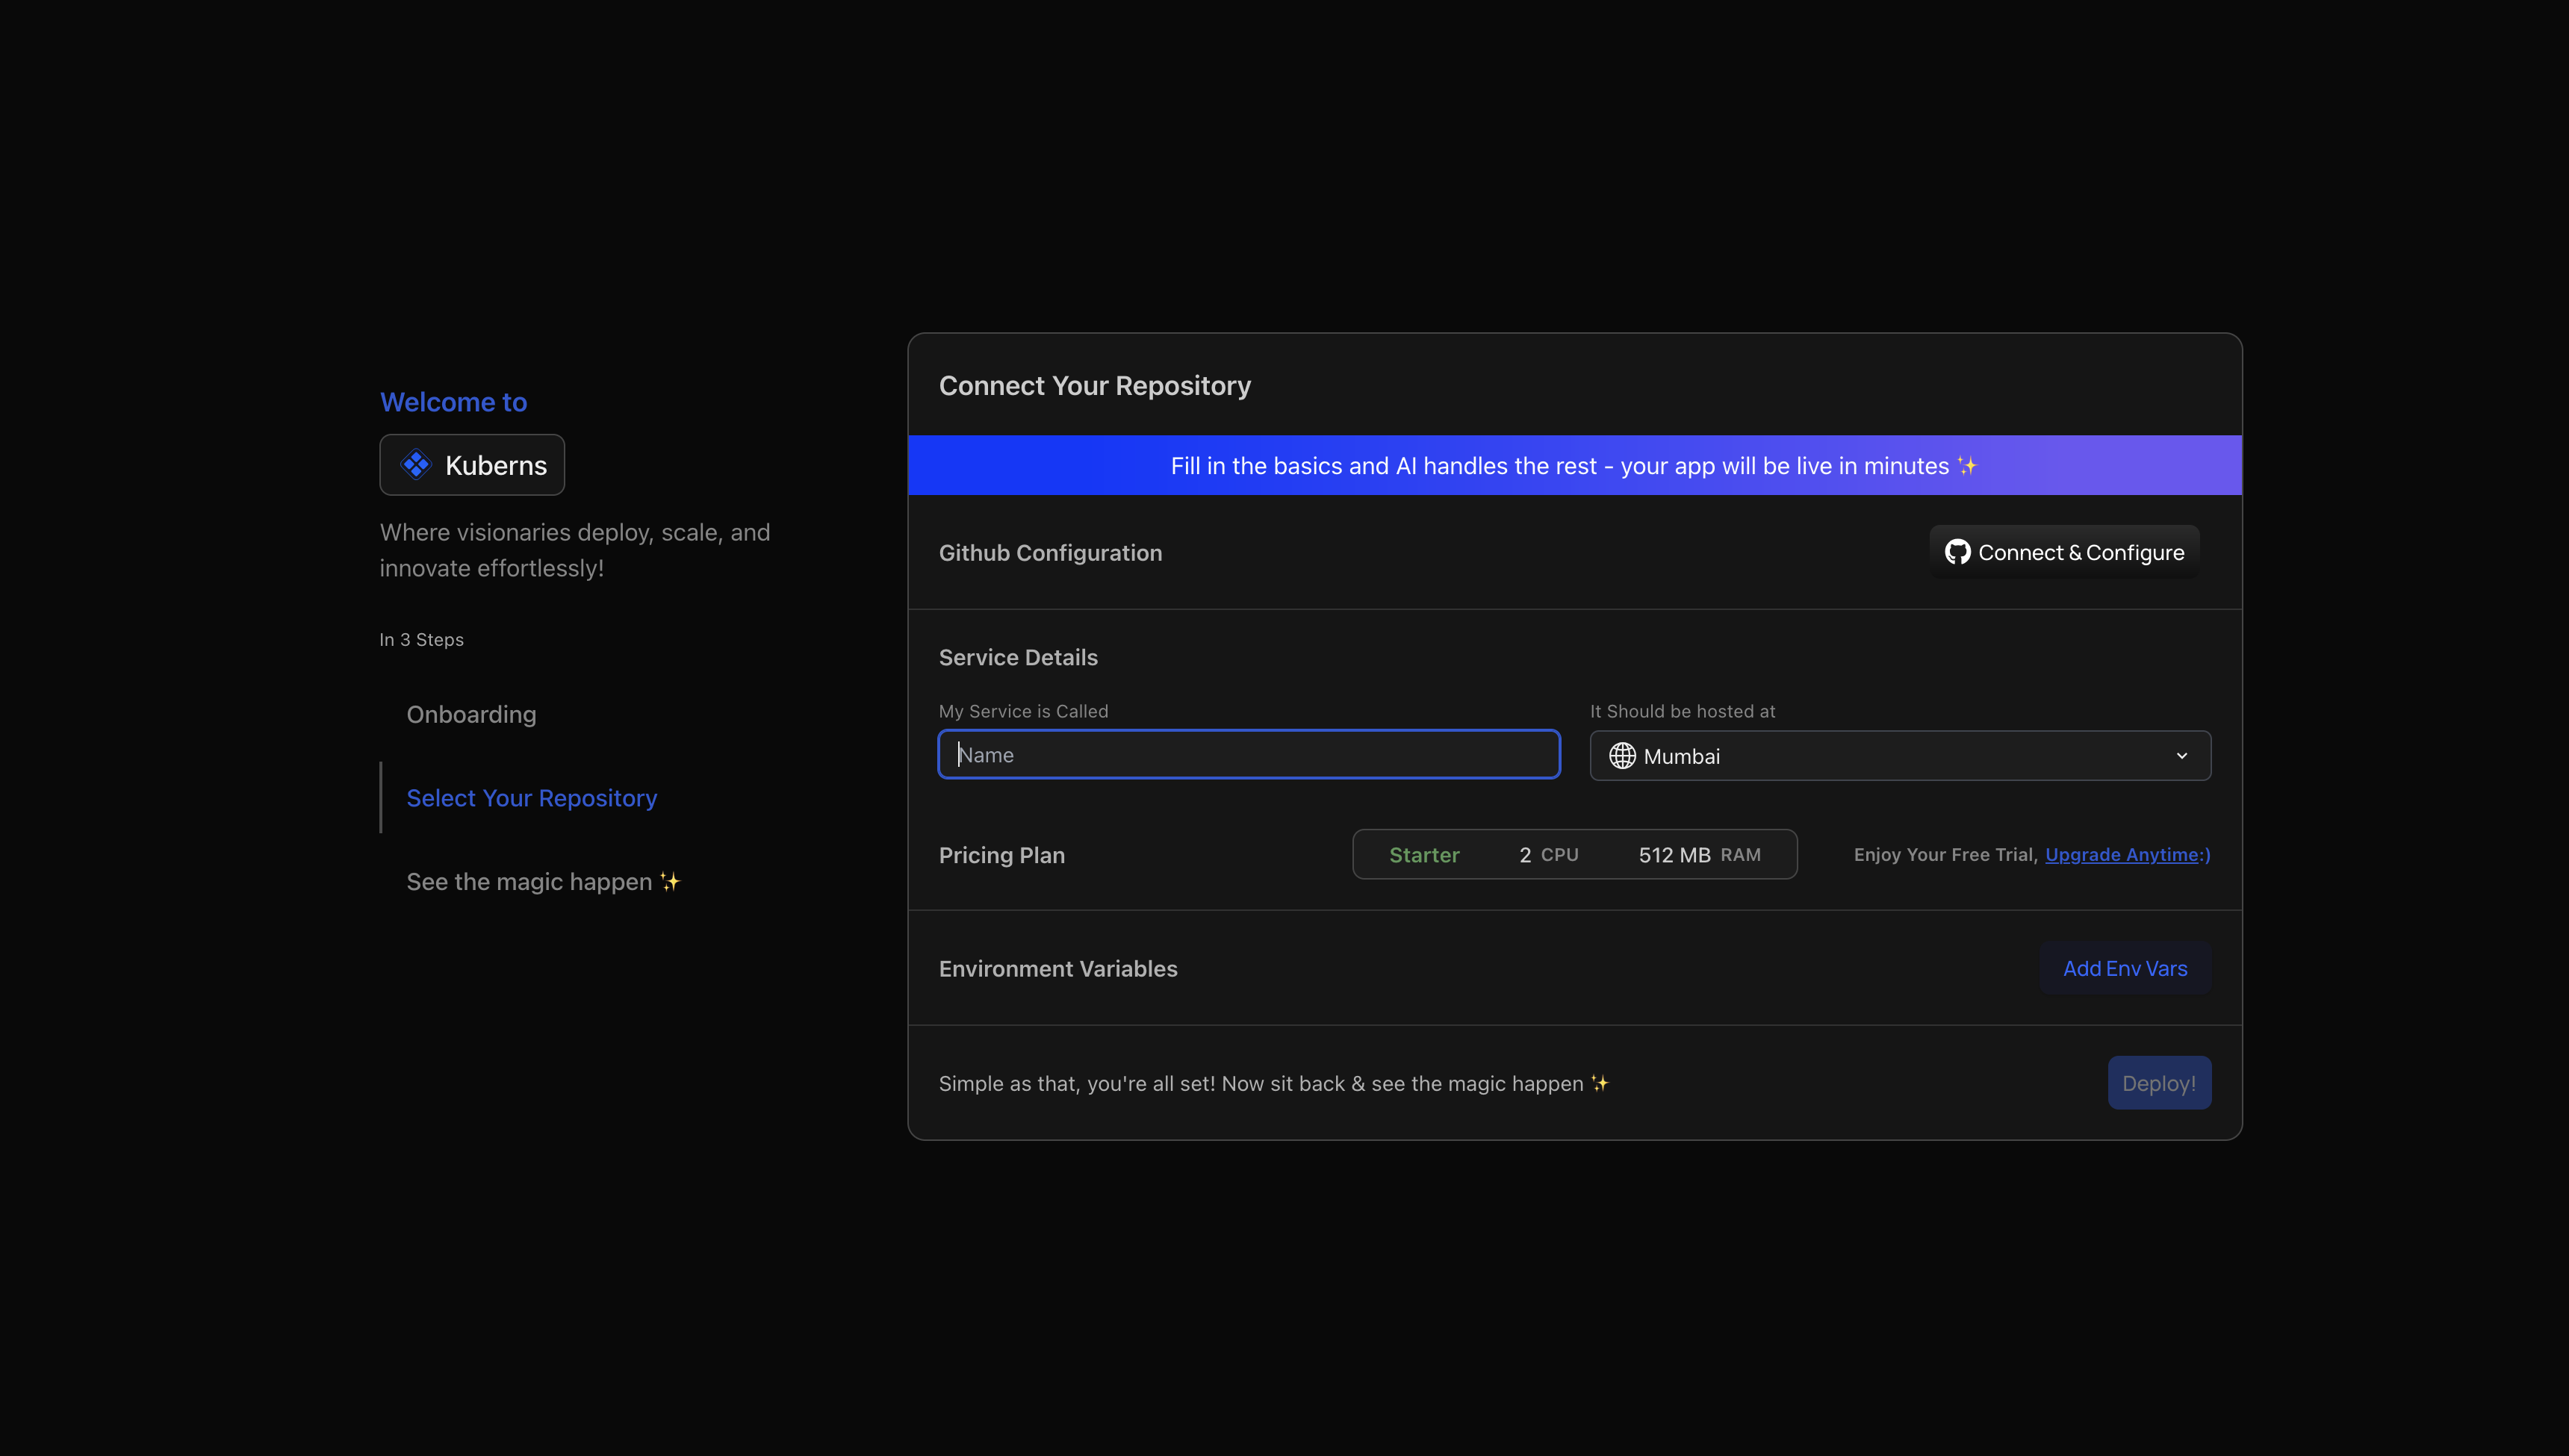
2. Creating Services
Following the selection of service, you will be redirected to the "Creating a Service" page where you can configure the version control source, region and pricing plan.
If this is the first time to Kuberns, you will need to authenticate GitHub to allow access to your repositories. Once authorized, you can select an organization, repository, and branch from your GitHub account.
- On choosing to connect to GitHub, you are redirected to authorize Kuberns to access your Repositories.
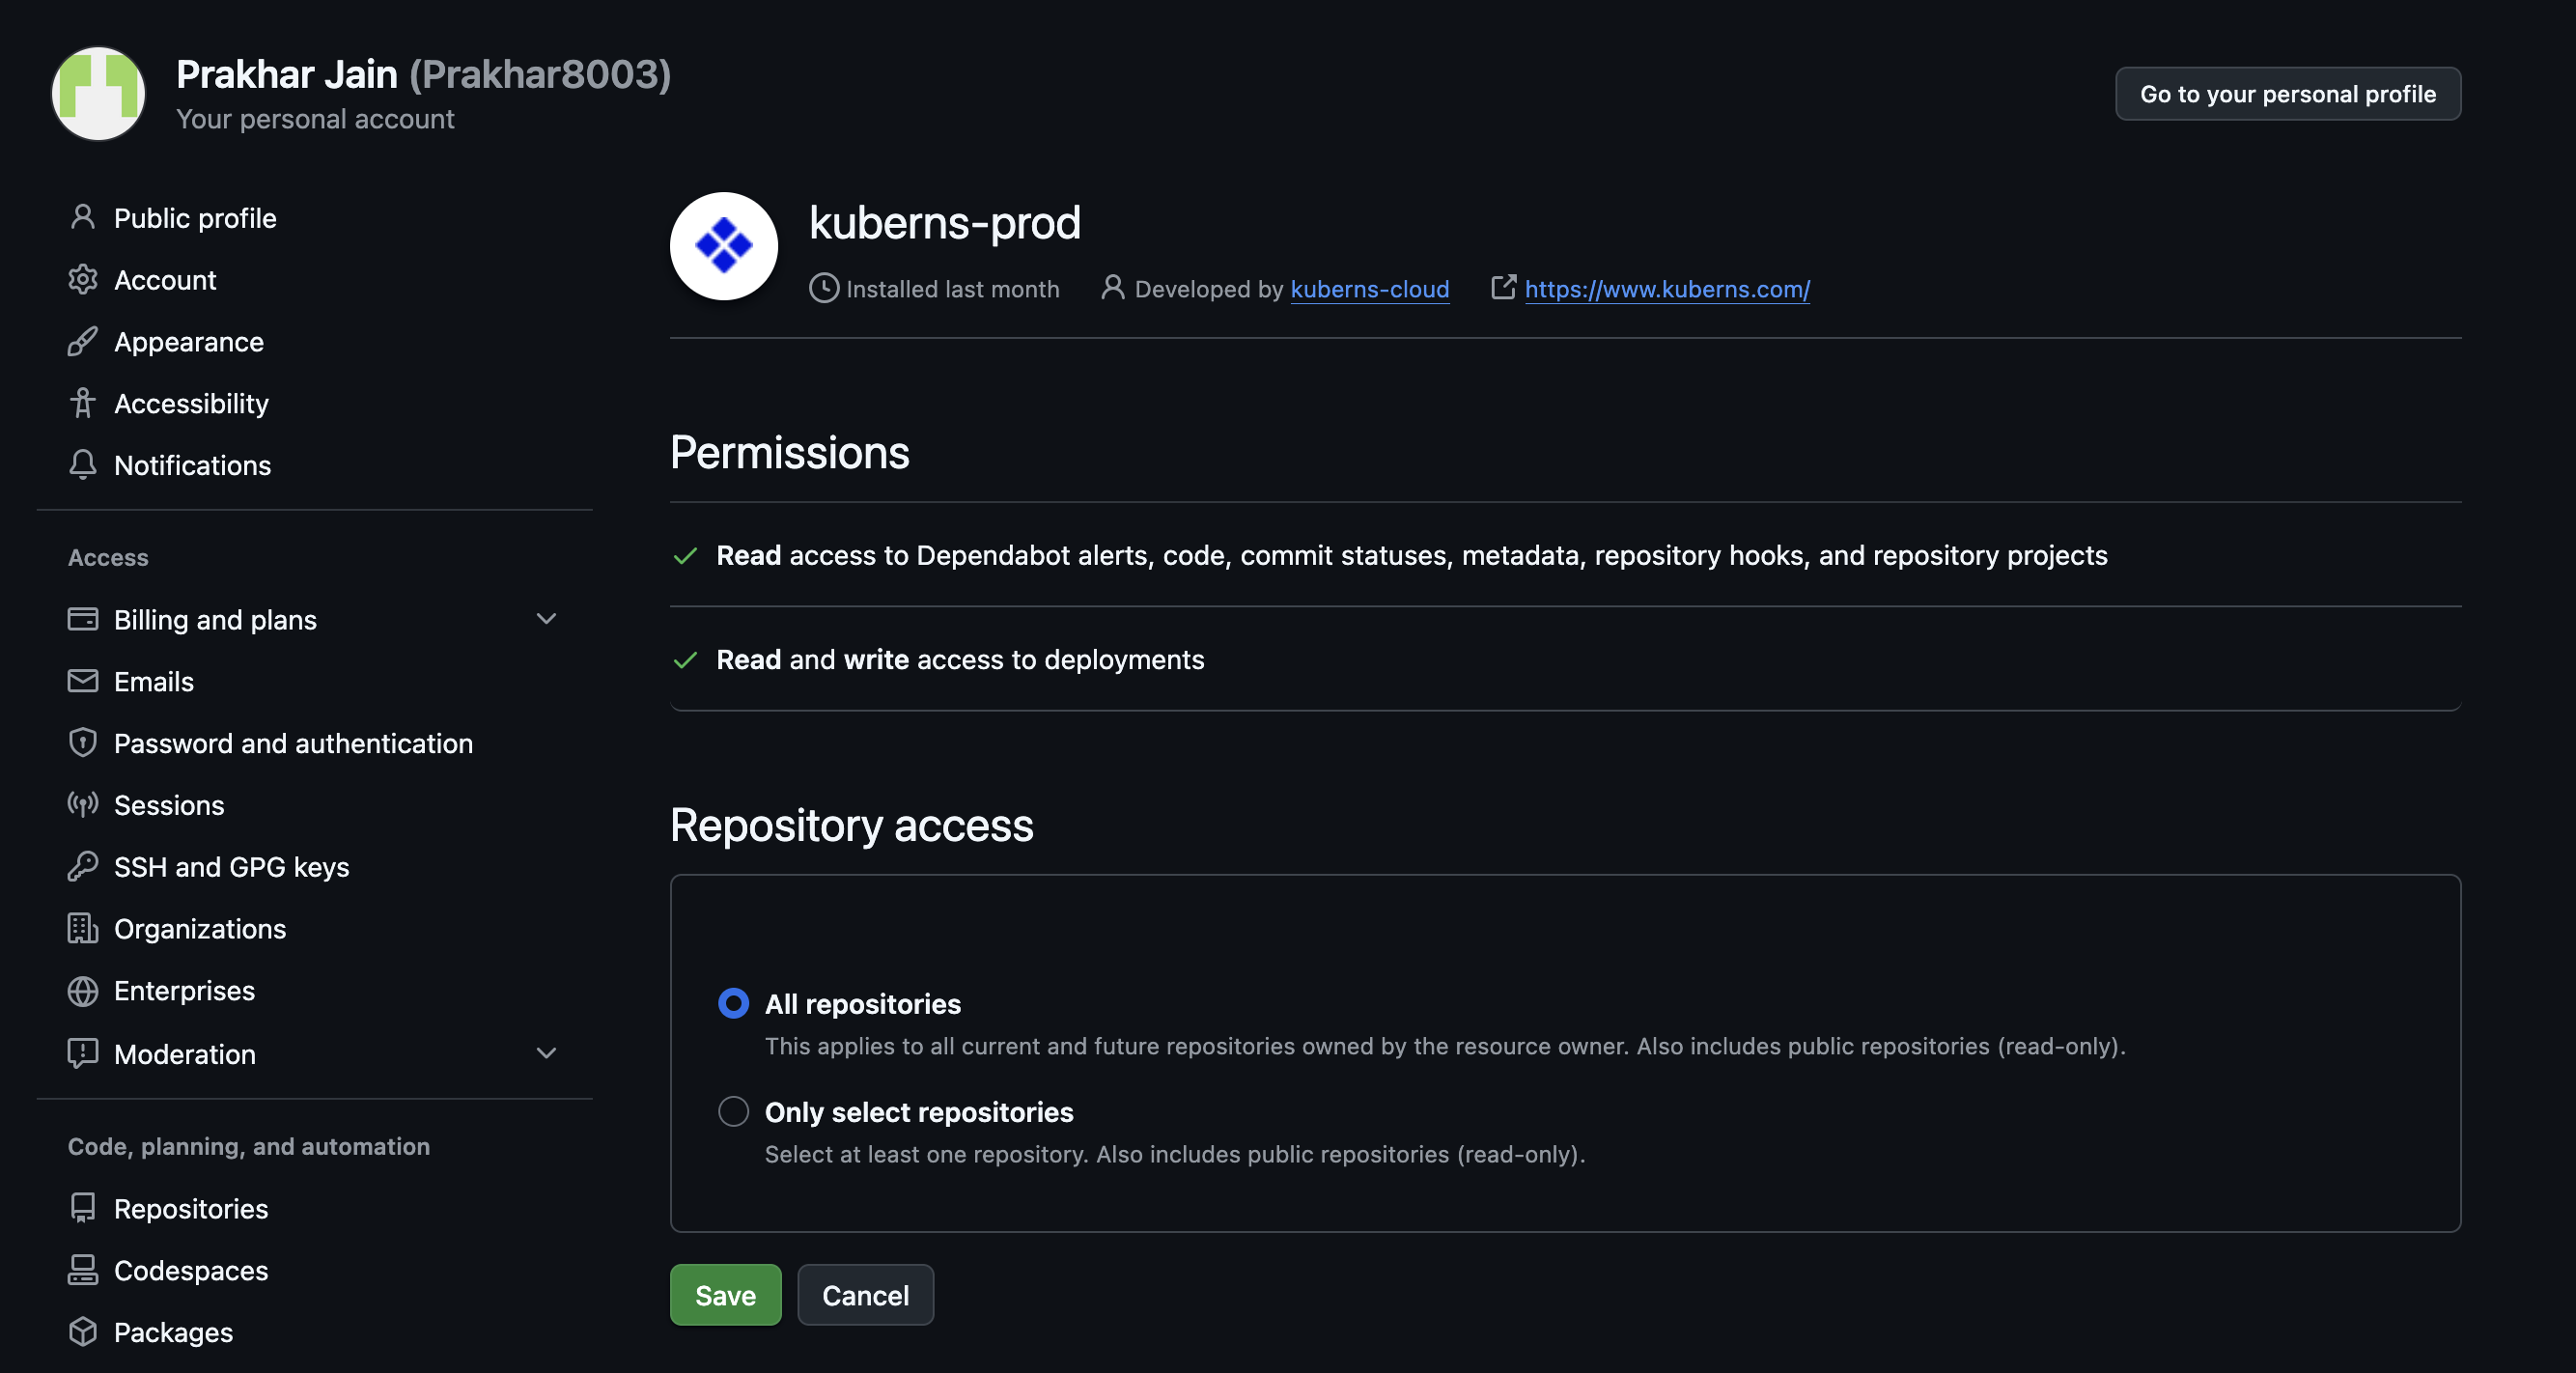
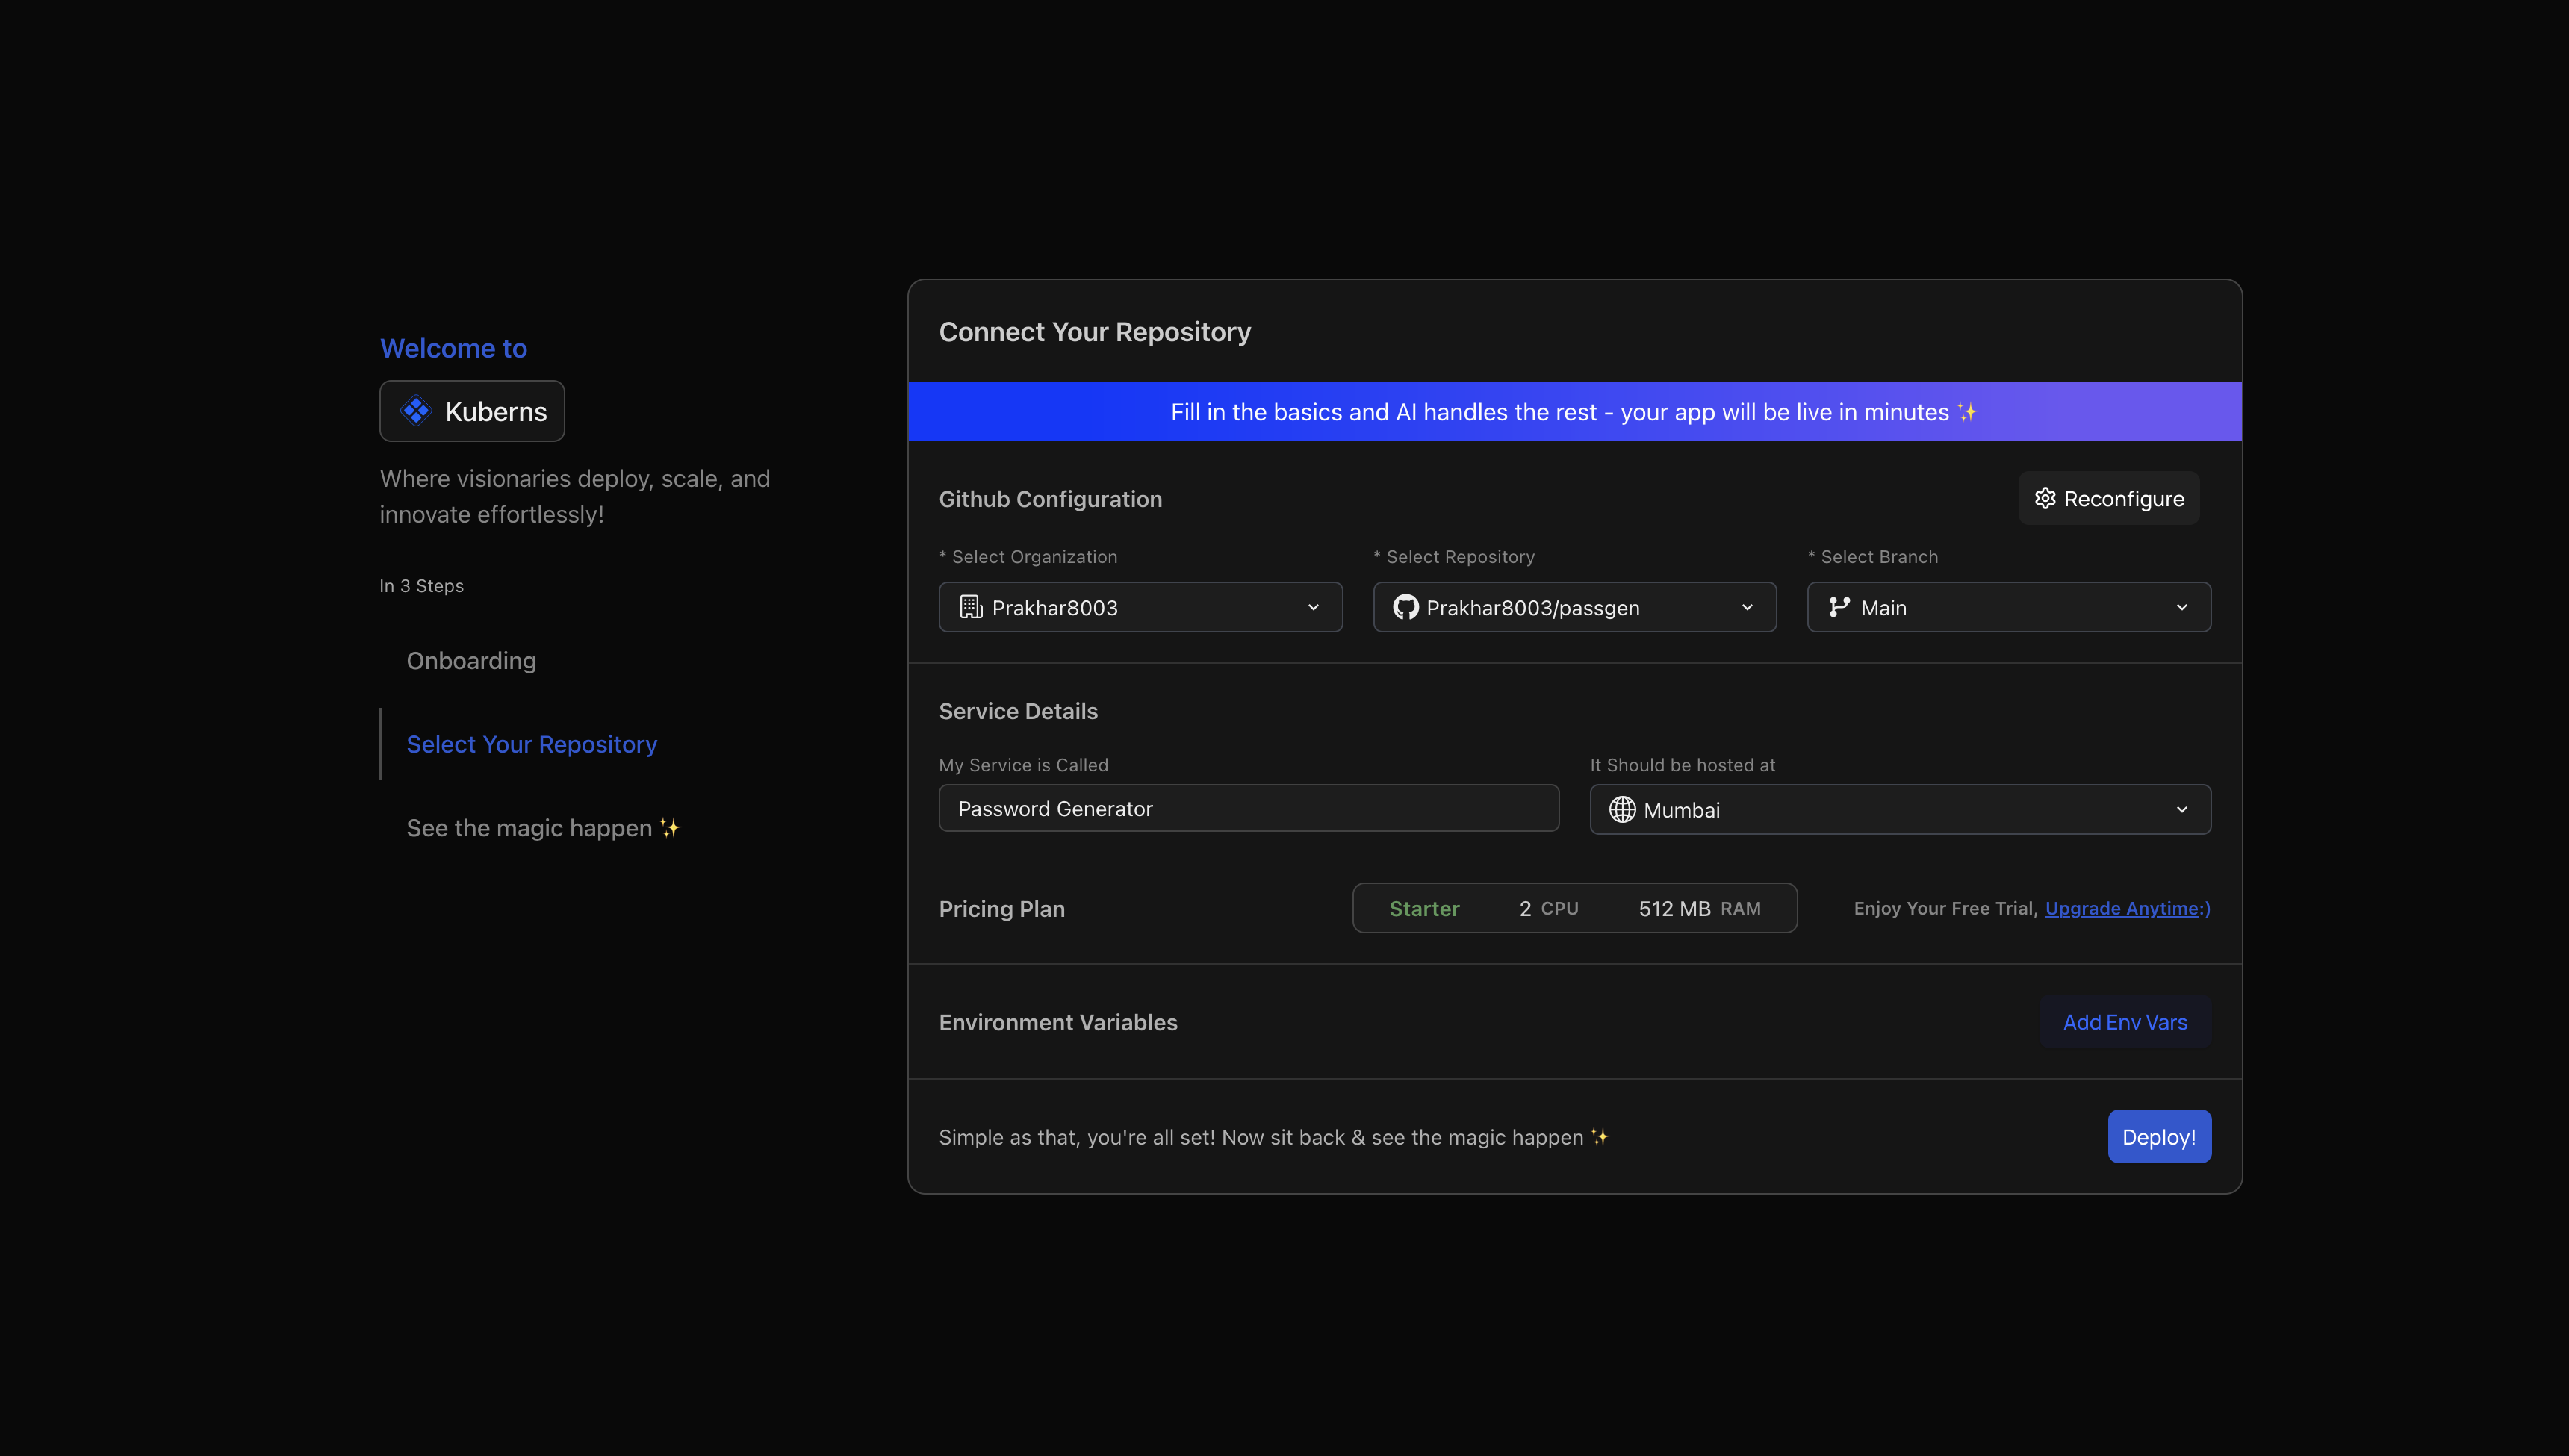
Consecutively you are redirected back to the Kuberns dashboard, which now displays a list of your GitHub repos to choose from including your choice of organization and branch thus successfully linking your GitHub account.
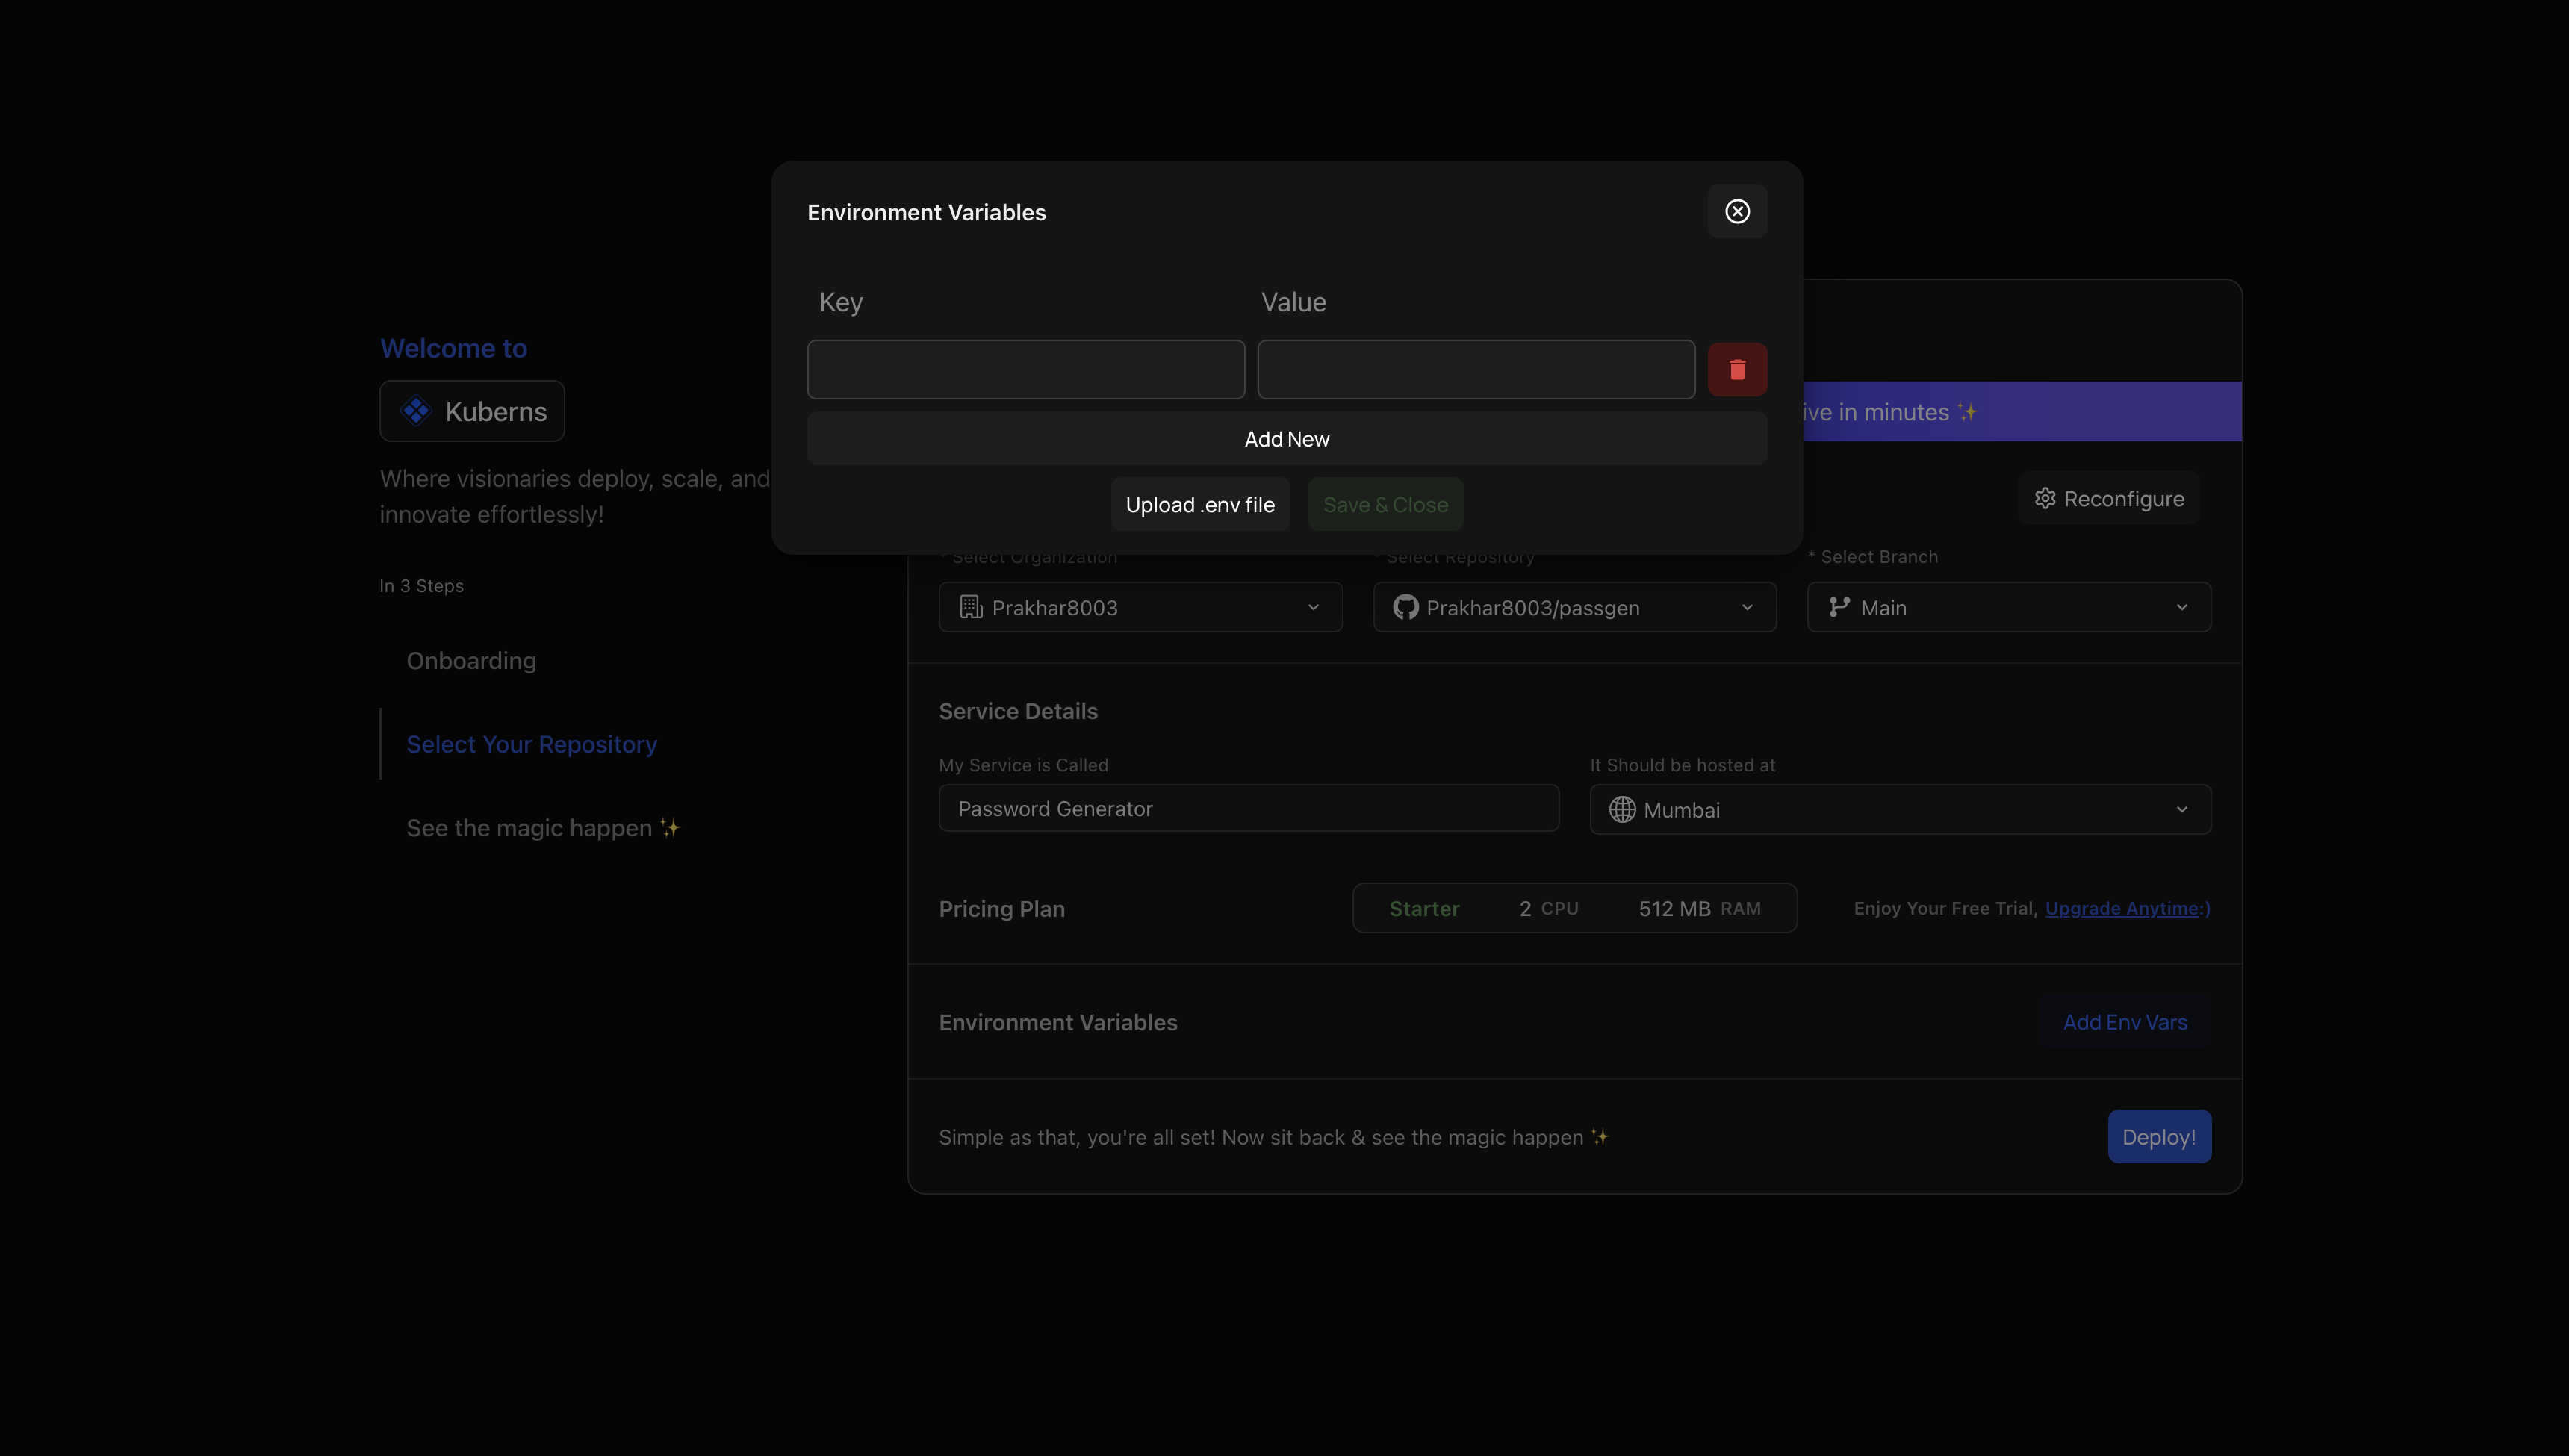
3. Configure Environment Variables:
- Define your environment variables manually or upload a
.envfile. - Navigate to the "Environment" section of your service. - Click "Add Env Vars" and input the key-value pairs. Alternatively, upload a
.envfile containing the environment variables. - Ensure the
.envfile contains key-value pairs without special characters.
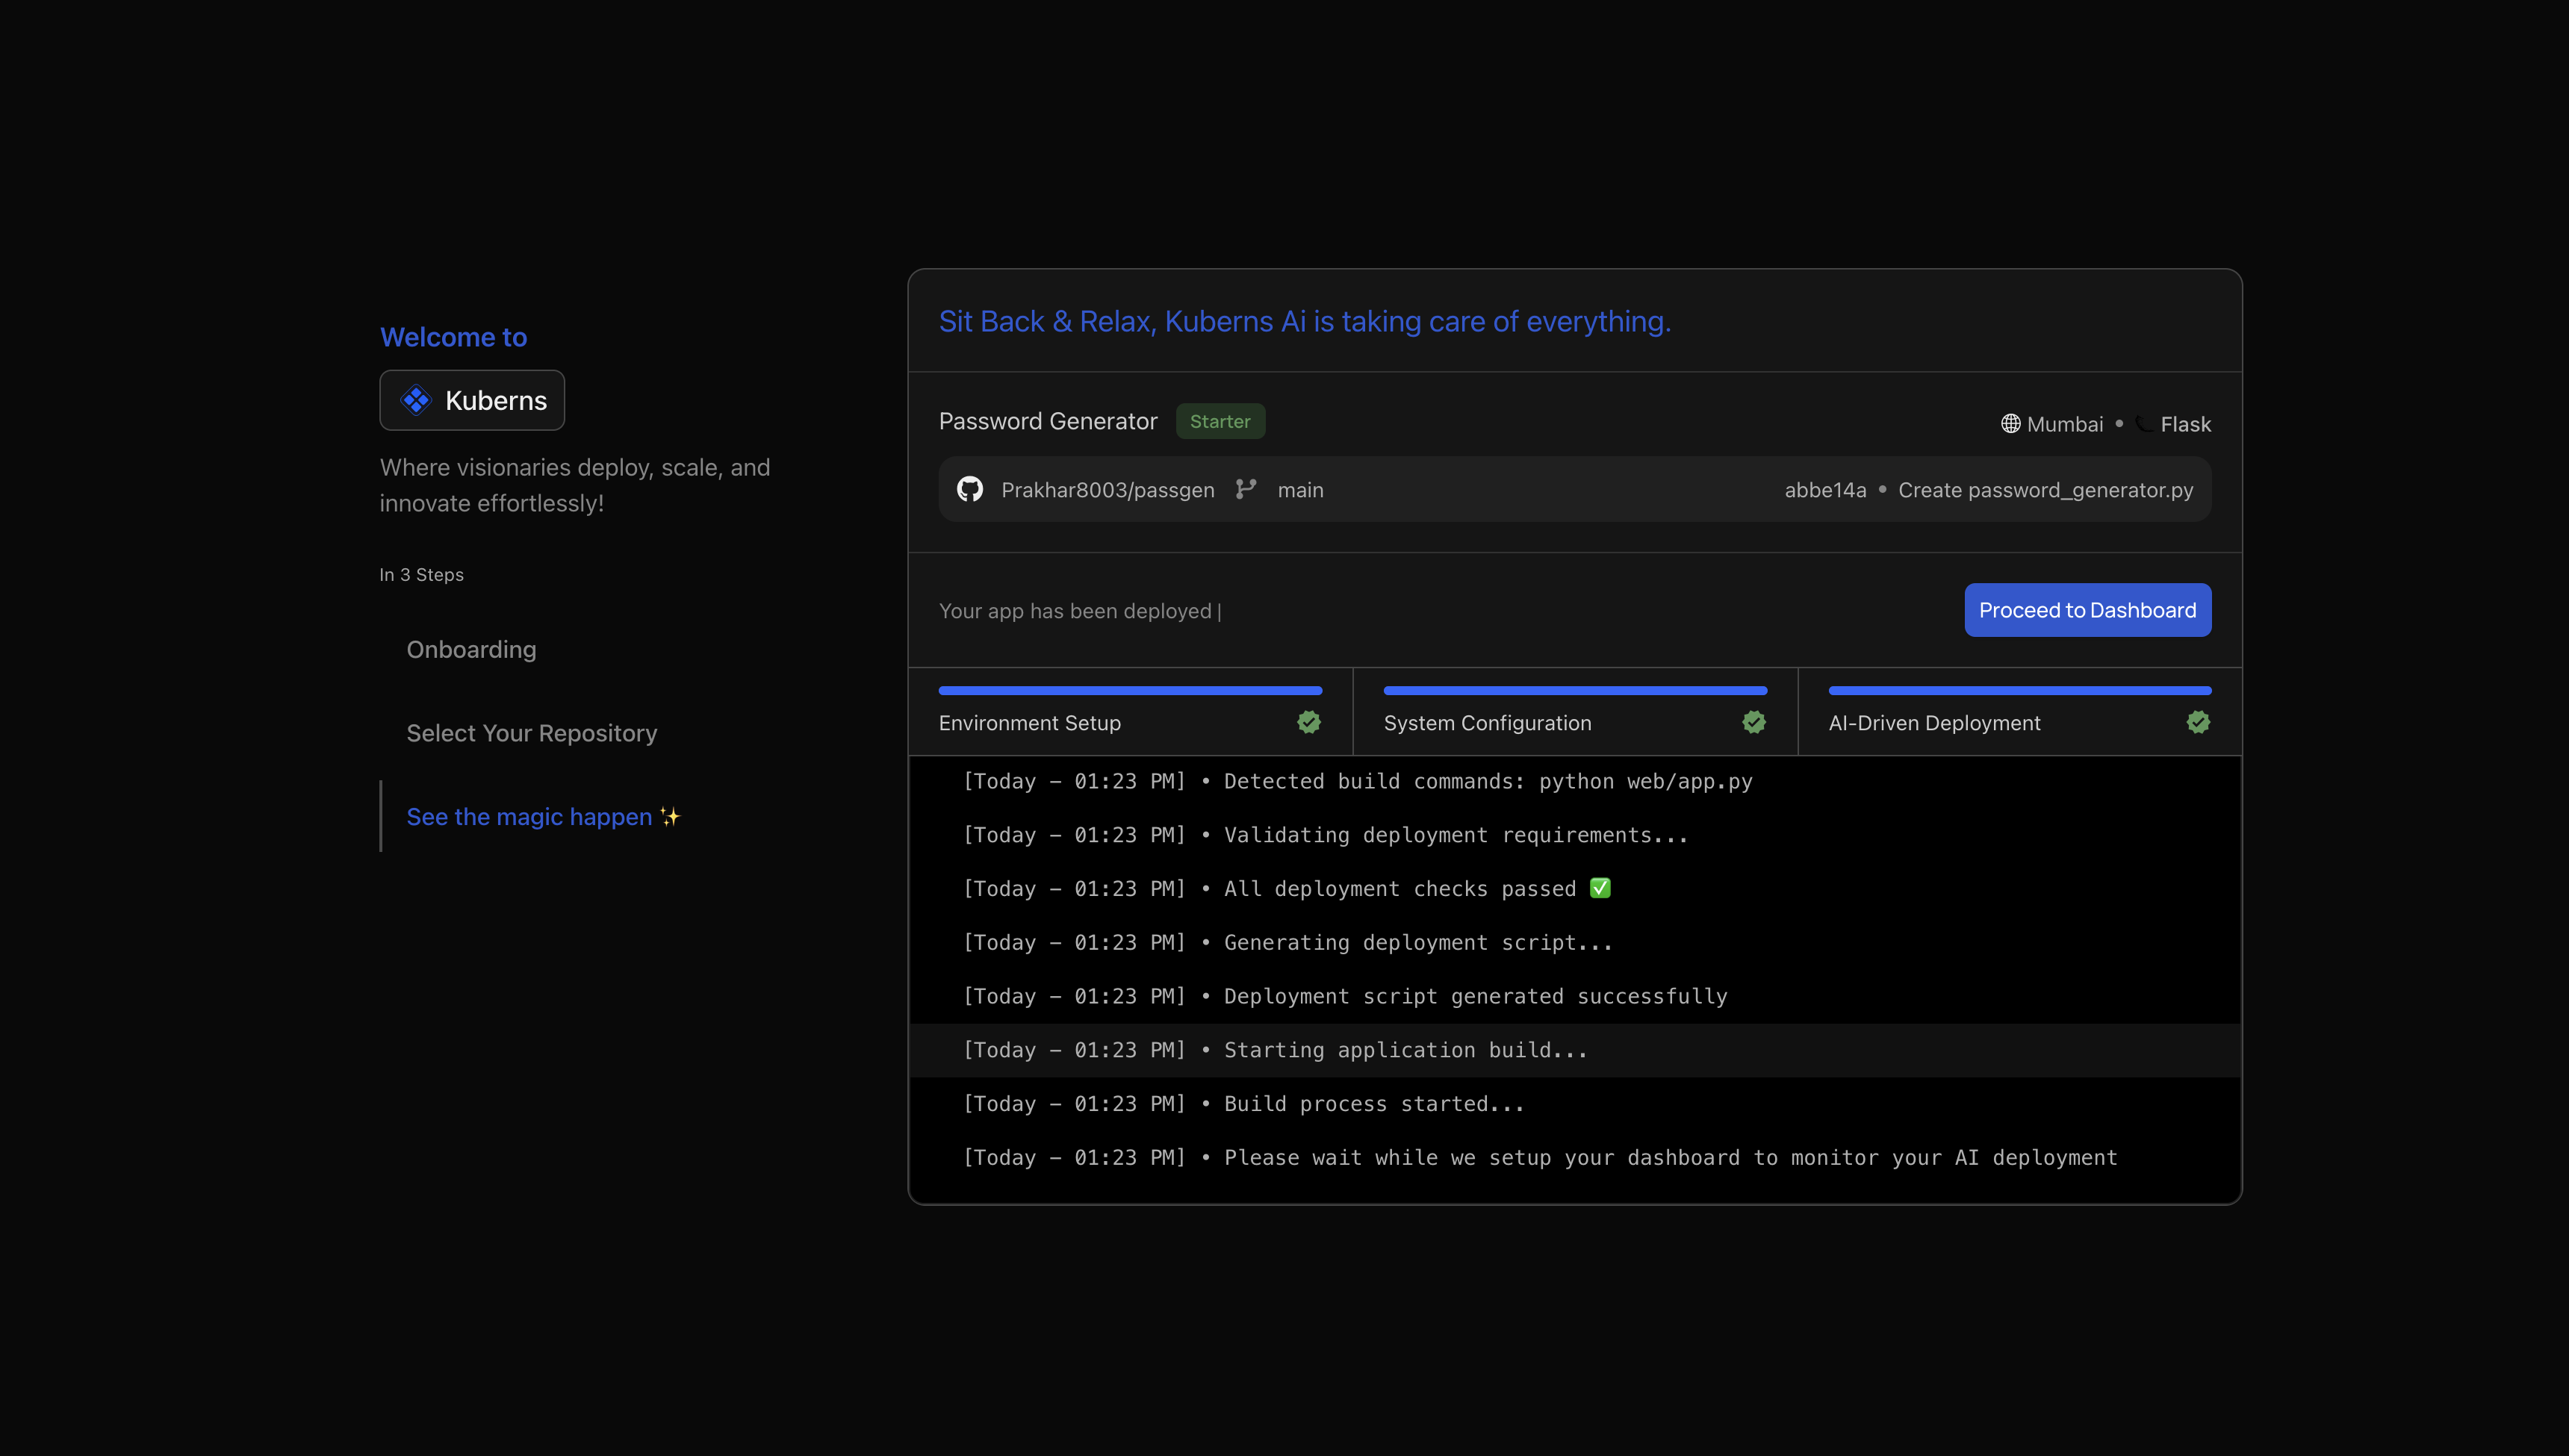
4. Click On Deploy and Let AI Take Care the Rest
Click Deploy, and let Kuberns AI handle the rest.
- Watch real-time logs as your app is set up.
- The system handles environment setup, system config, repo cloning, checks, and more.
- Within a few minutes, your app is deployed
- “Sit back & relax, Kuberns AI is taking care of everything.”
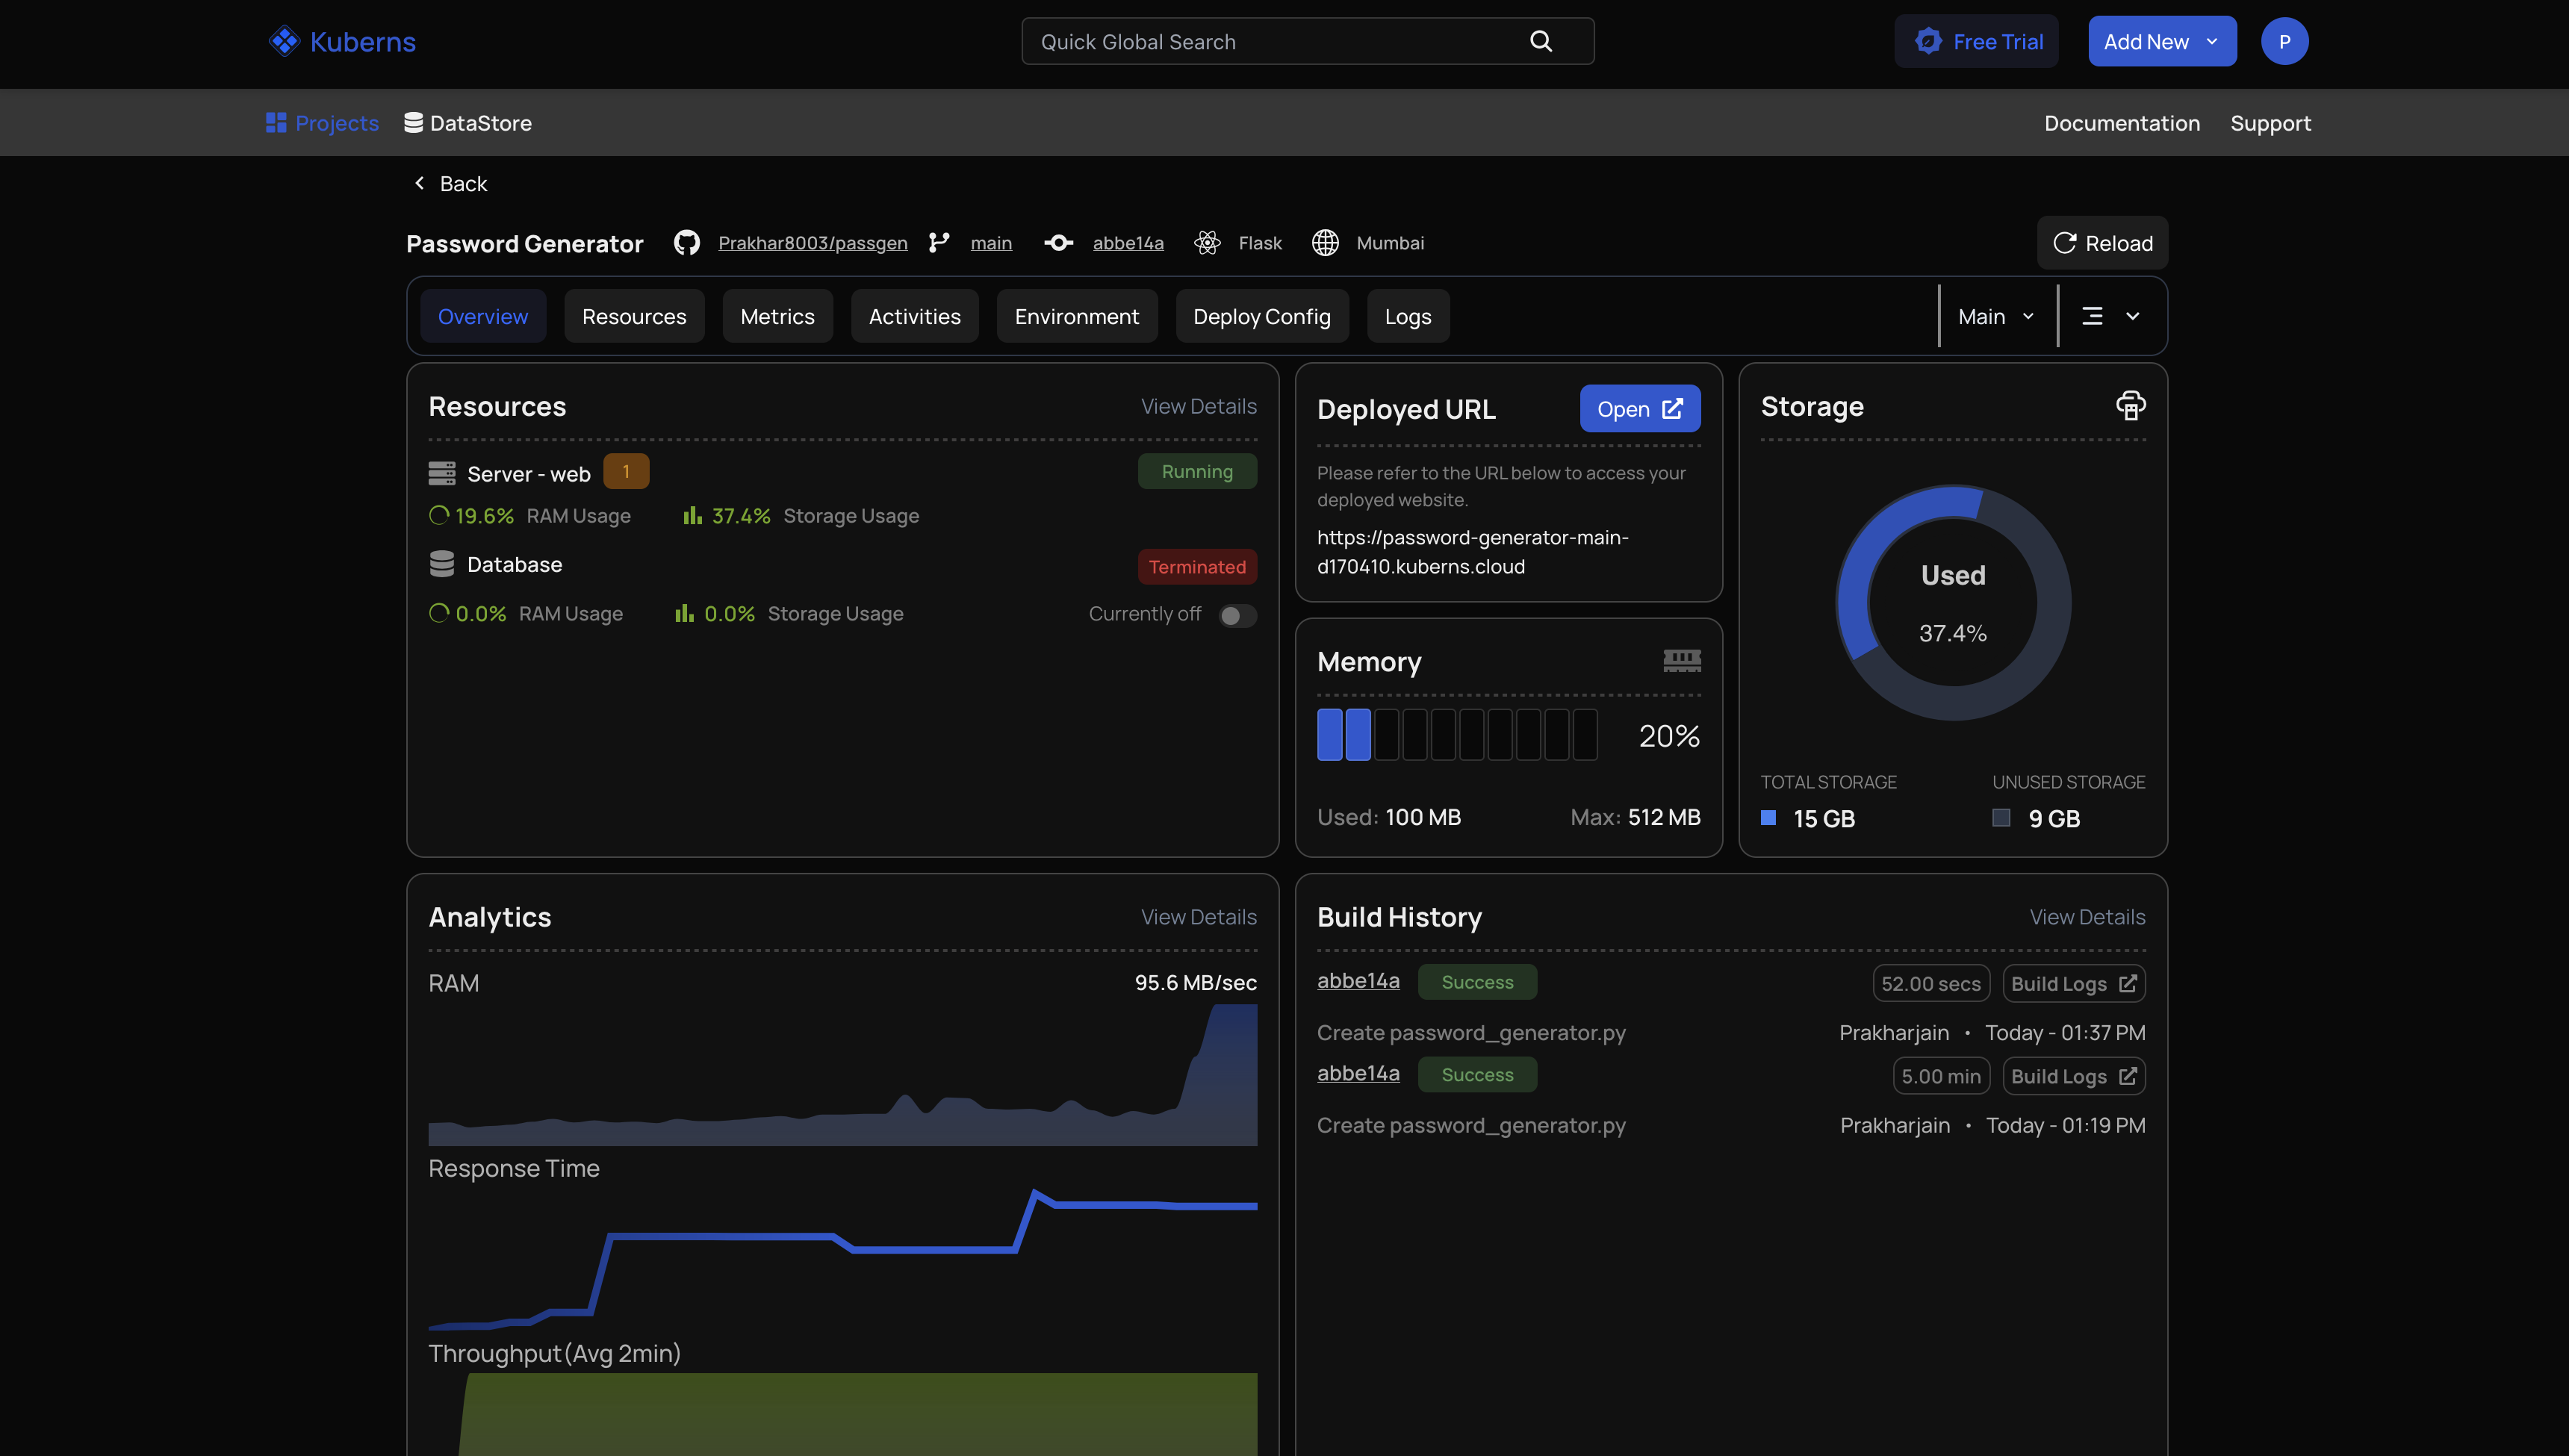
5. Manage everything from the AI Dashboard
Welcome to your Kuberns Dashboard! Here you can:
- Open your deployed URL
- View live usage stats
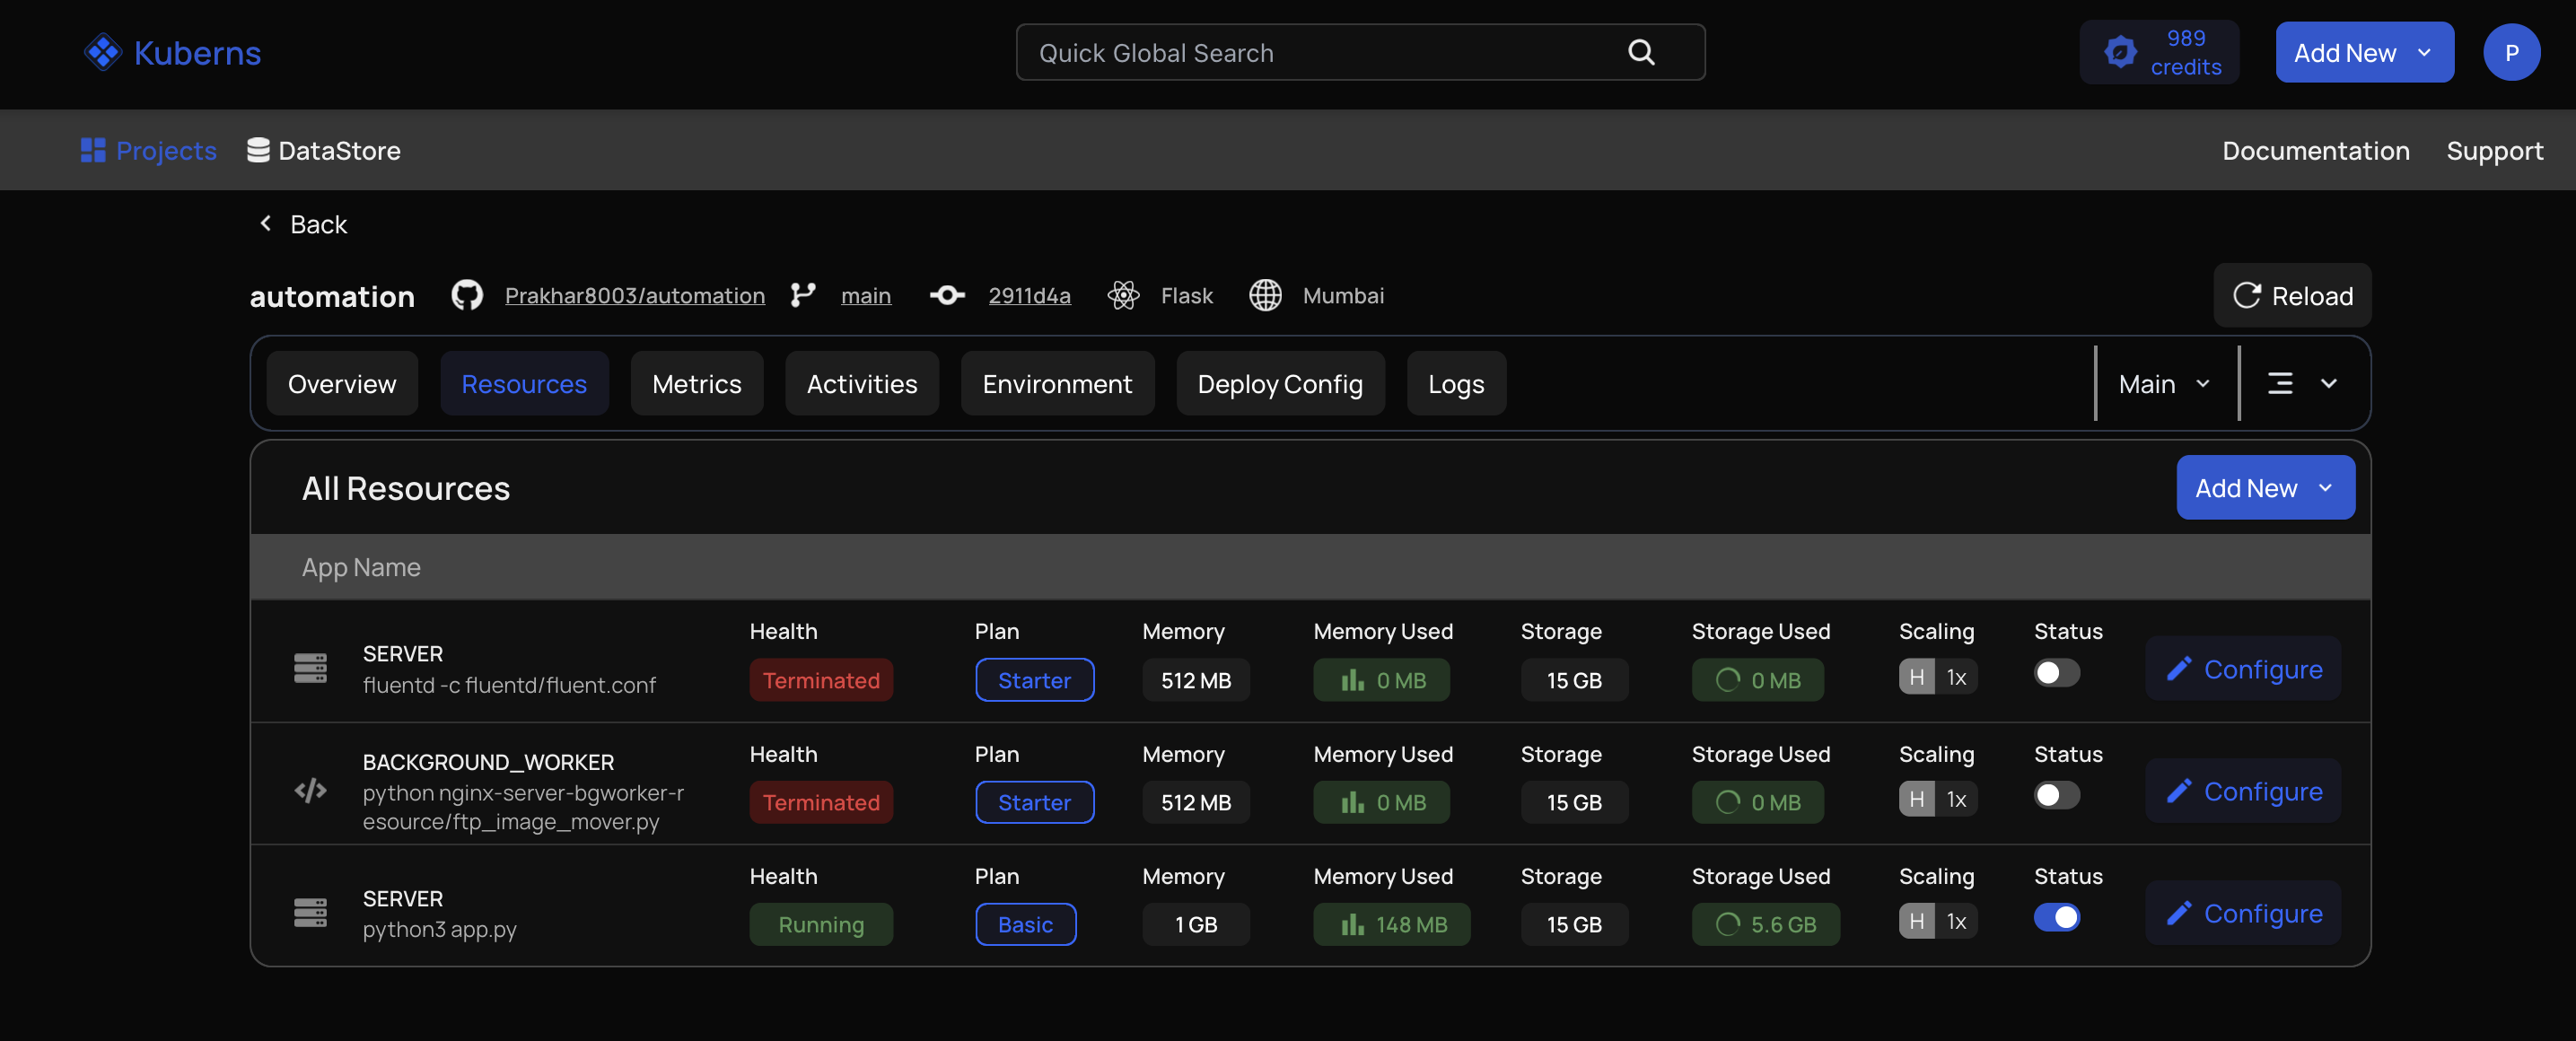
- Check Your Resources (Server, Database, BG Workers)
- Get your detailed Metrics and Analytics
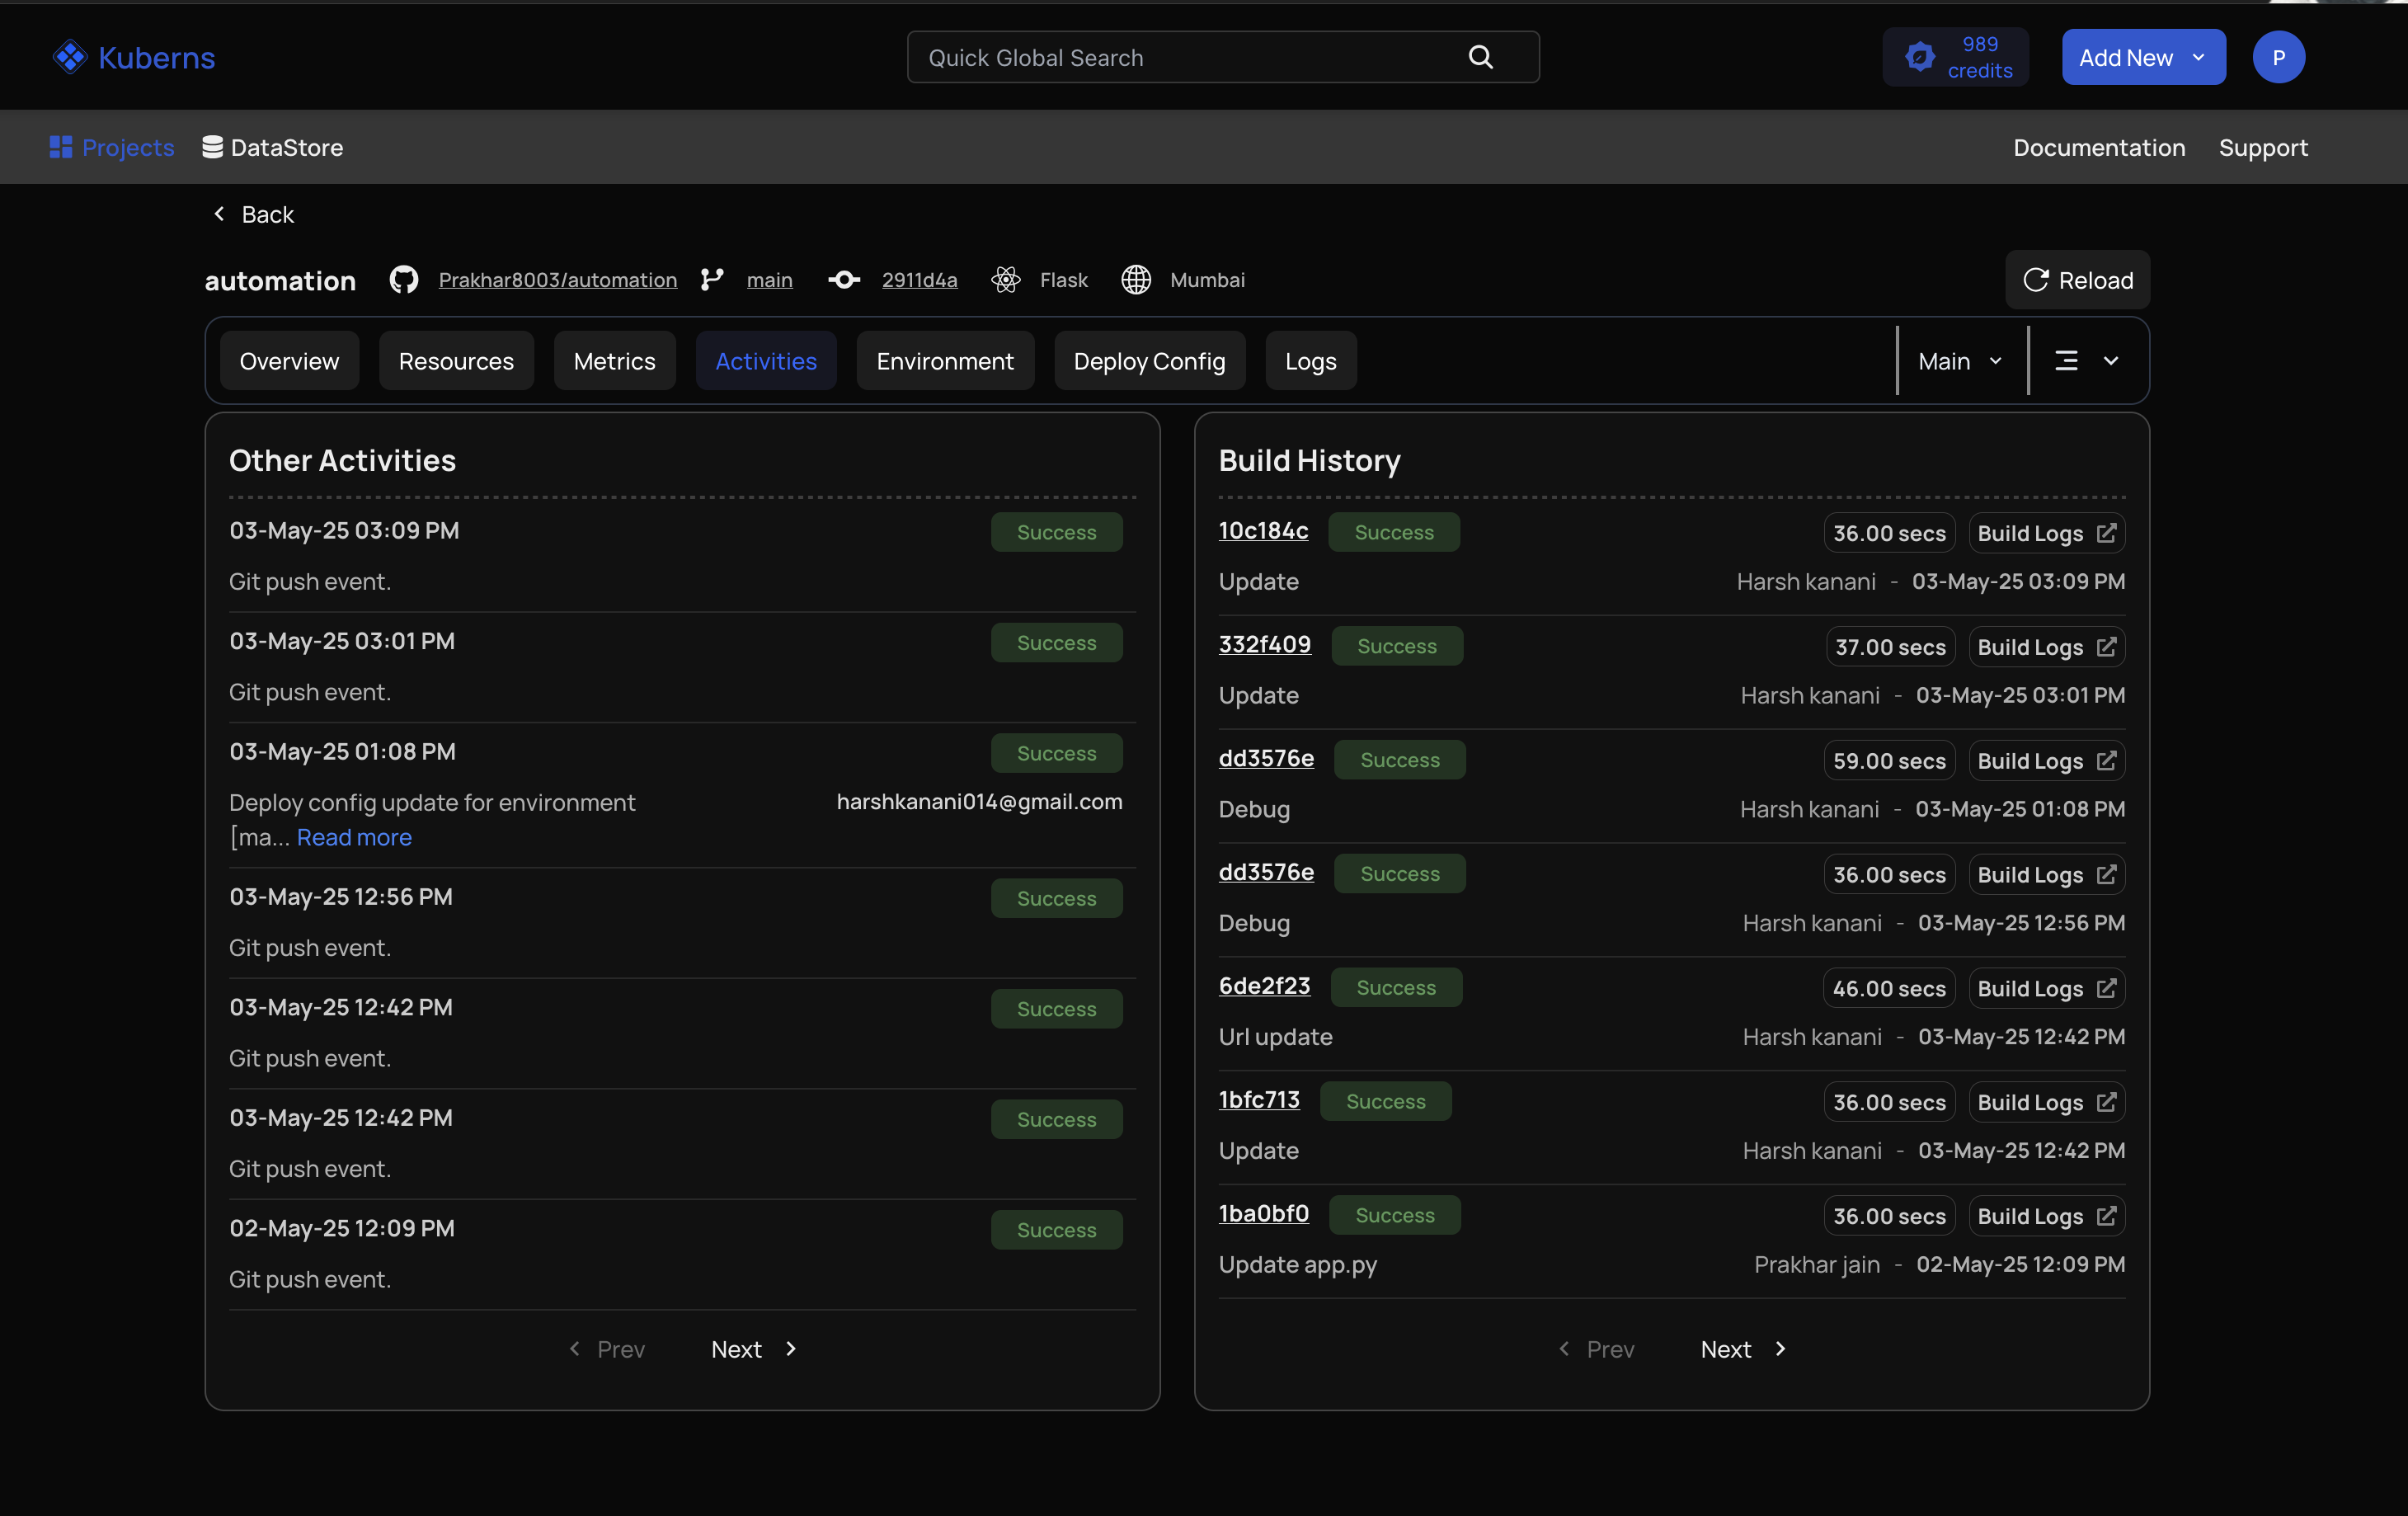
- Check Activities and Build History
- Configure your Environment, even after Deployment
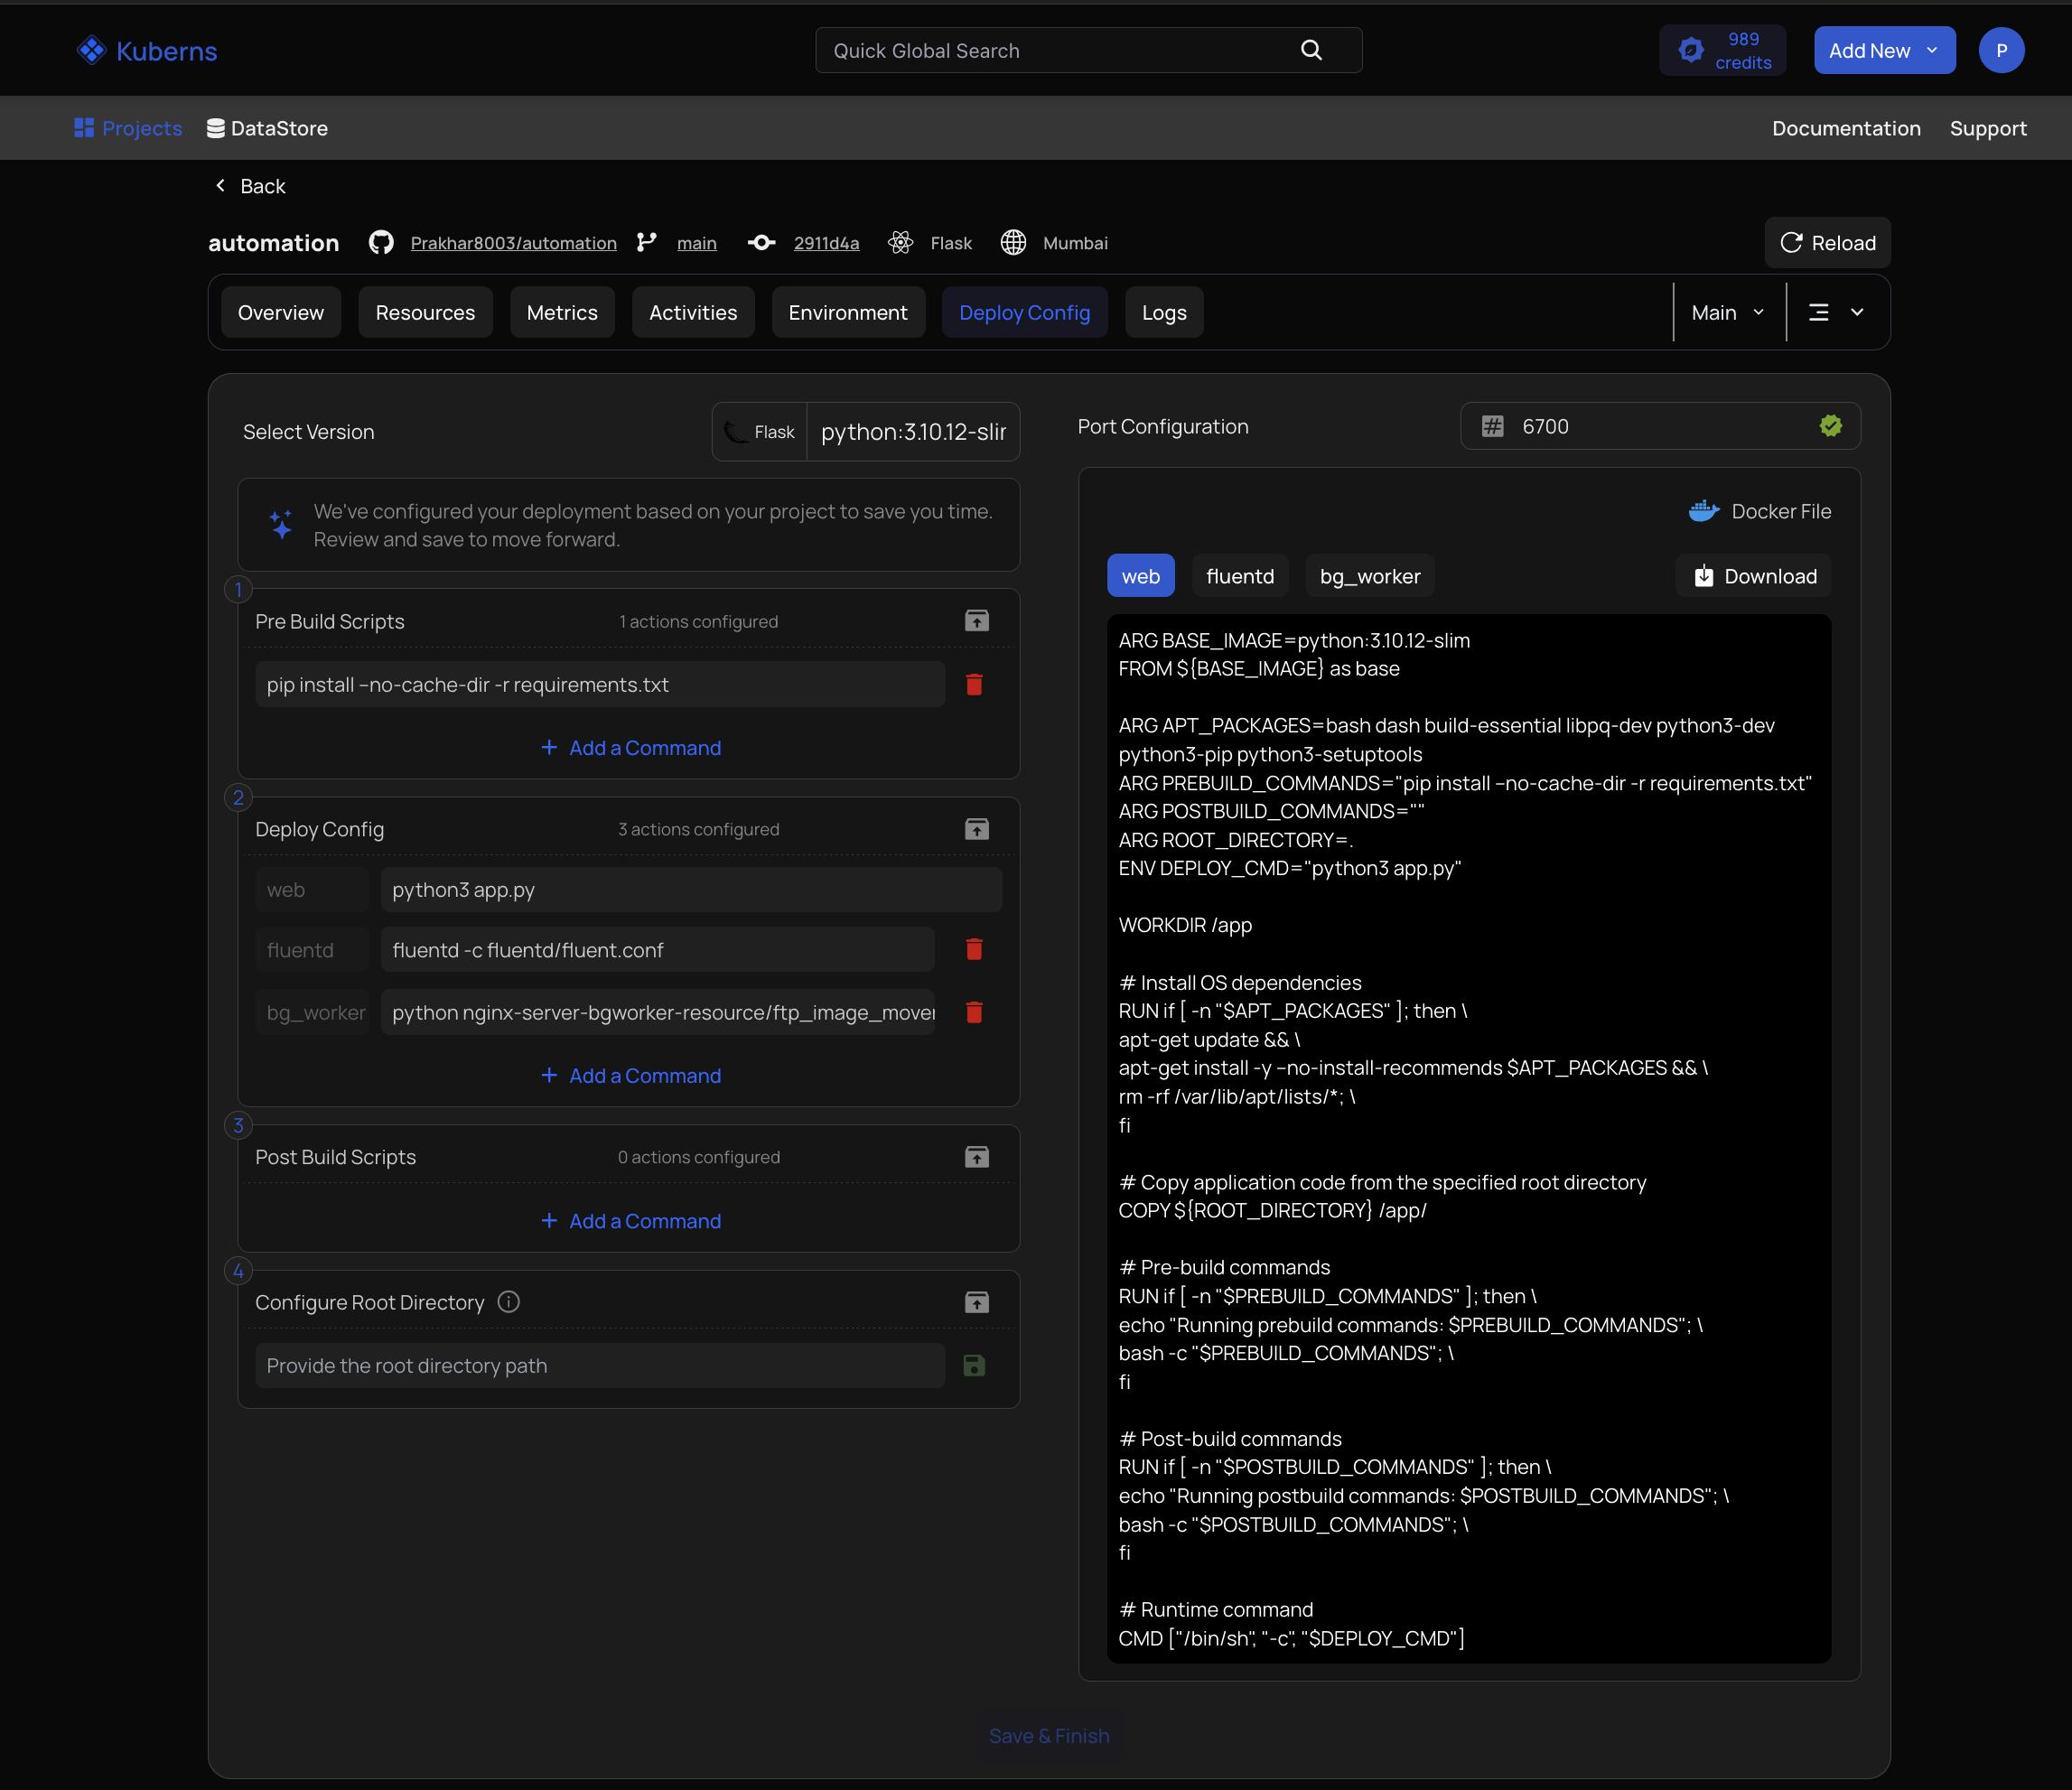
- Customize your Deploy Config, According to you, in a easy way “NO YAML”
- Monitor real time logs
It’s your control room, re-imagined with clarity and power.
6. Post Deployment
- Check Activities
- Tailor your Deploy Config
- Add PreBuild Scripts
- Add Post Build Scripts
- Tailor your Deploy Config and Configure the Root Directory
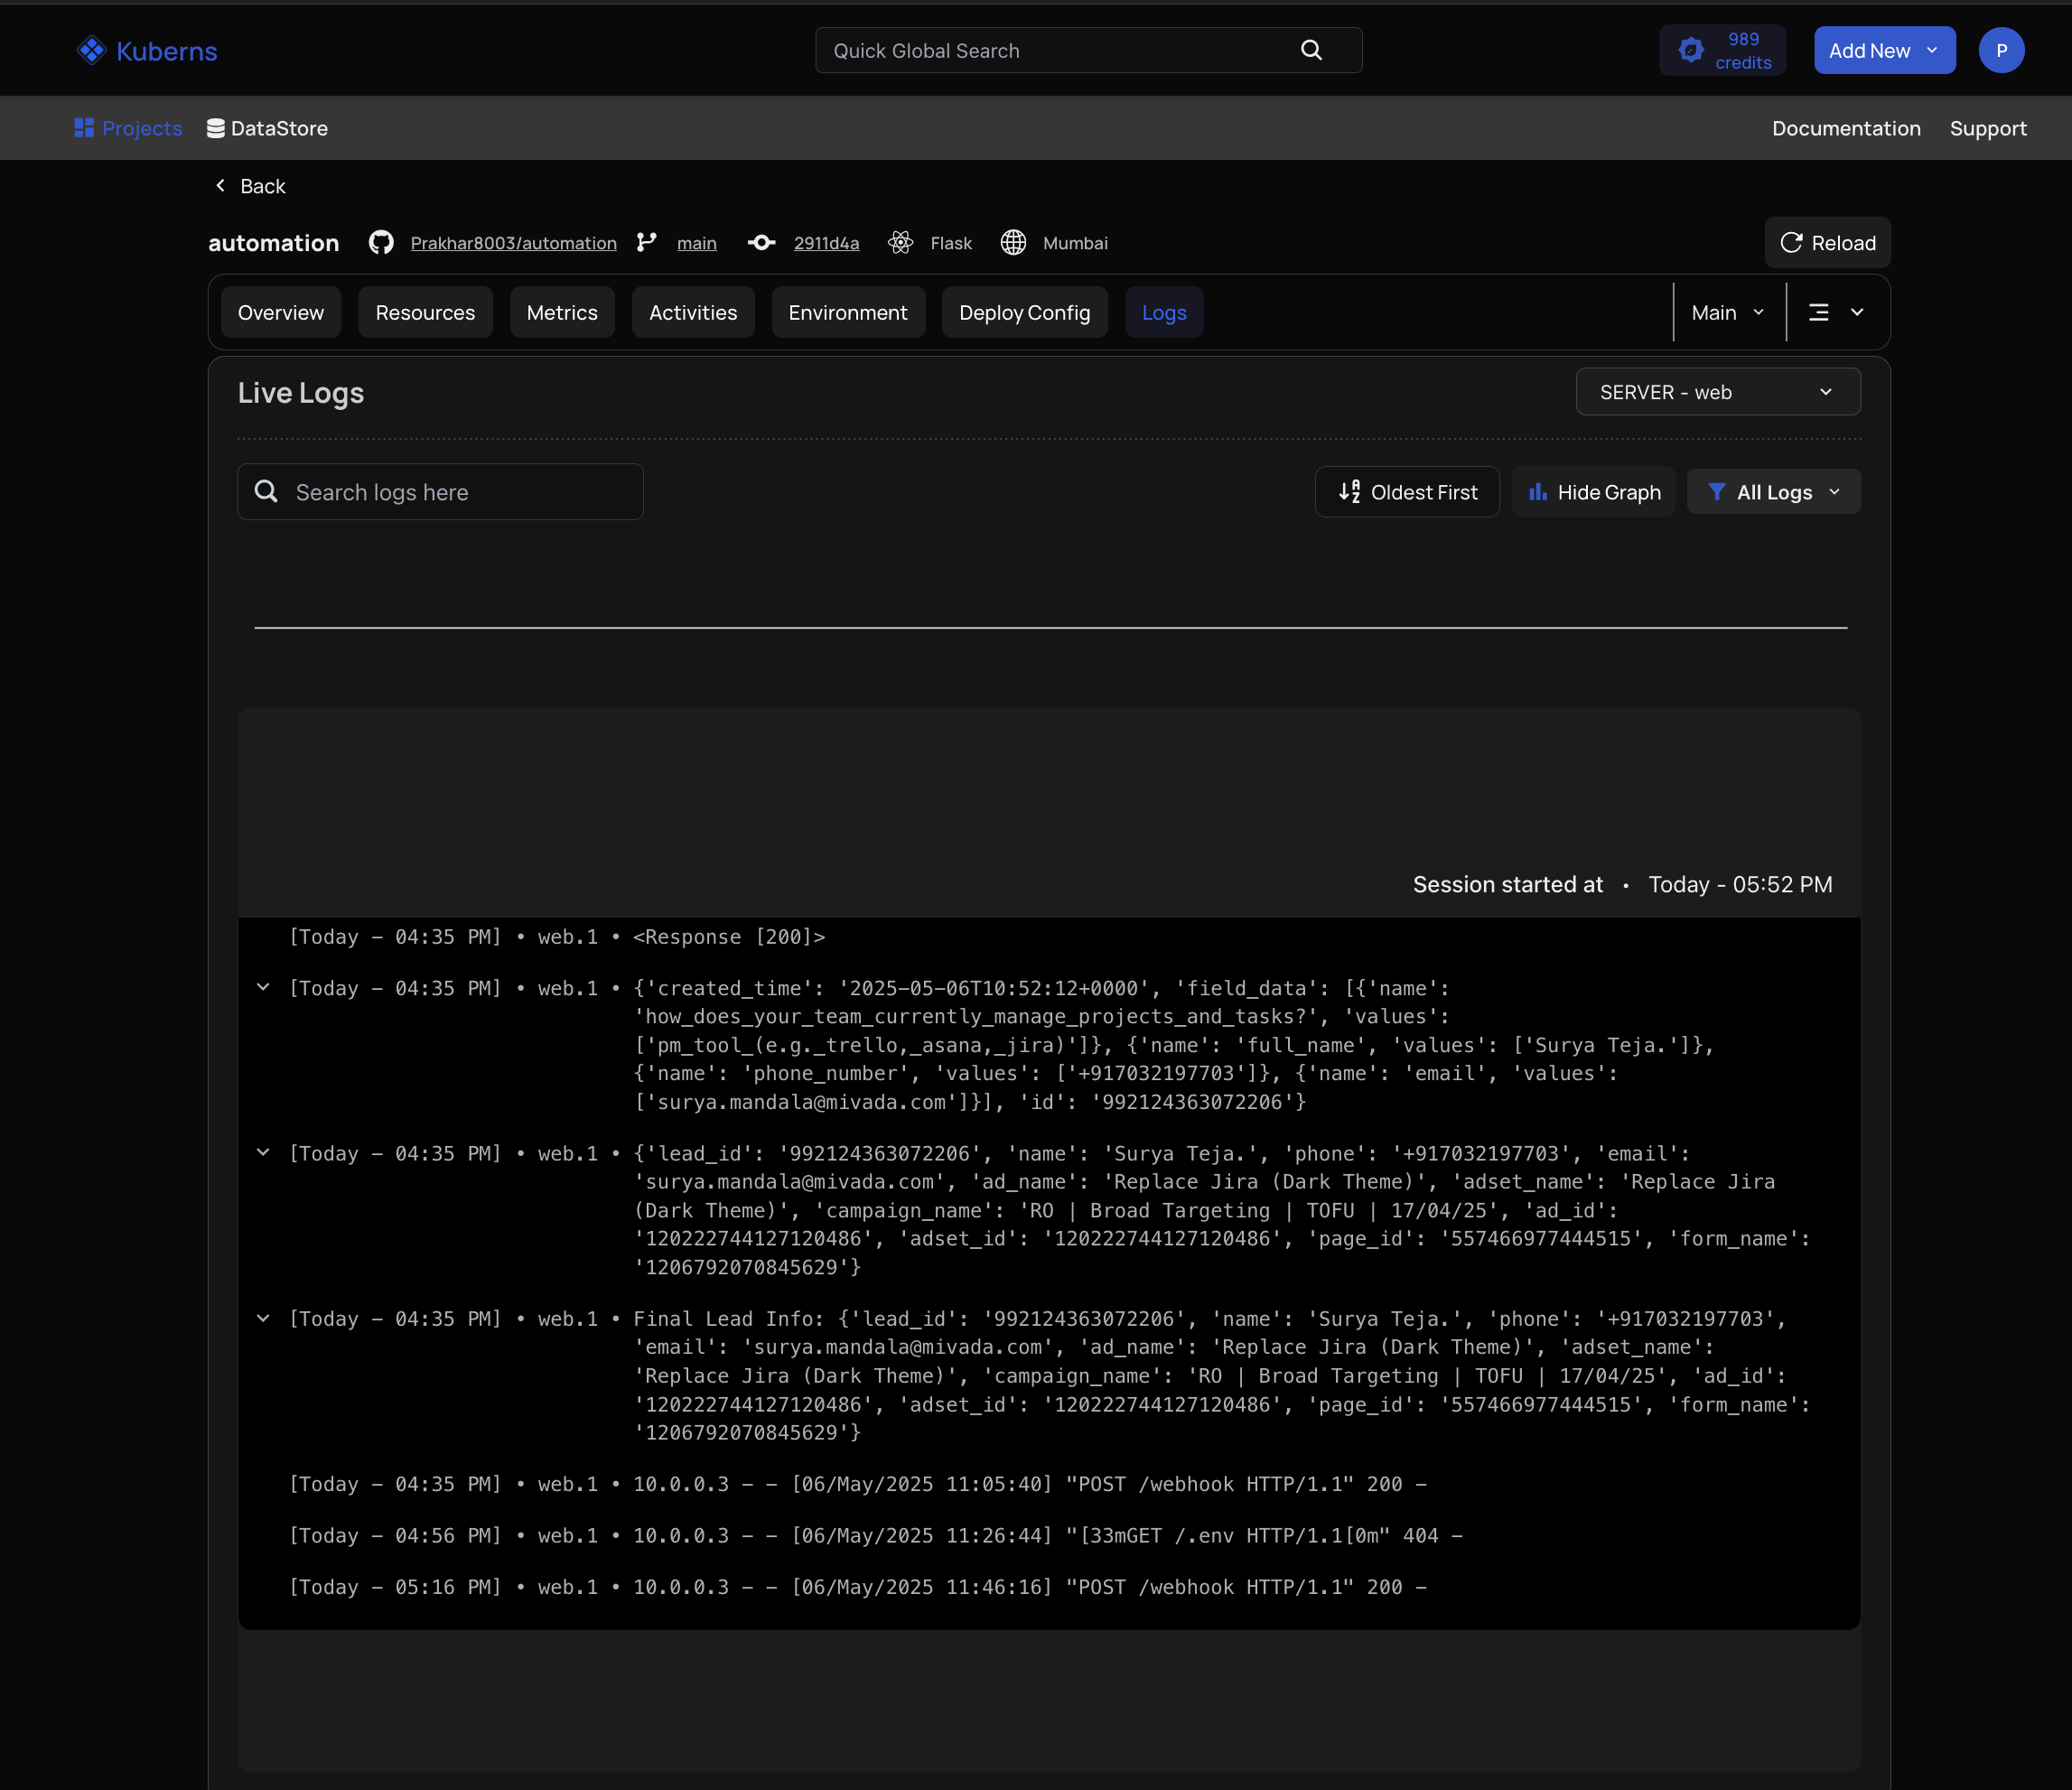
- Check Live Logs and filter them according to your needs
- Check your resources
By following these steps, you can efficiently deploy and manage your Flask application on Kuberns, taking advantage of its powerful features and streamlined processes.