
Cursor
1. Open the MCPs panel
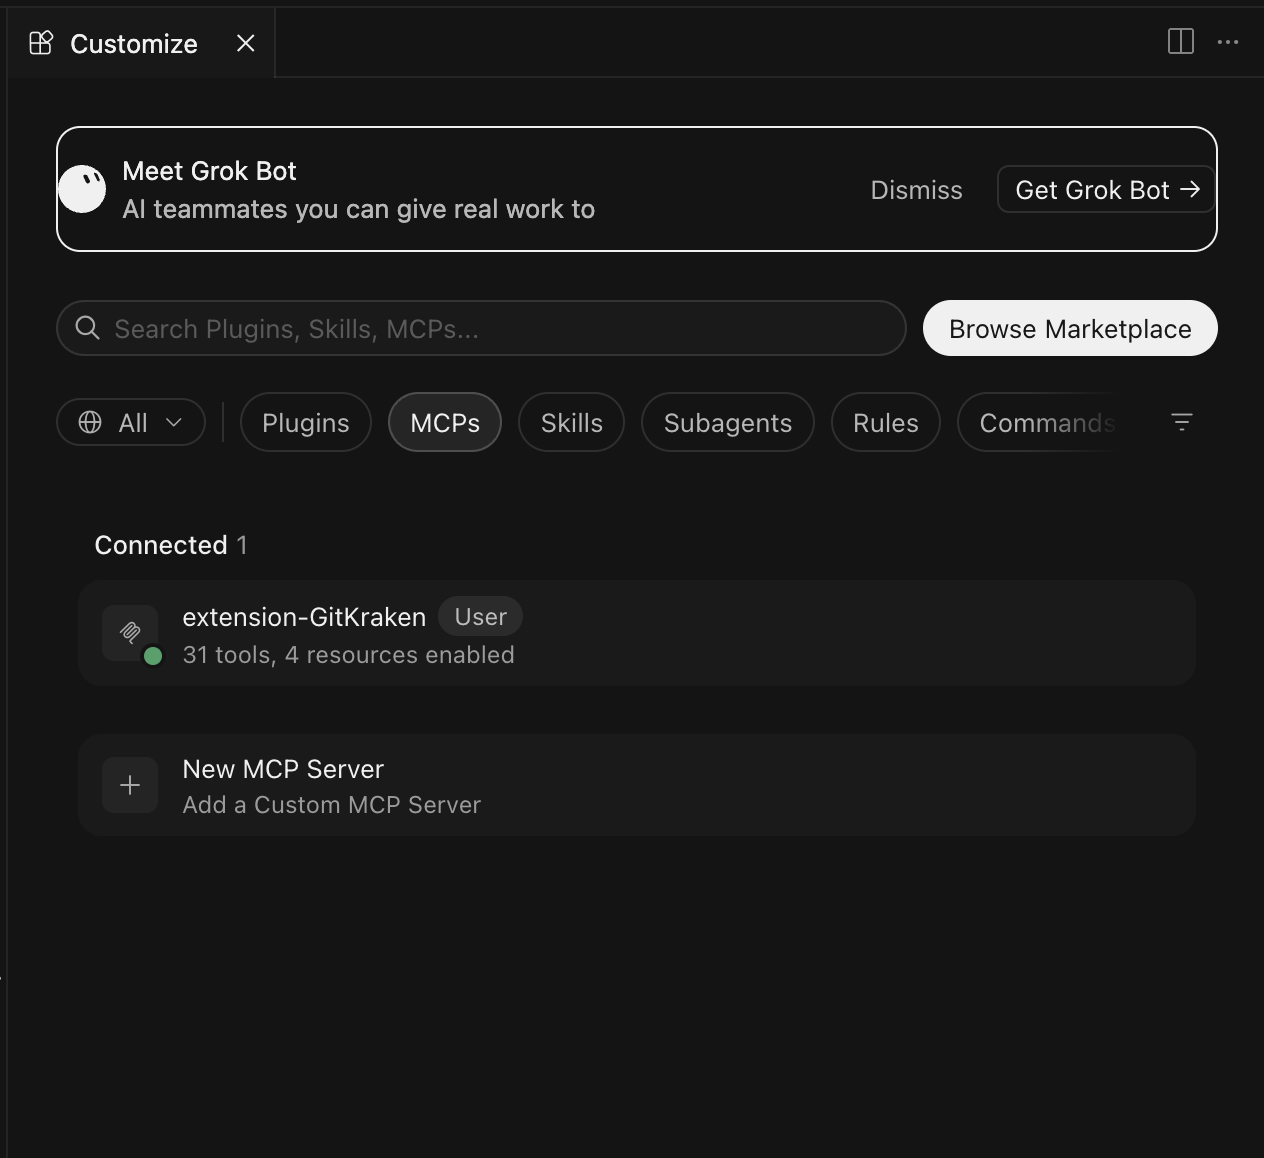
Open Customize (from Cursor's sidebar) and select the MCPs filter, then click + New MCP Server.
2. Add the server
Cursor reads MCP servers from a config file — either project-scoped or available everywhere:
- Project-only:
.cursor/mcp.jsonin your project root - Global (every project):
~/.cursor/mcp.jsonin your home directory
Add Kuberns to it:
{
  "mcpServers": {
    "kuberns": {
      "url": "https://mcp.kuberns.cloud/mcp"
    }
  }
}
Save the file — Cursor picks it up automatically.
3. Check its status
Back in the MCPs panel, Kuberns now shows up under Needs Attention.
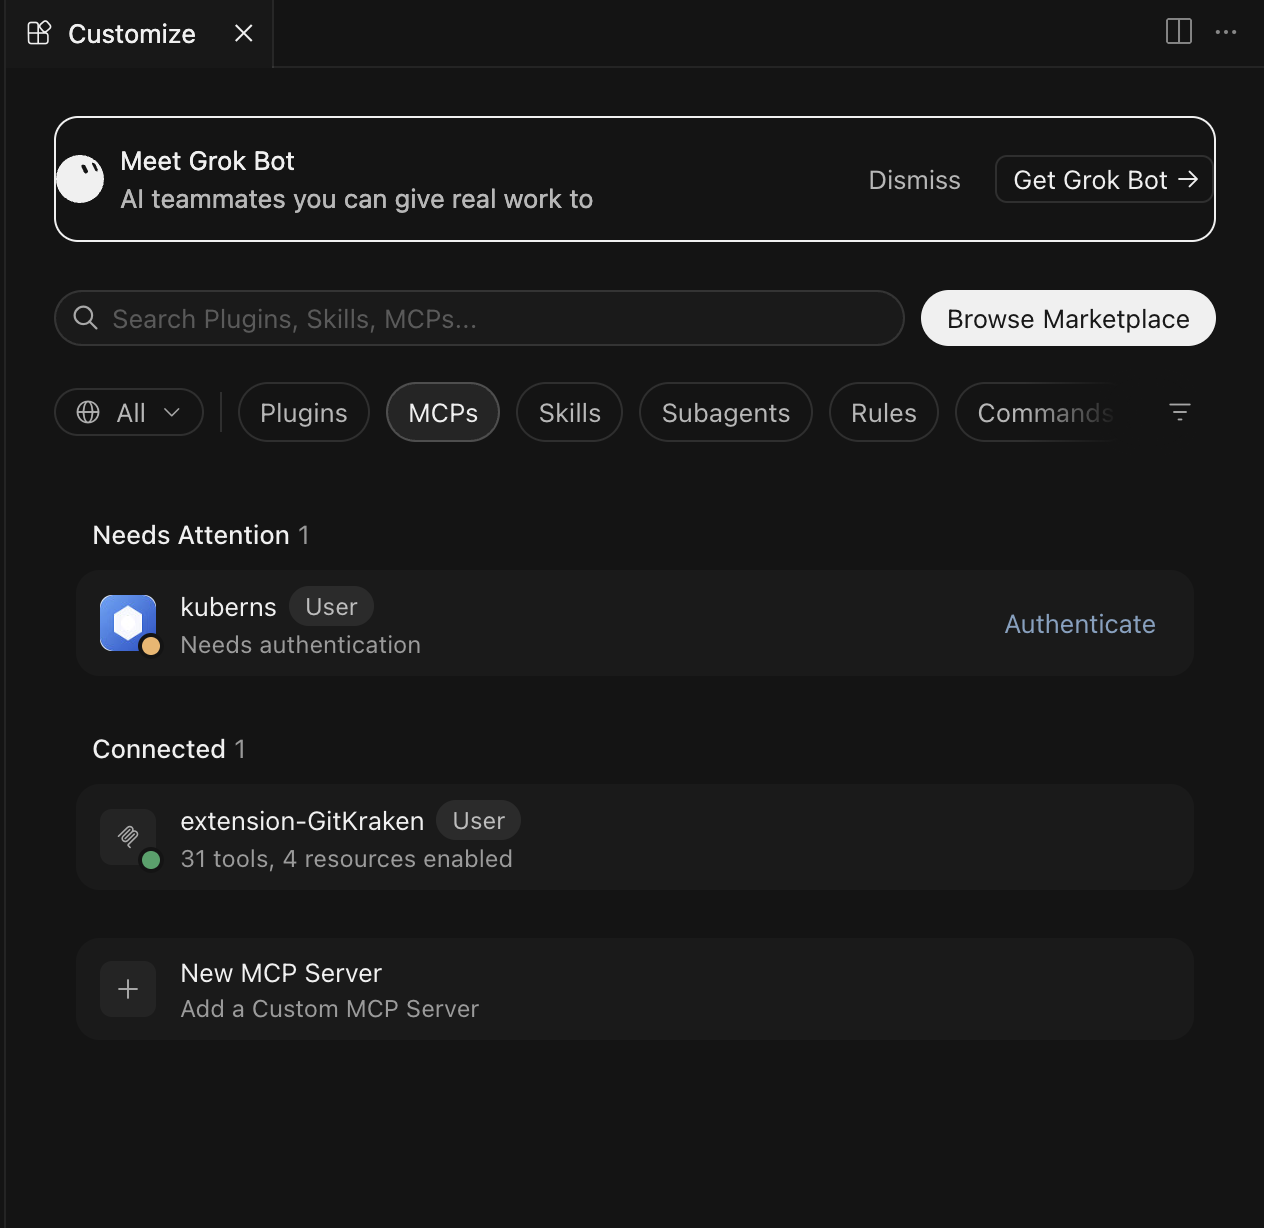
Click Authenticate. Your browser opens to Kuberns' consent screen.
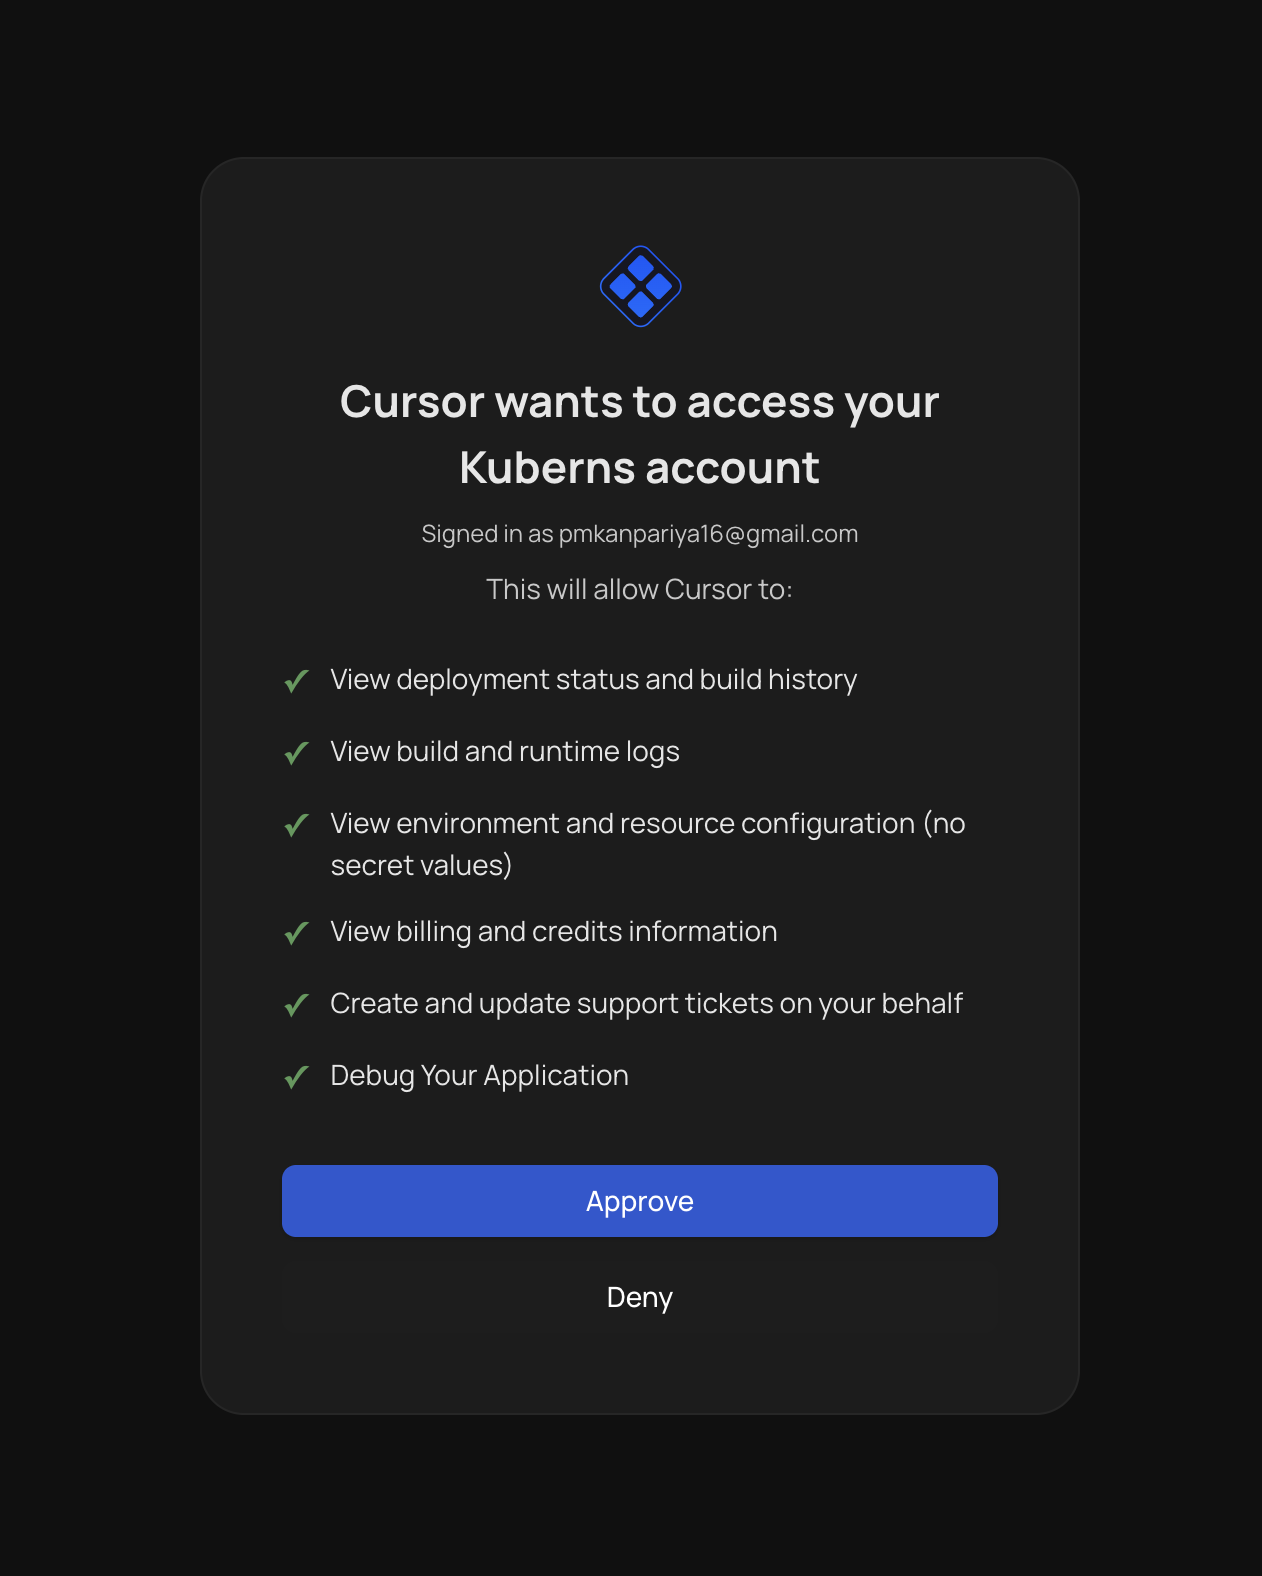
Click Approve.
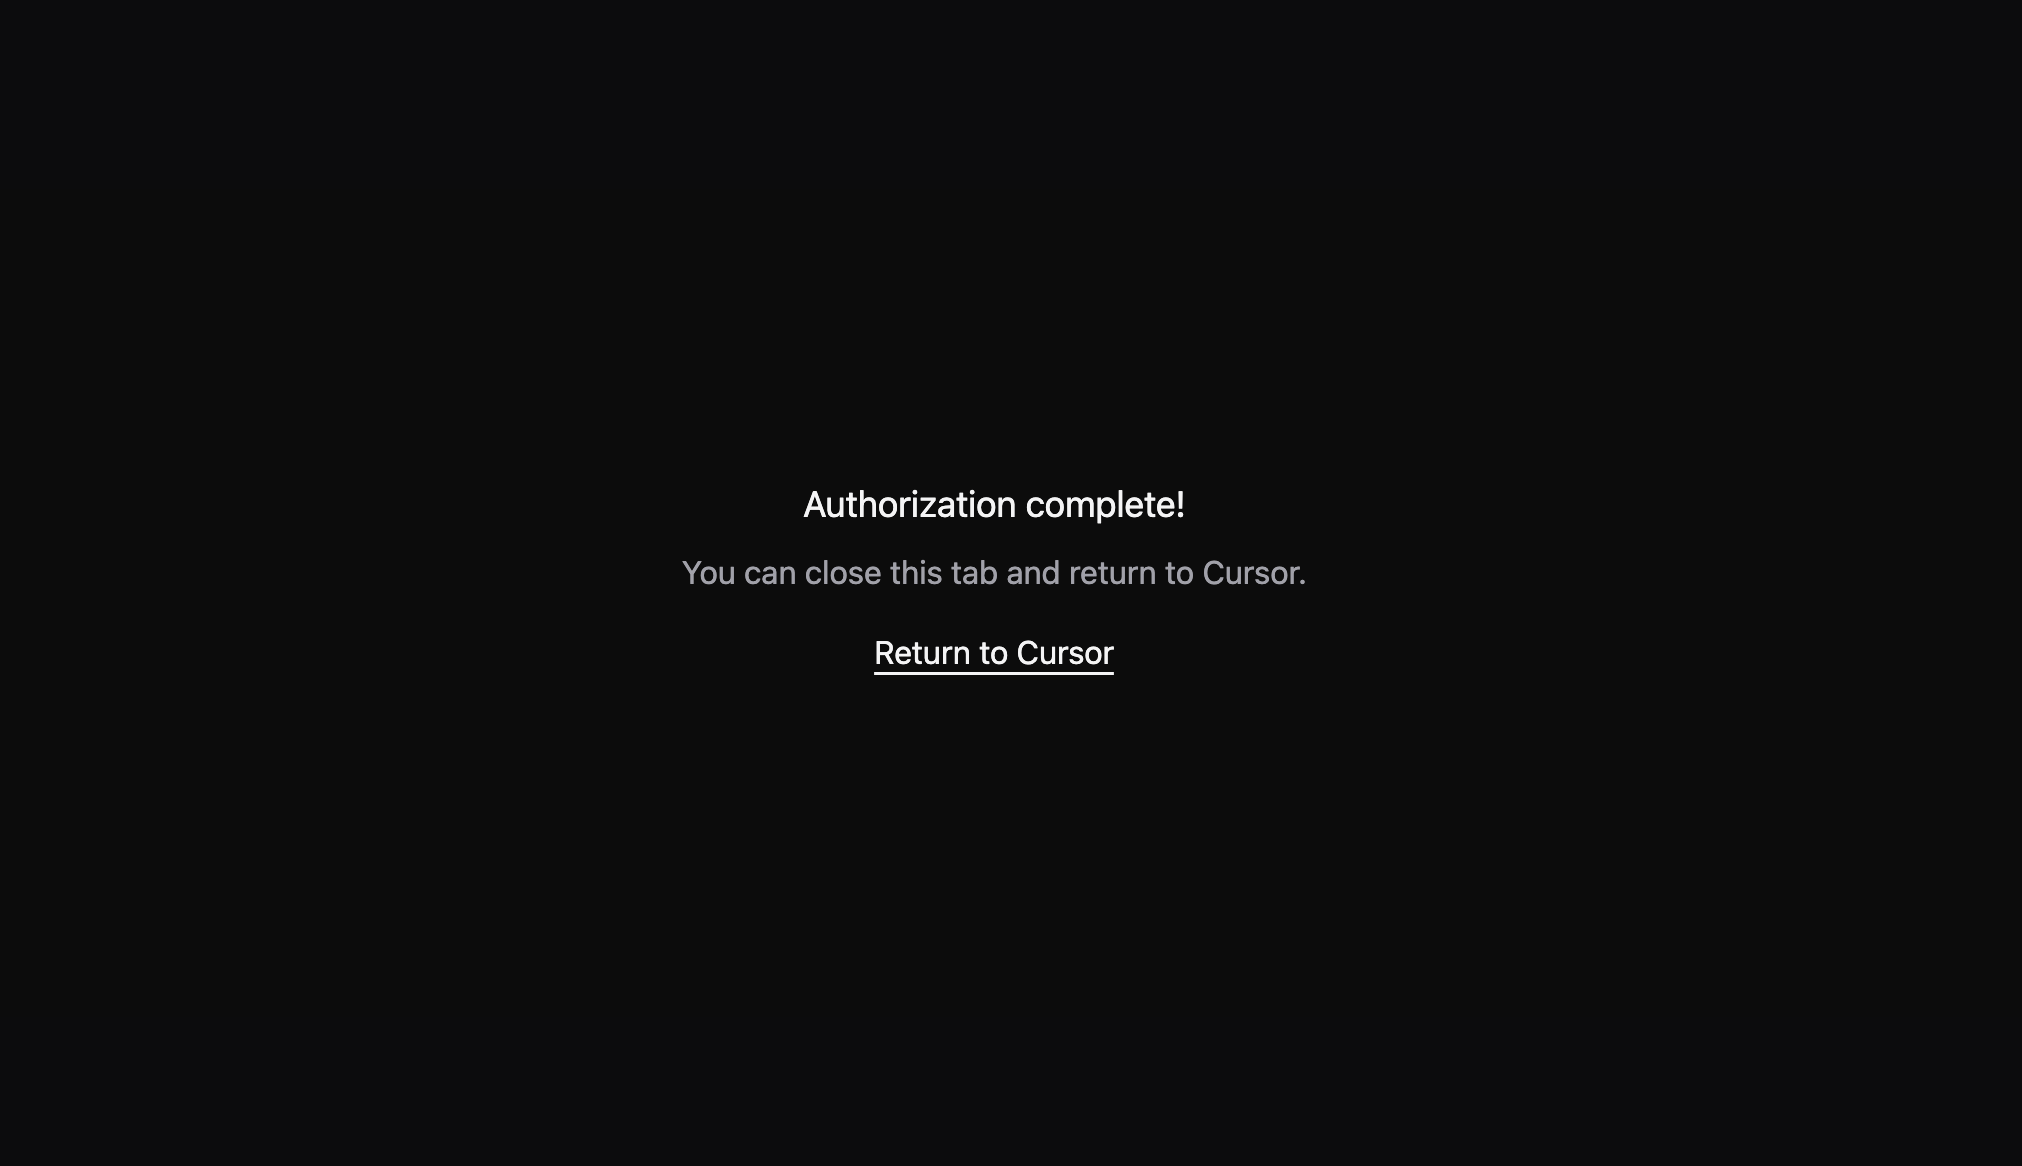
Return to Cursor — the connection is complete.
4. Confirm it worked
Ask Cursor's agent something simple, like "List my Kuberns projects," to confirm it's live.